
Sherpa Quilted Vest
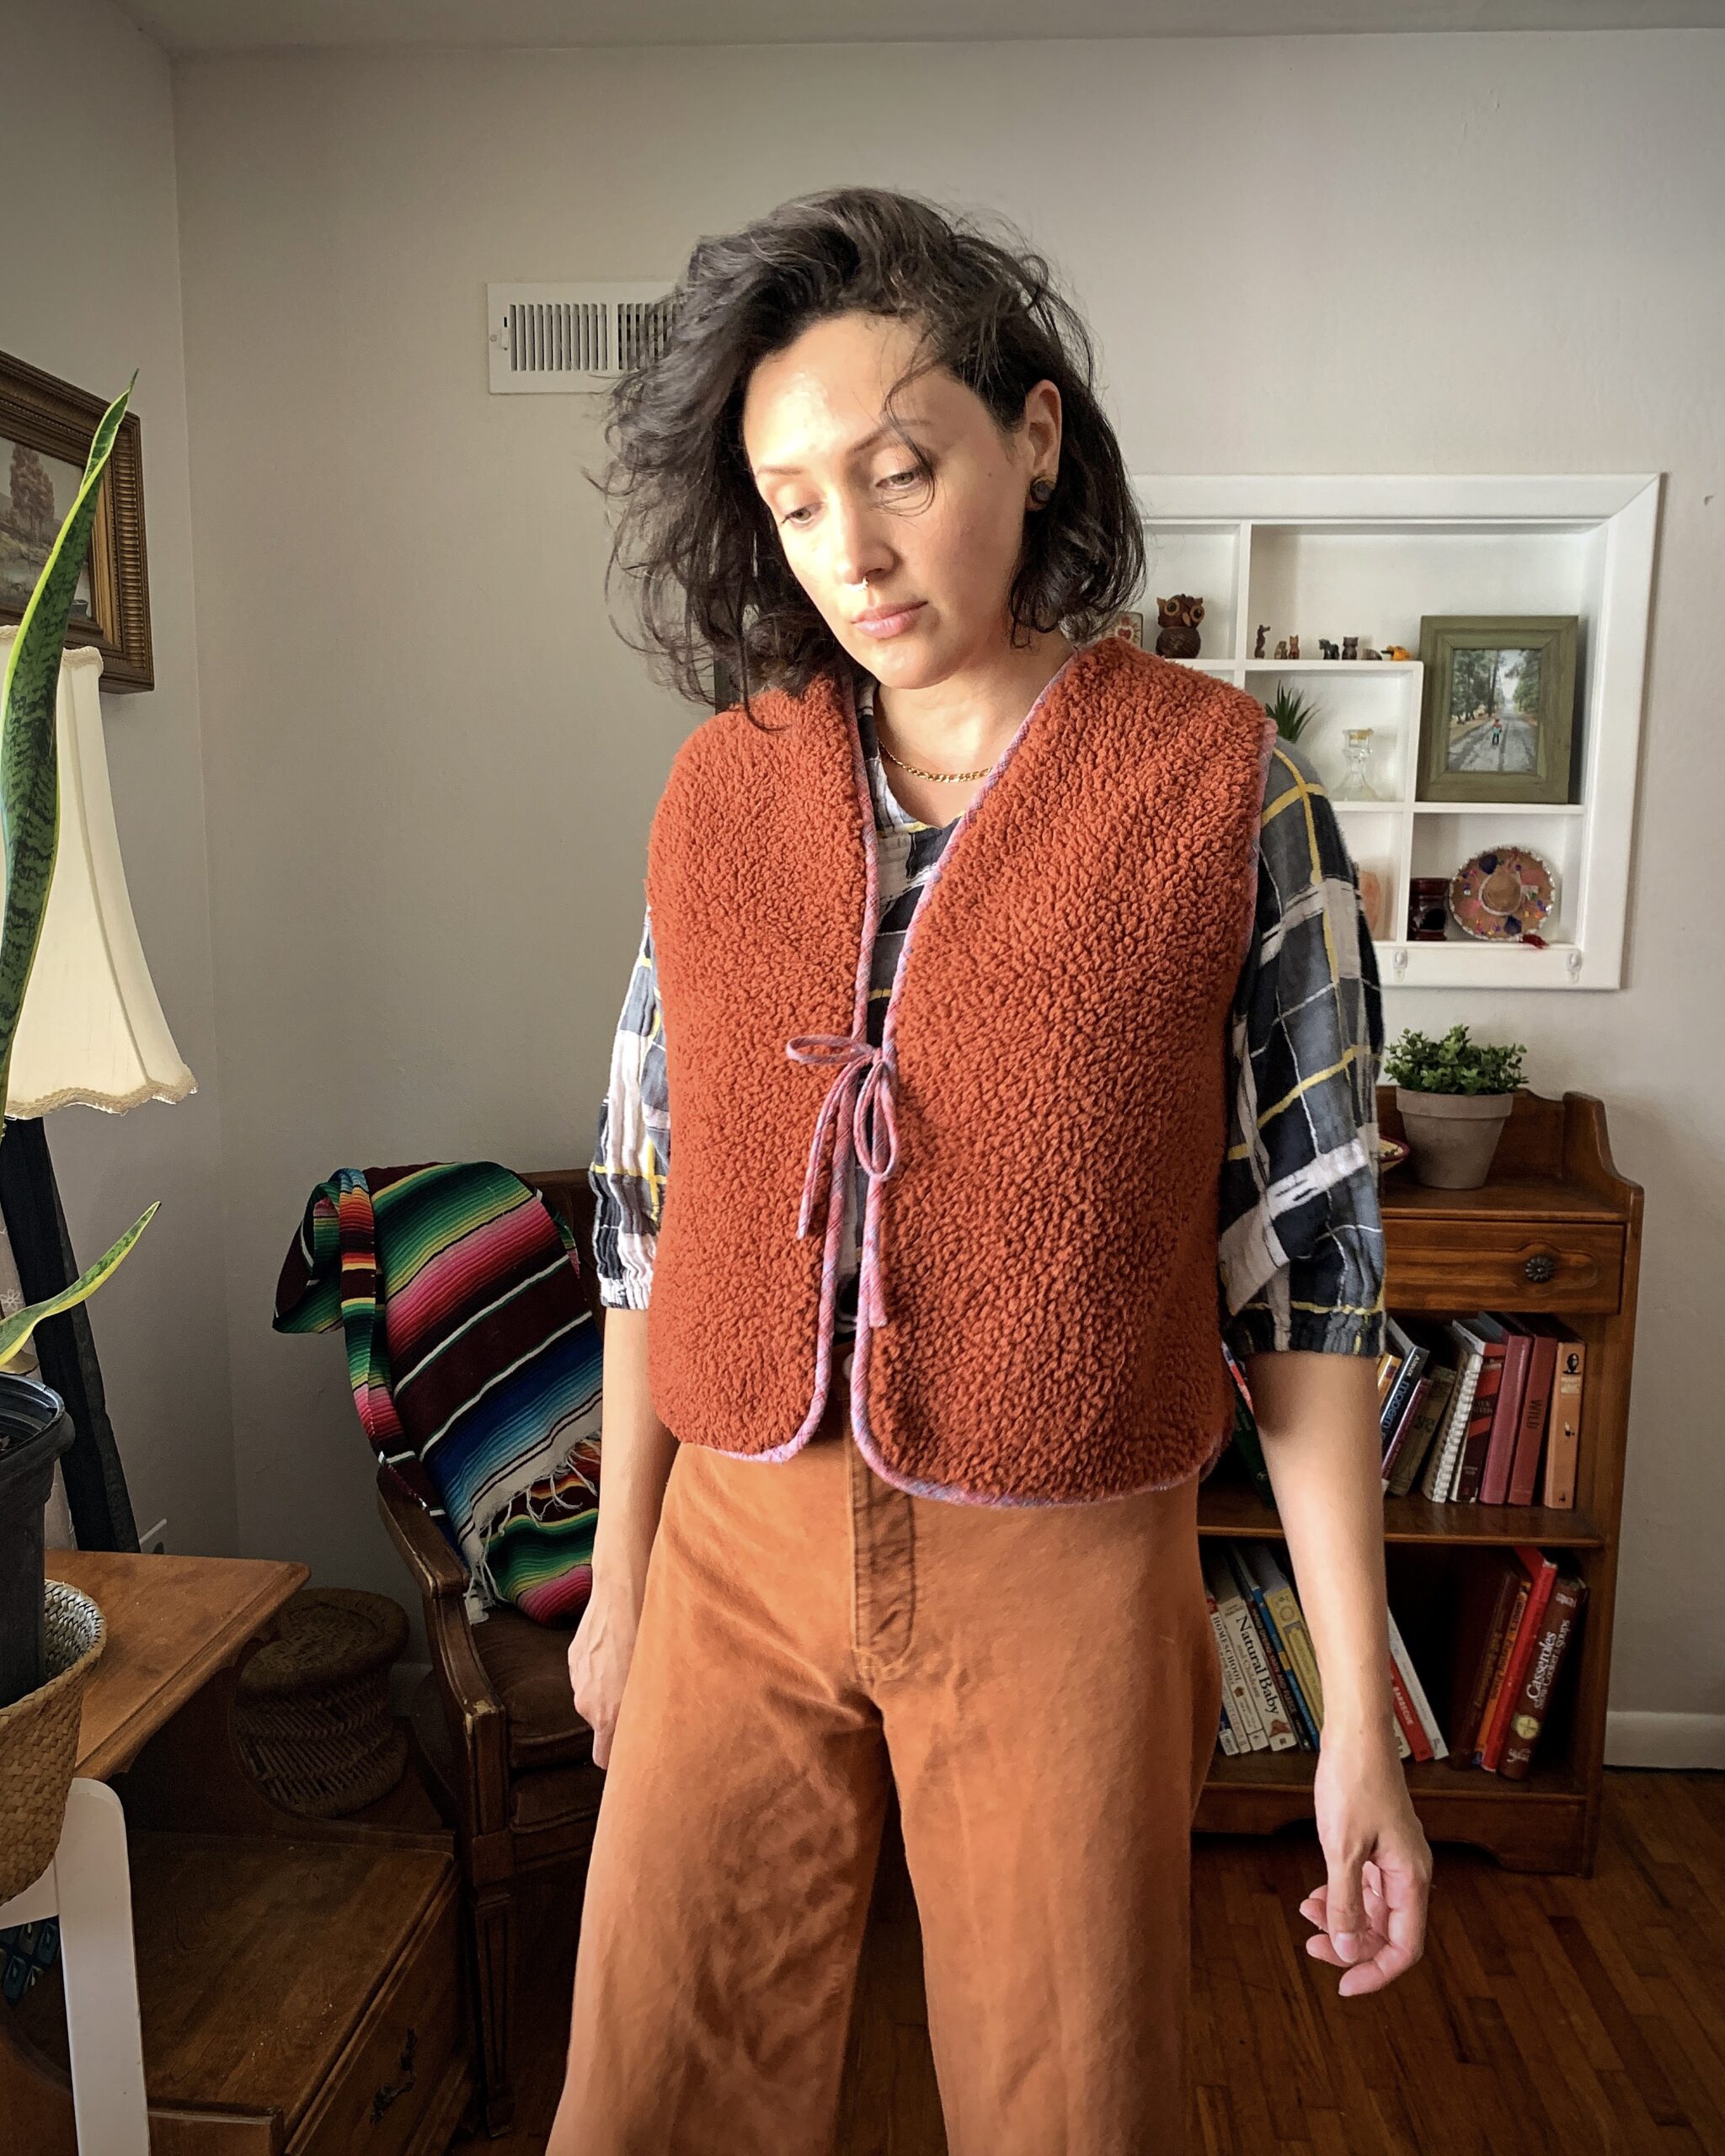
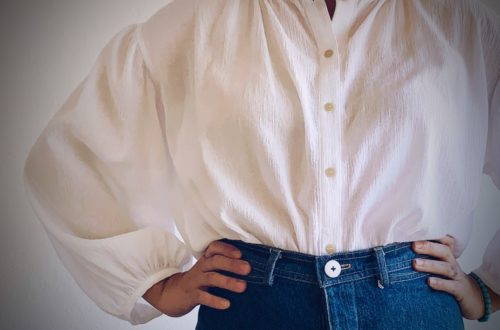
After seeing vests all over my feed for months I finally got around to sewing one up for myself. The pattern I used is a free one on Purl Soho‘s website. The instructions and pattern are great as is but I had an image in mind of what I wanted and this quilted vest pattern was a good starting point.
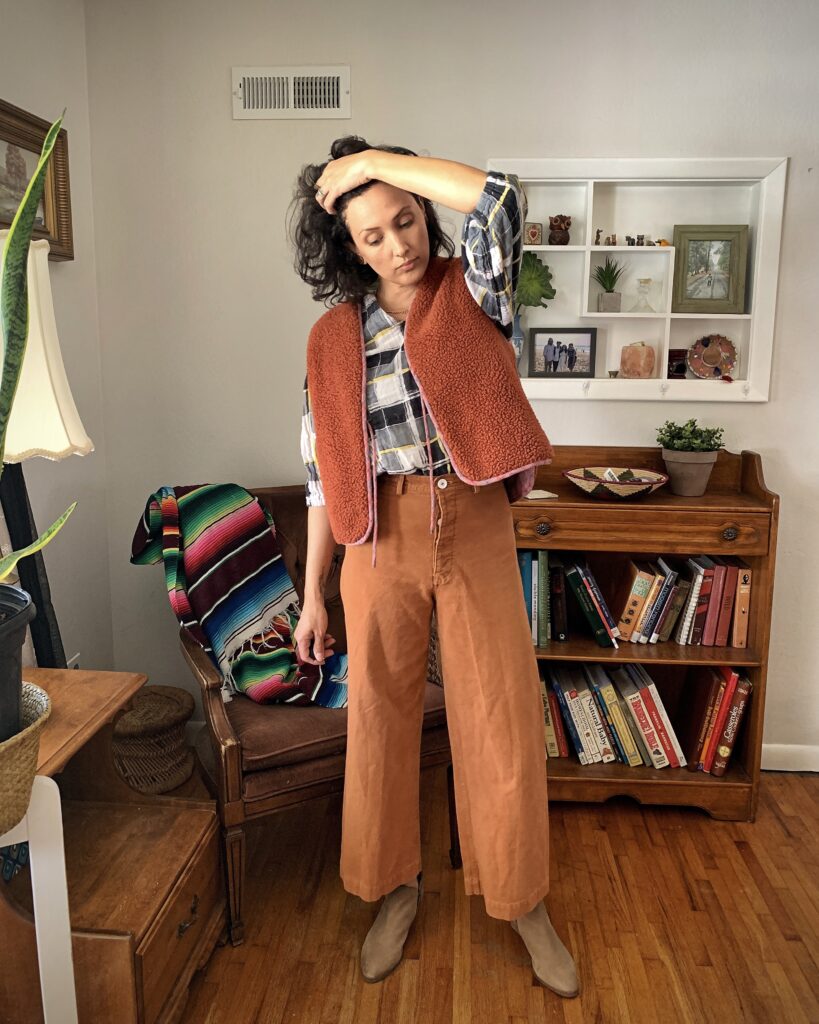
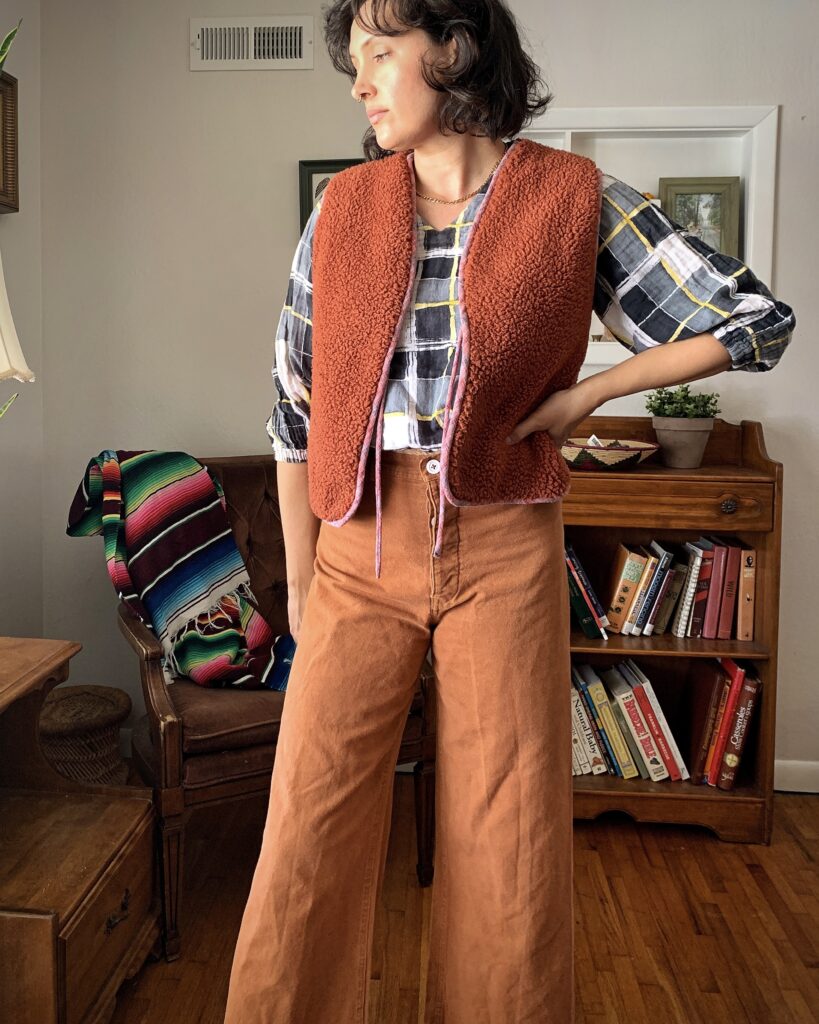
The goal was a super warm cozy and fuzzy vest to wear as a layering piece under coats or on its own. Something versatile to throw on over dresses or jeans was a must, specifically something not as short as a lot of the quilted vests I’ve been seeing.
Fabric
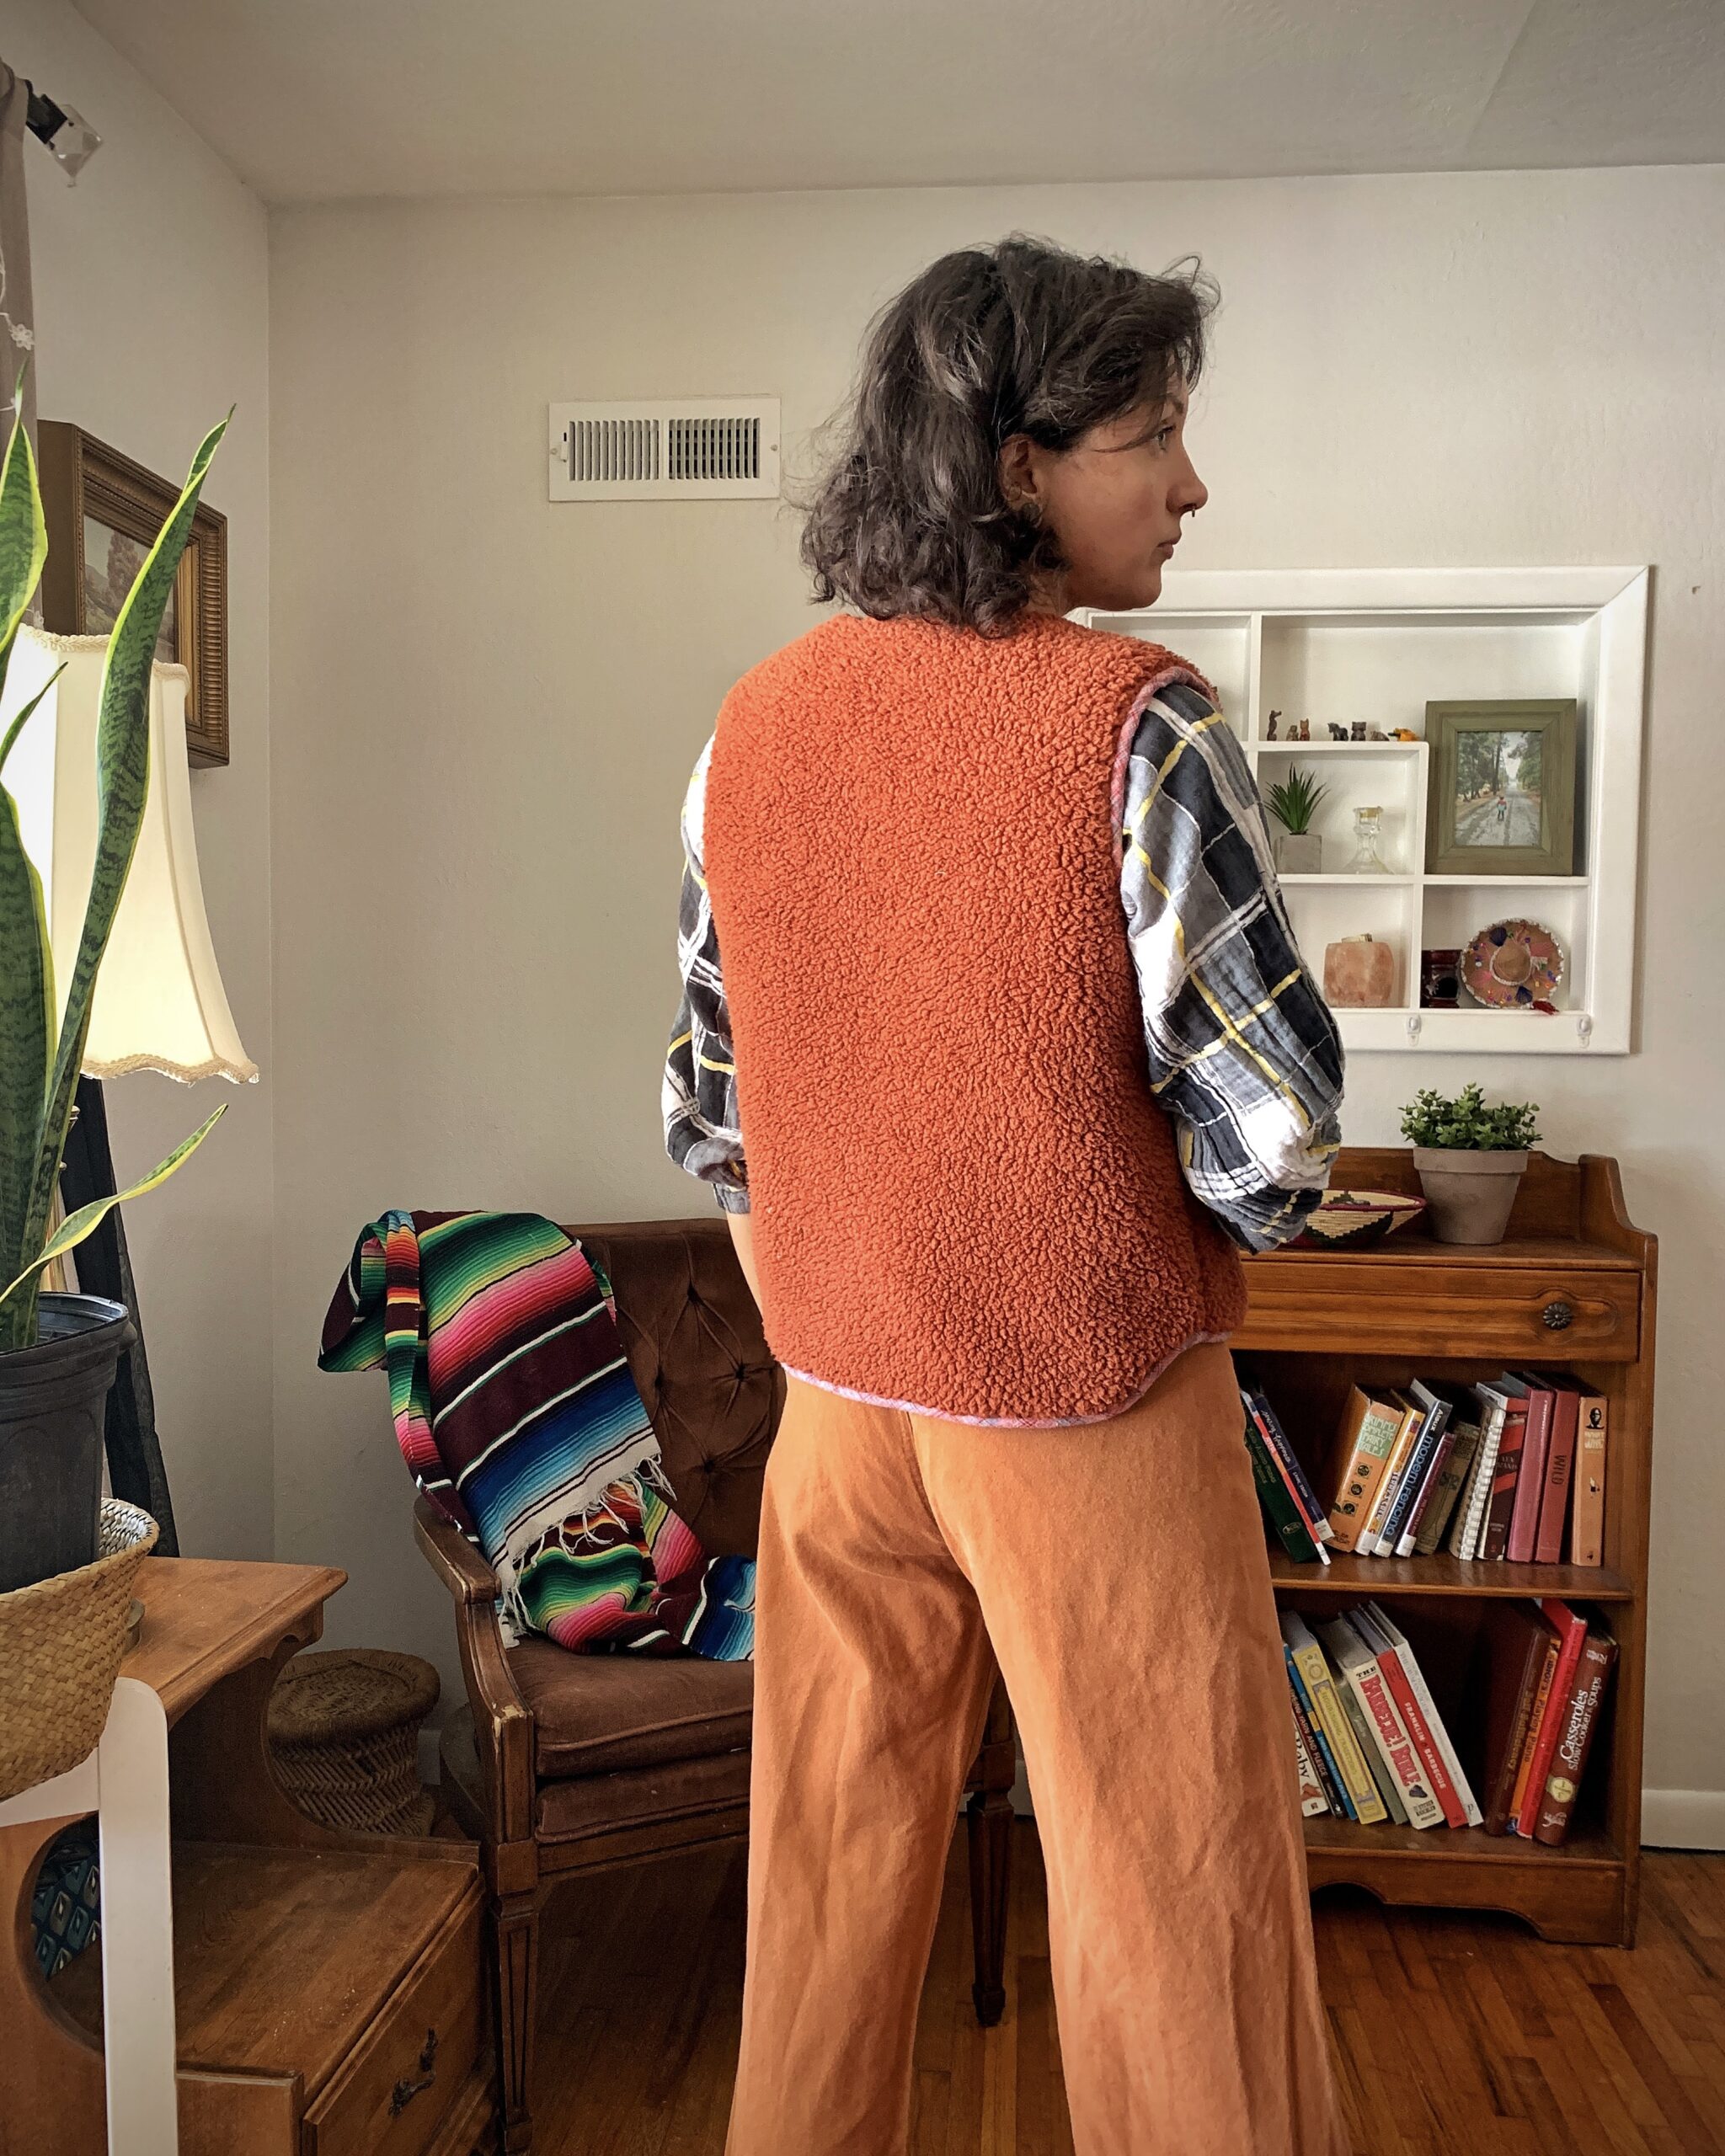
I just happened to have some thrifted cotton fabric lying around and Sherpa fleece from Joann leftover from gift sewing over Christmas time. Lately I’ve been really focusing on sewing my stash and it’s hard! I really have accumulated lots of it over the years including a surprising amount of thrifted finds that are taking up tons of space I just do not have.
Alterations
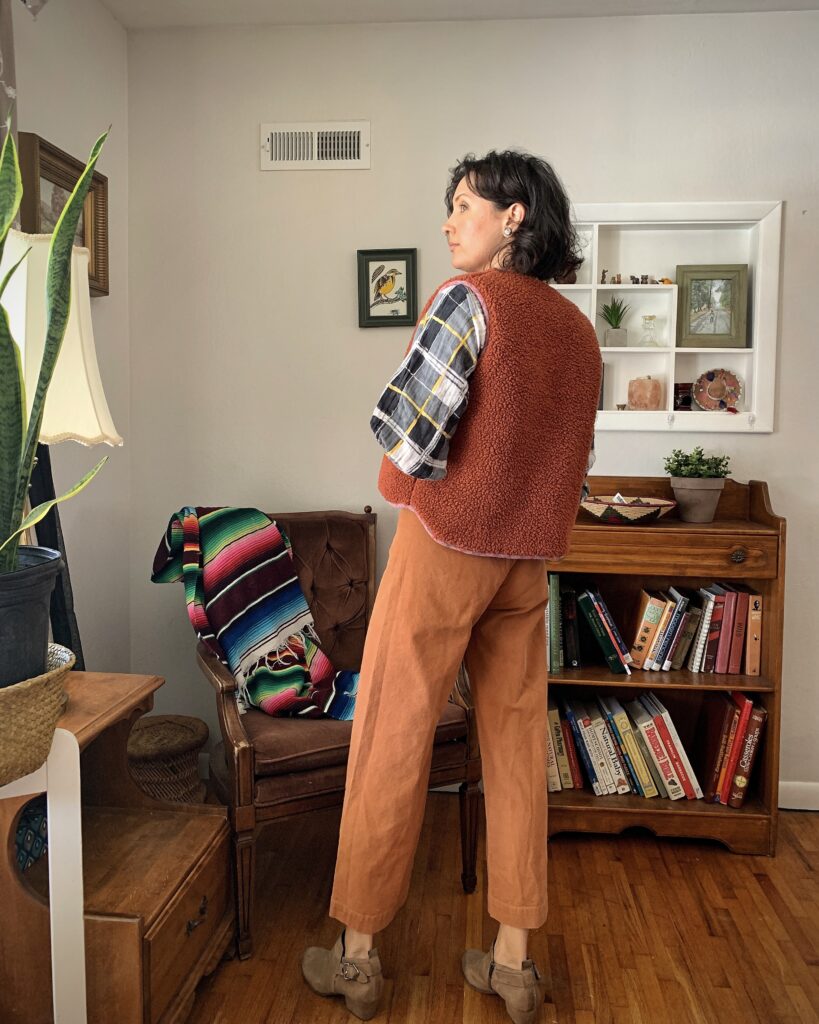
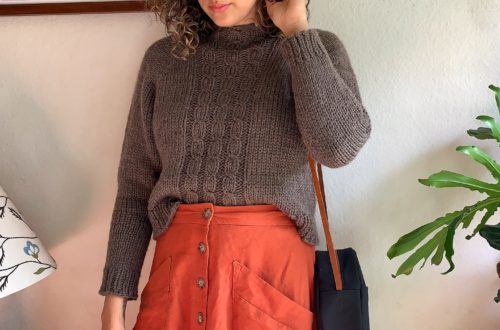
I altered the pattern slightly by shaving off some width all around the collar area along the front pattern piece and the back neckline. I also removed a few inches from the length and created a high/low hem. After the first try-on I took in the sides quite a bit, almost two inches at each side seam, to get the fit I wanted. I wasn’t going for very oversized, especially knowing that this Sherpa fabric would add some volume.

Construction
This vest came together quite a bit differently than the tutorial suggests. I quilted the cotton side only using diagonal lines. It was fairly easy to do with a walking foot. I was pretty heavy on the pinning and my only regret is that I didn’t mark my lines with chalk because the seam guide attached to the walking foot wasn’t enough to keep everything nice and straight. My lines started to wander and get a bit uneven, so now I know not to cut corners and just mark my sewing lines.
Once I tried this part on I then removed width at the side seams. I adjusted my Sherpa pieces to match and resewed the side seams on both the Sherpa and quilted sides. At this point I basted the whole thing together around the edges, checked the fit, and continued on to the binding.
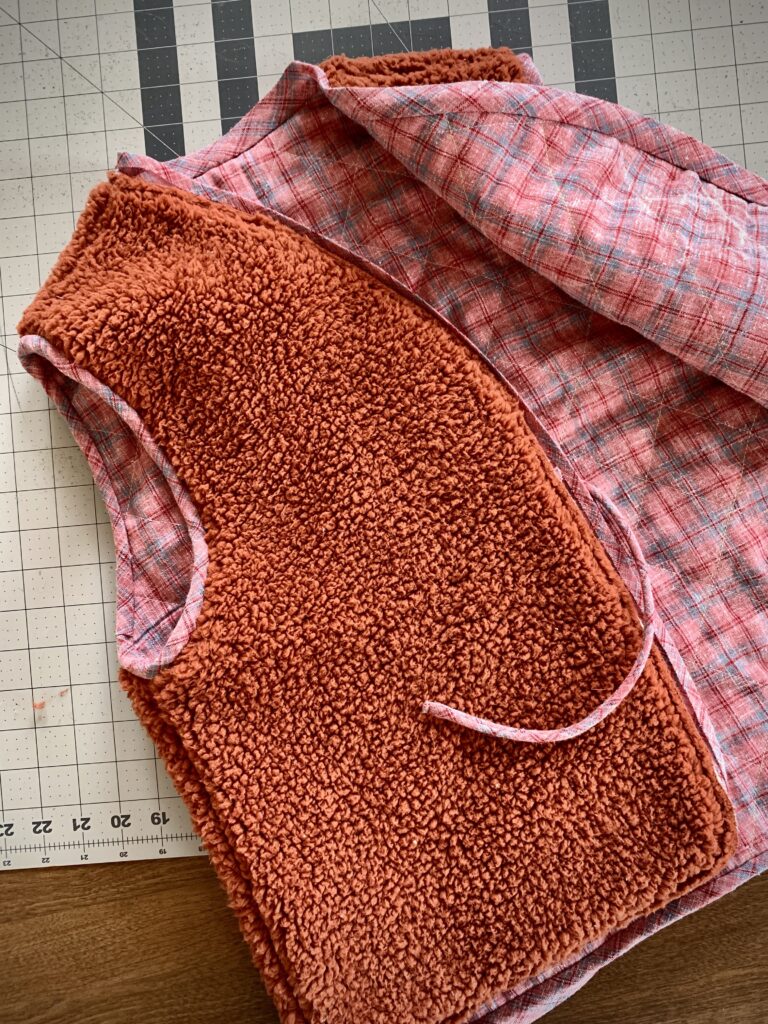
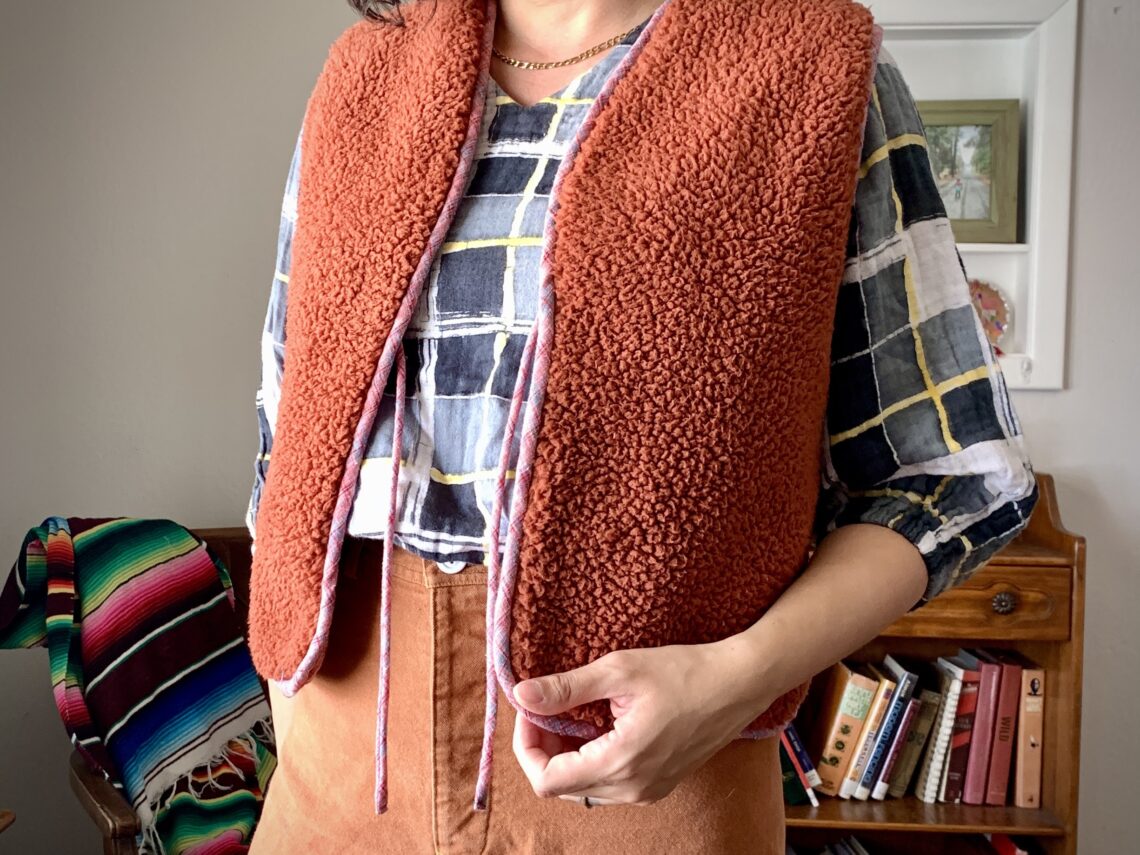
After sewing the double fold bias tape to the quilted side on all of the edges I attached the ties where I wanted them. Then I proceeded to wrap the bias binding around the edge and stitch it down.
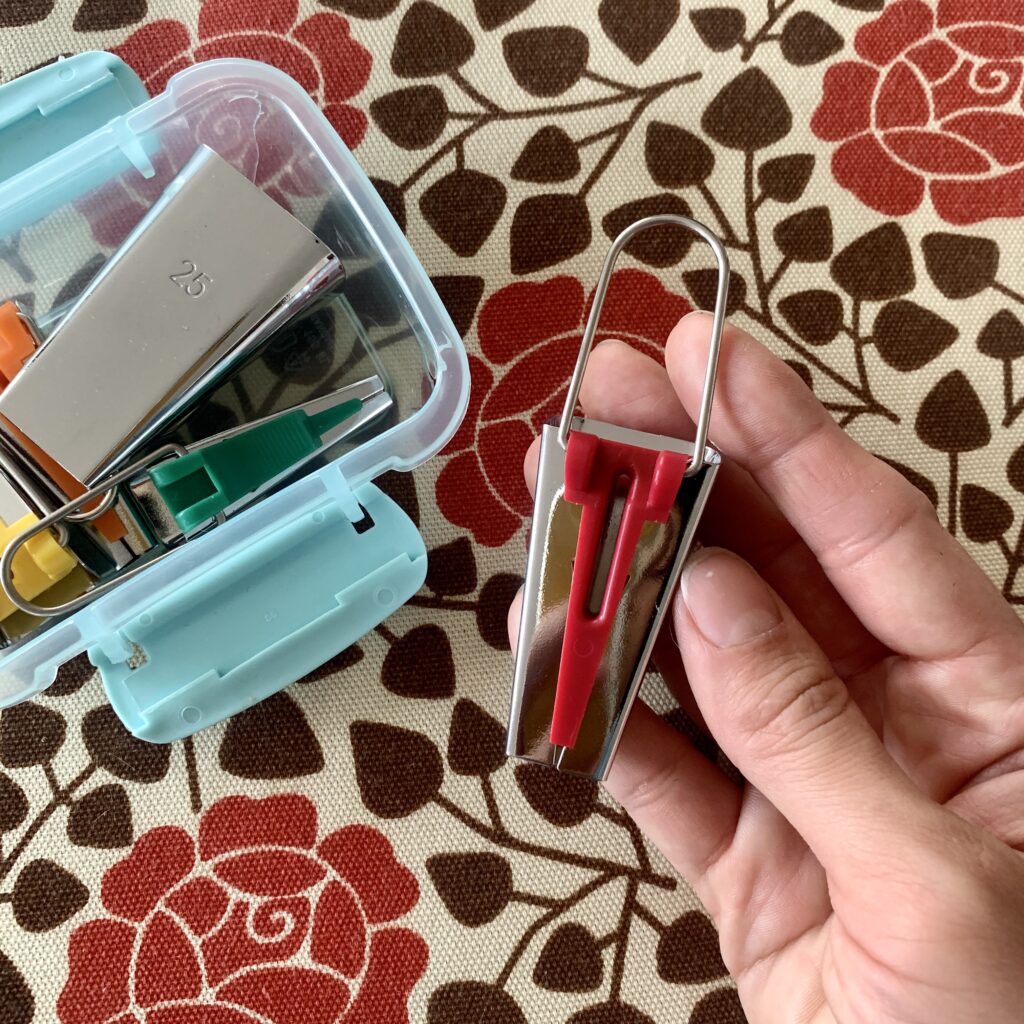
The bindings were finished by hand and it looks so neat and tidy inside and out. I also love making my own bias. A bias tape maker is one of my most used sewing tools. I used the 18mm size for this project to make matching double fold bias tape and it was perfect.
Final Thoughts
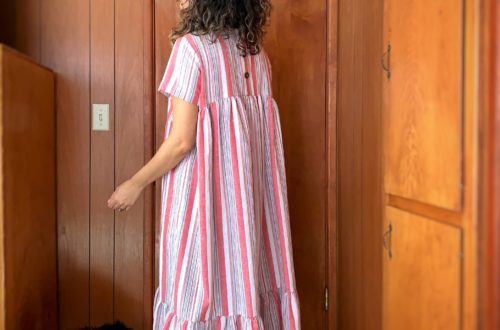
This reversible vest was a fun stash busting project and super easy to make. And I need more vests. This leaves me wondering why I haven’t knitted myself a vest yet.

One Comment
Mallory
This is so cute! I’ll have to make one this fall. I love a vest because a full coat feels so bulky when sitting in my car and half the time I’m just dropping off/picking up my kids from school.
And I am so glad you’re “back” – I’m a little late but I will get caught up.