
Denim Lisa Dress – A Tessuti Pattern Review
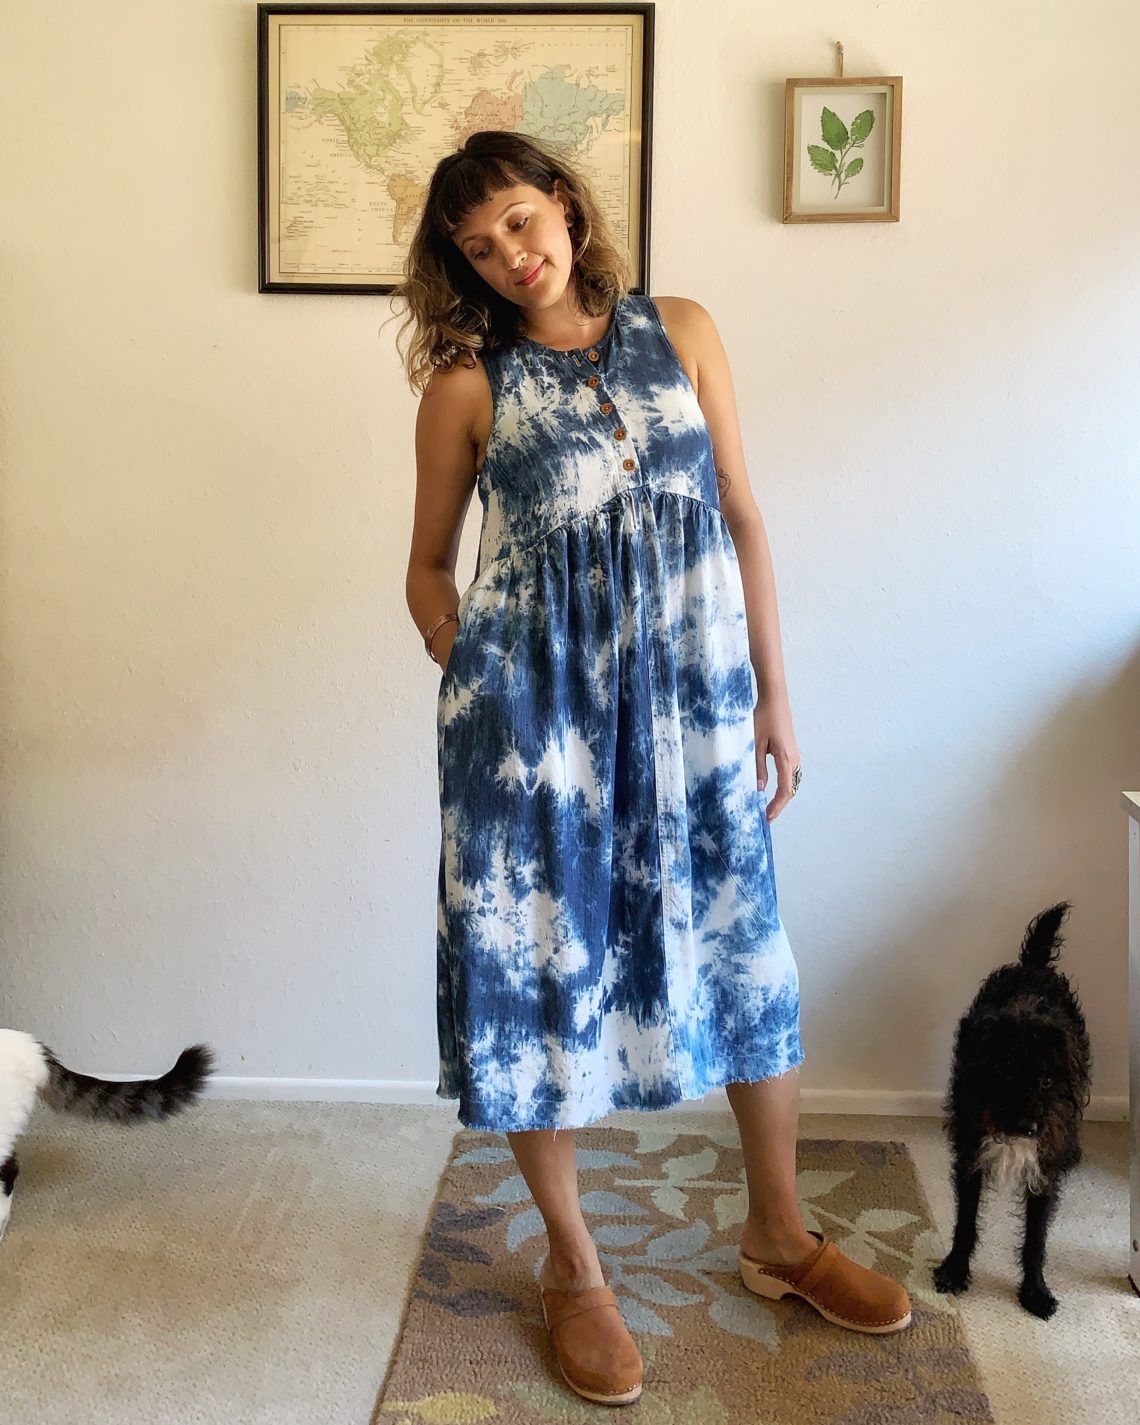
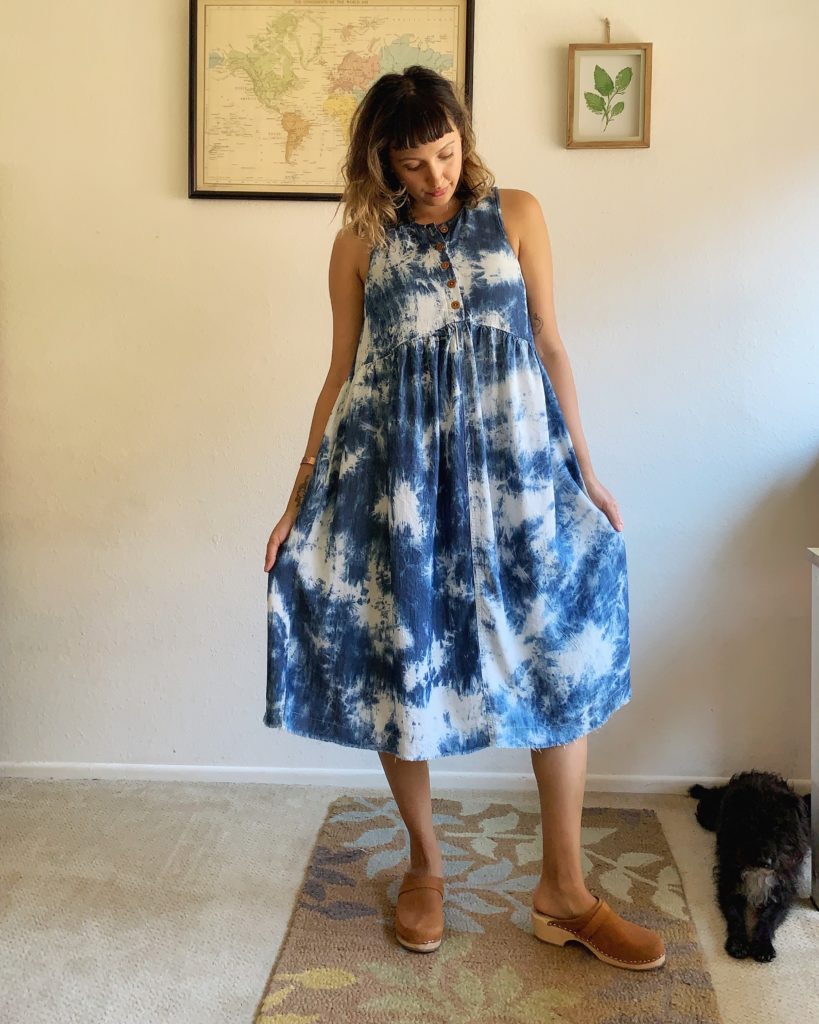
Happy Summer! I sewed up the Lisa Dress by Tessuti Patterns in a super fun tie dye denim. This dress is everything I had hoped for. The Lisa dress is the perfect summer pattern and a great addition to my handmade wardrobe. I’ll be sharing some tips and sewing details so keep on reading!

The Lisa Pattern:
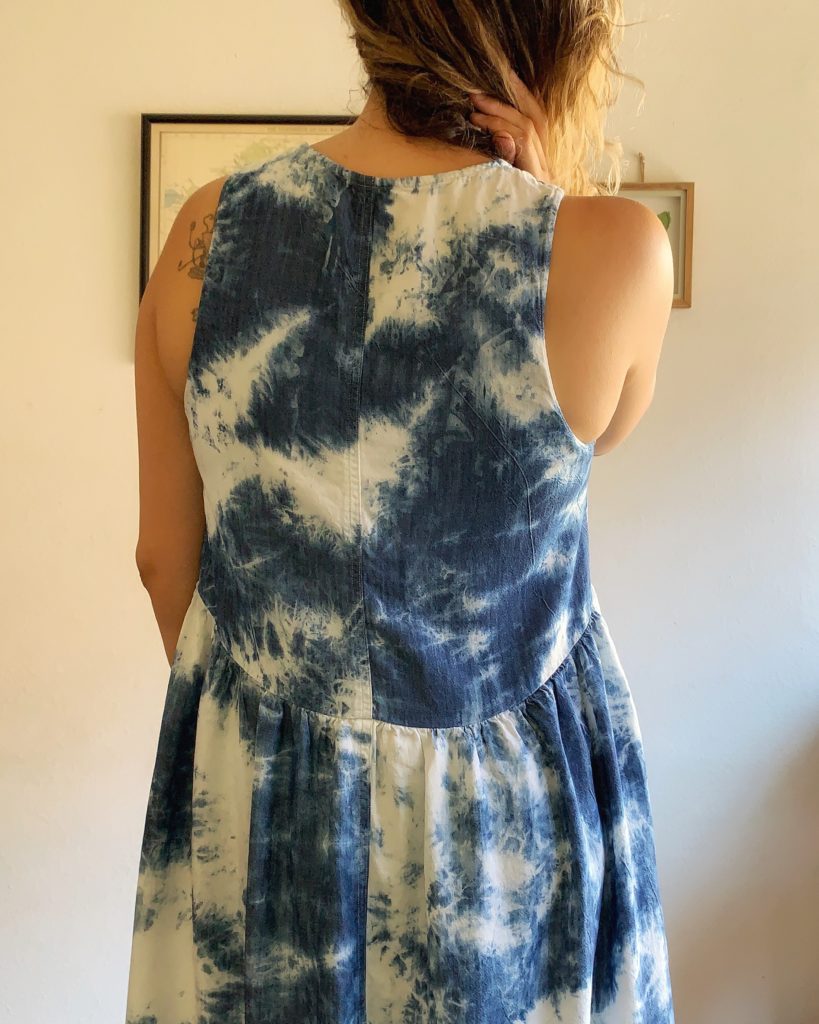
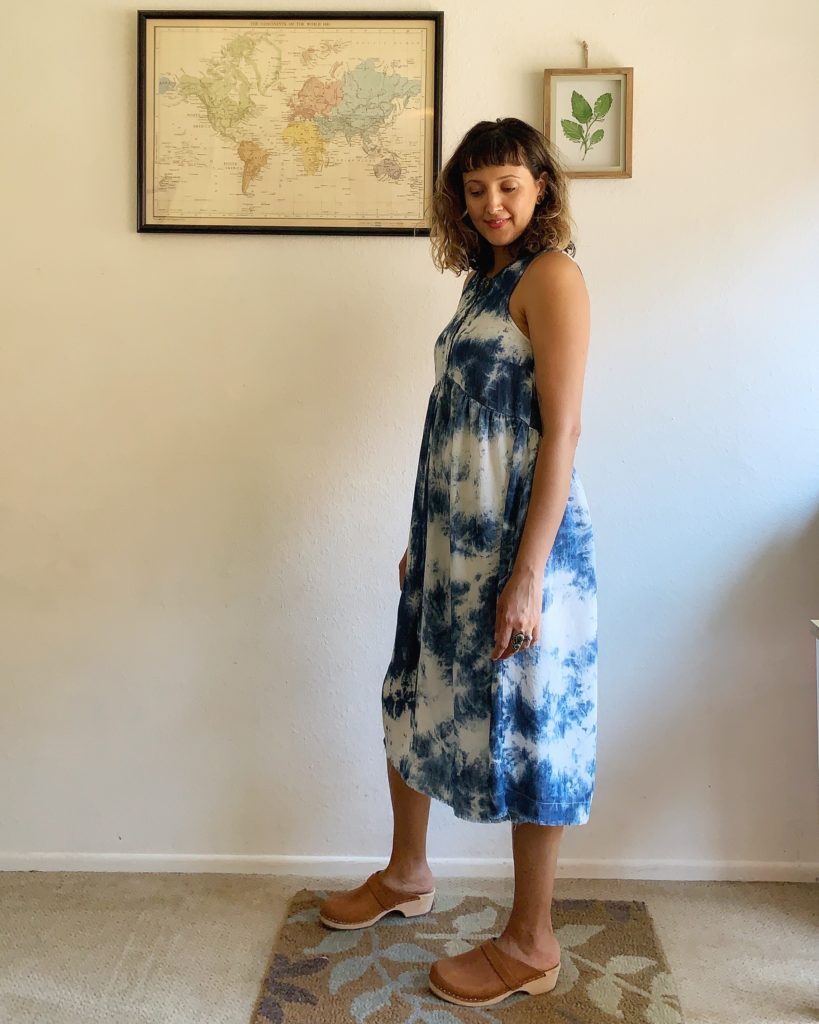
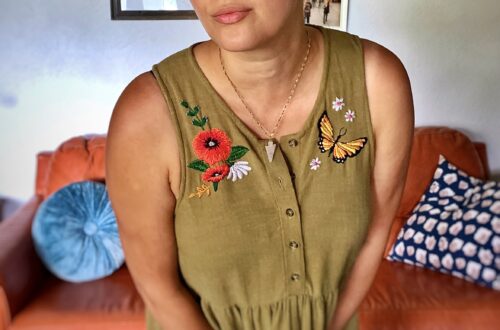
The Lisa Dress had been pinned on the board (the Pinterest board ;)) for quite some time. I really have not a clue what took me so dang long. The contoured empire waistline is so good. Other details include a full gathered skirt, inseam pockets, bust darts, and a button placket.
Tessuti patterns always have great instructions and unique construction methods. They are an Australian based fabric store and pattern maker. You can expect their sewing patterns to have an interesting element to them in my opinion. Even a seemingly simple finished garment has a special touch or detail that the home sewist is sure to enjoy. The shape of the bodice is so lovely and completely different from any other dress I own. I absolutely love it as finished piece!
The fabric:
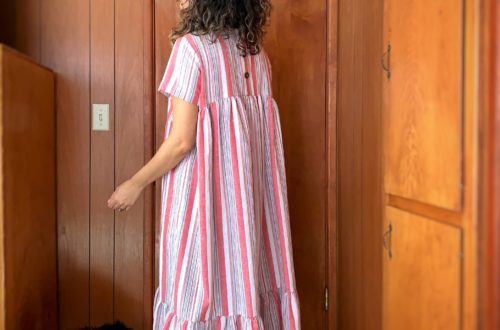
This is a lightweight modal denim with a twill weave from Joann Stores. I purchased this fabric some time ago on a whim without any idea of what to make with it. It had an interesting texture on the bolt. The dying process seems to have created some creases and texture in the denim that remained even after washing. I love this fabric more as a garment than I did on the bolt. It has the look of denim but is very soft with a heavy drape. The indigo tie dye effect really pretty. It washes up beautifully and I anticipate it will hold up well to all the abuse its sure to get in mi vida loca (or more like mi vida con tres hijos.) As though it were meant to be I had the perfect amount to cut out the Lisa dress.
Do this sloooowwwwly and at your own risk!
Construction:
The wood buttons I used are from my stash and they add such a fun element to the finished dress. It is also important to note that Tessuti deserves some praise for their inseam pocket instructions. They are just, you know, great pockets! A small thing like this that would seem trivial to anyone else is hugely satisfying to the home sewist.

Tessuti patterns often call for something called Vilene to stabilize necklines and armholes. I’ve omitted this notion while constructing other Tessuti patterns in the past, like the Claudia Dress for example, opting for simple stay stitching instead. According to Tessuti, when I shared this info on Instagram, they let me know that this is a common construction method used in the fashion industry. There does not seem to be many sources for Vilene stabilizer in the states as far as I have seen.
Luckily, before getting started on the Lisa dress I came across an Instagram post where @kylieandthemachine was sharing her process for using tissue/tracing paper as a stabilizer. Specifically that she used this in place of Vilene! What?! To use this method as a stabilizer, you have to cut a piece from your stabilizer that matches the exact shape of your neckline, etc. Tessuti includes a pattern piece for what they call a Vilene shield so you don’t have to draft one yourself.
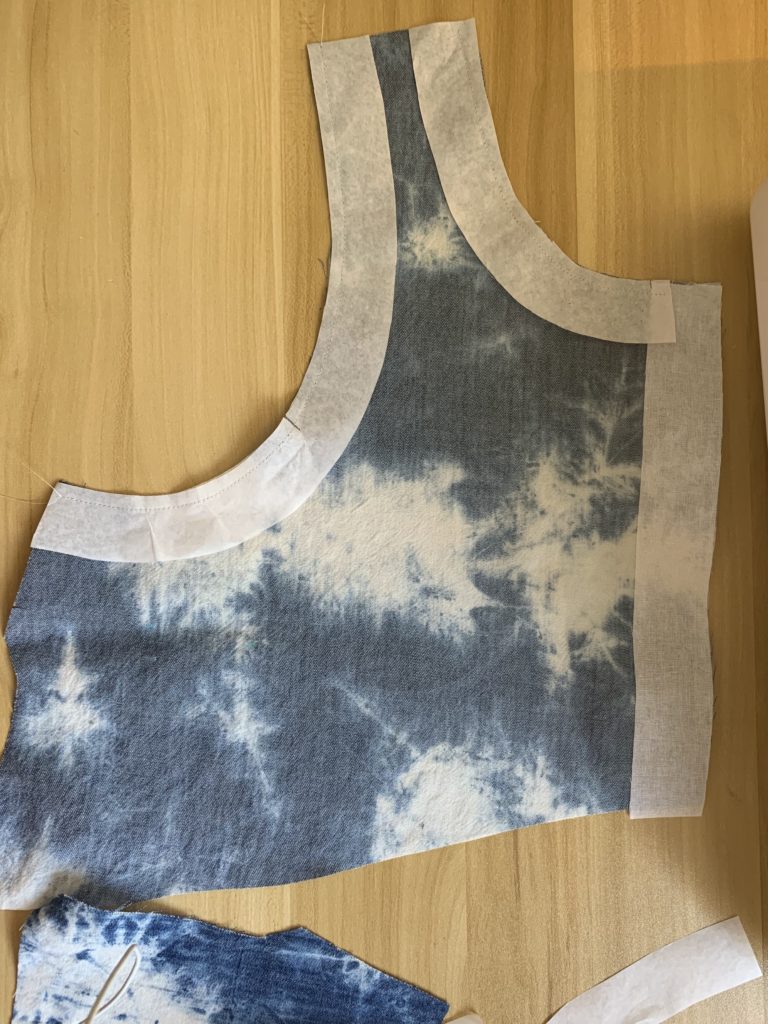
Drafting and Using a Vilene/Tissue Paper Shield:
Drafting your own would be very simple. All you would have to do is trace the neckline or armhole edge from each of your pattern pieces and cut them out of your paper being sure they are about 1.5″ wide. Transfer any notches to your paper as well. Using Vilene or tissue paper when staystitching assures that you aren’t stretching those delicate areas and that the armholes are even on both sides. Additionally, the garment holds its shape incredibly well when handling, for example, when sewing darts or attaching your facing or bias binding. I am seriously obsessed with this new-to-me method.
Simply attach your shield onto the wrong side of your fabric by stitching at a regular stitch length within the seam allowance. Next, sew your bindings or facings onto your garment with right sides facing as usual. Here you could continue with understitching and before turning your bindings to the inside to topstitch proceed to tear away the shields.
Modifications:
The darts on the Lisa pattern are spot on for me which is huge! This isn’t always something I bother fixing. It can be a finicky thing adjusting dart placement so this was a pleasant surprise. I did try on the bodice after basting the side seams and decided to take in both sides by an additional 1/2″ seam allowance (a full 2 inches in total!) I think 1/4″ may have been better but it isn’t too tight and I definitely prefer it to the fit before this adjustment. Tessuti patterns may be drafted with a bit more ease than I’d expect from an indie pattern. Don’t hold me to that, though. I need a few more Tessuti makes under my belt before I can be sure.
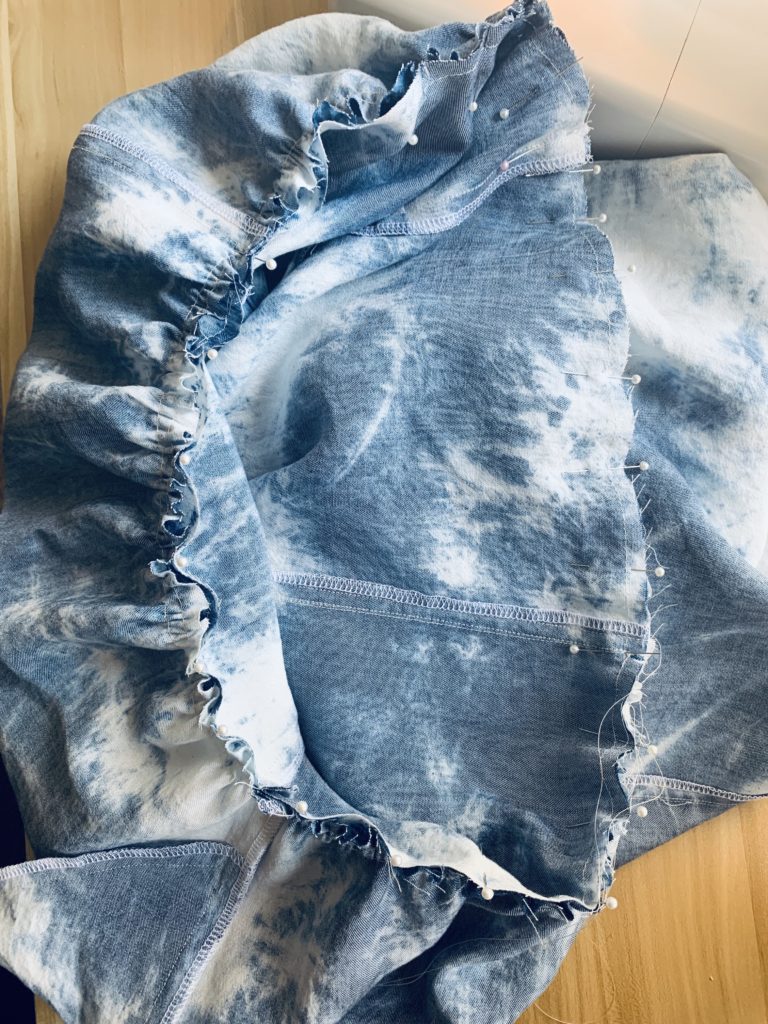
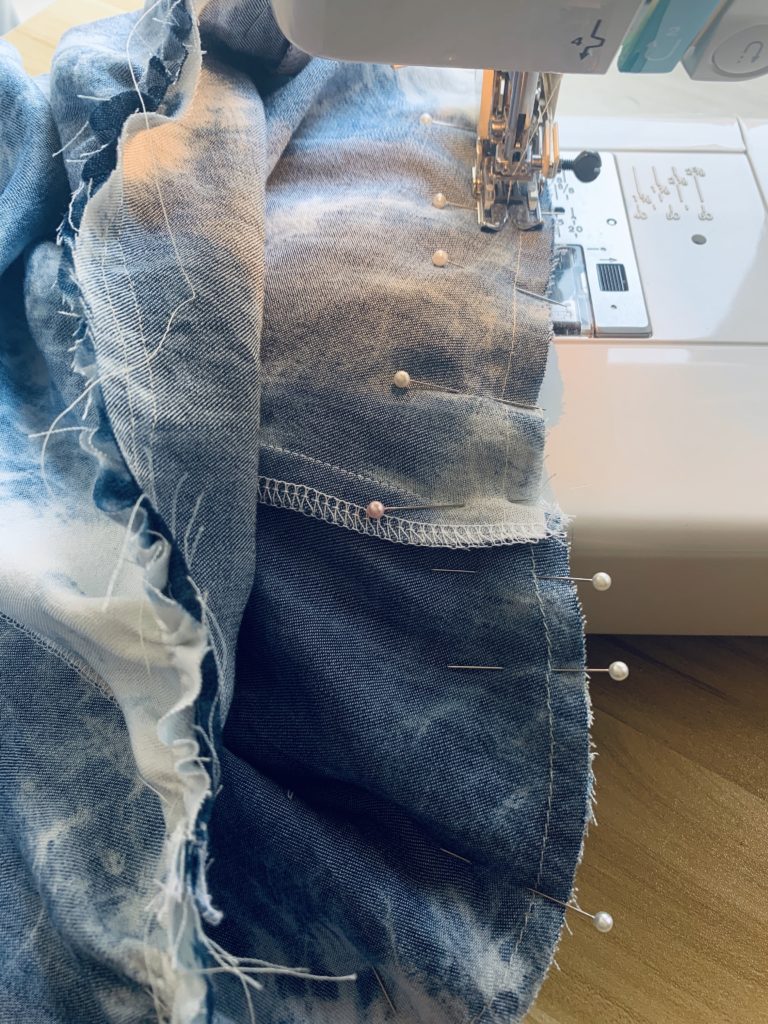
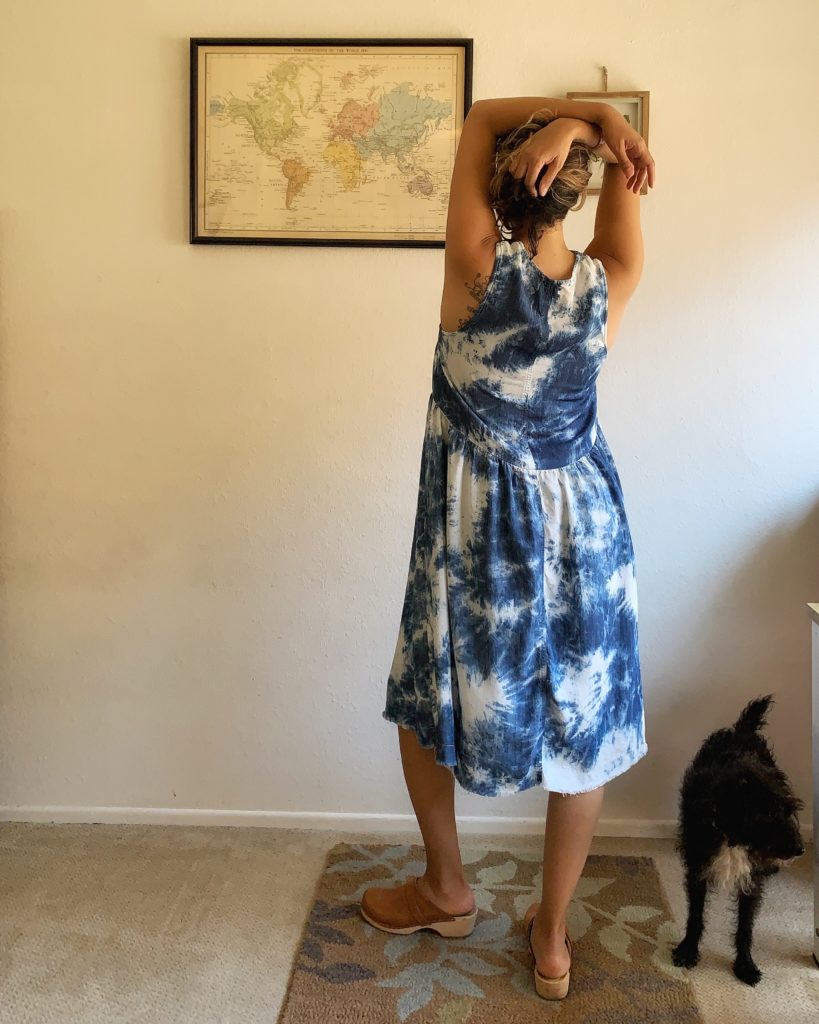
The only other modification I made was to sew a horizontal line of stitching 1.5″ from the bottom edge. I’m hoping this denim will fray nicely. It’s looking pretty good so far after washing. Eventually Lisa may get a proper hem.


Final Thoughts:
Summer is here and it is hot! Give me all the summer dresses! Sewing separates has been such a large focus and now that it is becoming uncomfortably hot outside I can see where my closet is lacking. Easy to wear dresses are definitely a necessity.
My denim Lisa dress turned out so good and I couldn’t be happier. The fit is great and it is so comfortable with it’s empire waistline and high cut sleeves. I would love to make another summer Lisa dress, but this time a shorter version sitting above the knee. Plus, I learned a new beloved skill! This project was a huge win for me and I highly recommend the pattern. The thing about dresses – I feel instantly put together when I put this on. Xx


2 Comments
Helen Shaw
I love this pattern as I do other patterns this range but only going to an xl in sizing and now some have gone to a size 22 which barely scratches the surface of where you need to be for plus sized women who love your pattern. A size 32 or even 42 would be appreciated. Thank you
Angie Hook
This is not my pattern but I have seen an aggressive attempt to extend sizes in the indie pattern industry. This pattern, I believe, would be fairly simple to adjust as well. All the best to you.