
Carmella Jumpsuit Review
A Fibre Mood Pattern
I have a new make to share! This is all about my recently finished Carmella Jumpsuit from Fibre Mood. Fibre Mood is a new to me pattern company and I loved the experience of sewing up one of their patterns. Of course, I had to make some small changes to the pattern to make it my own. I’ll be sharing some of those changes below.

The Pattern
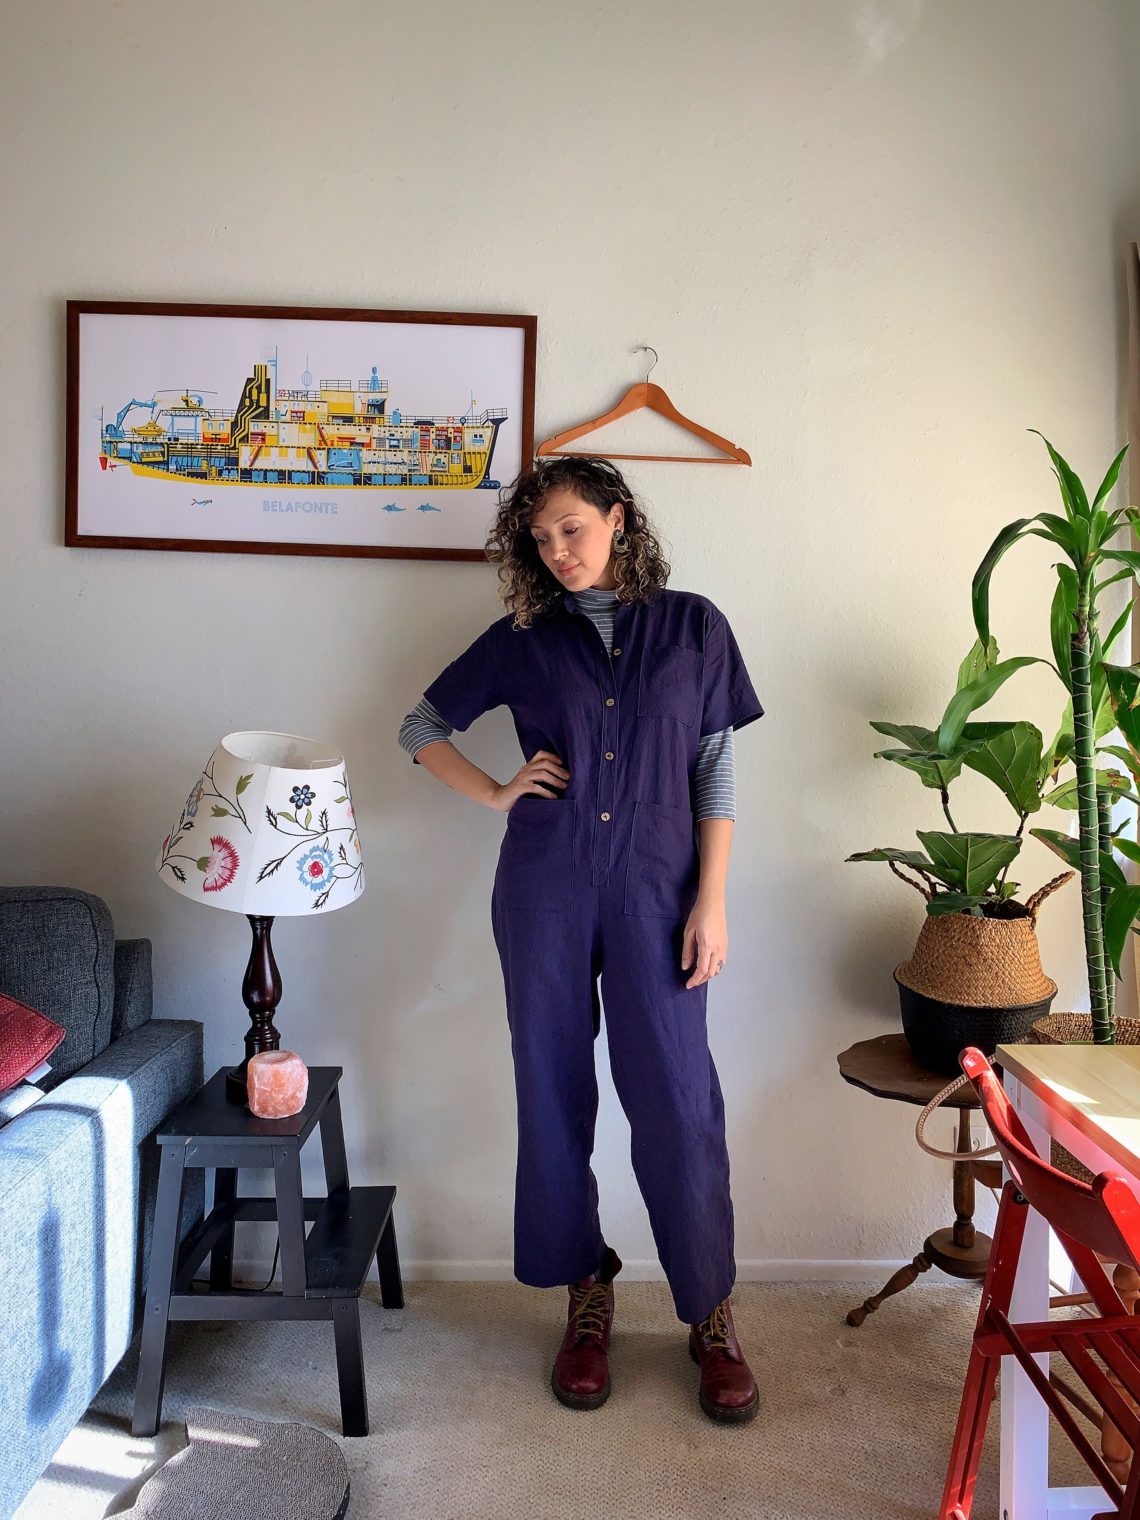
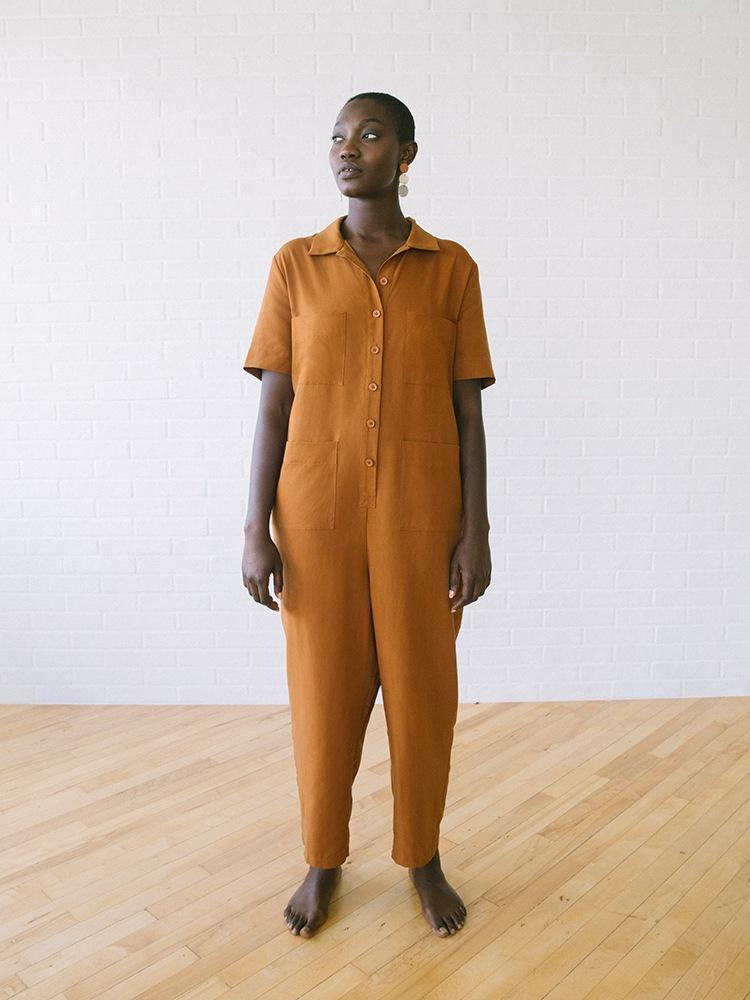
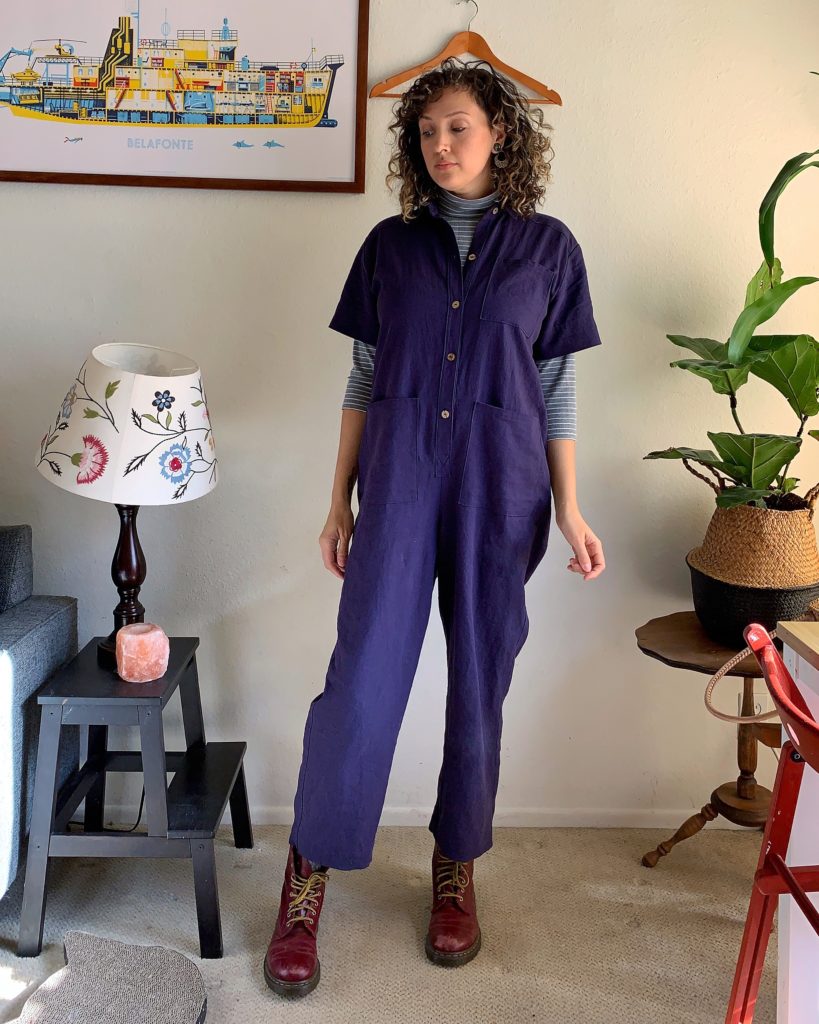
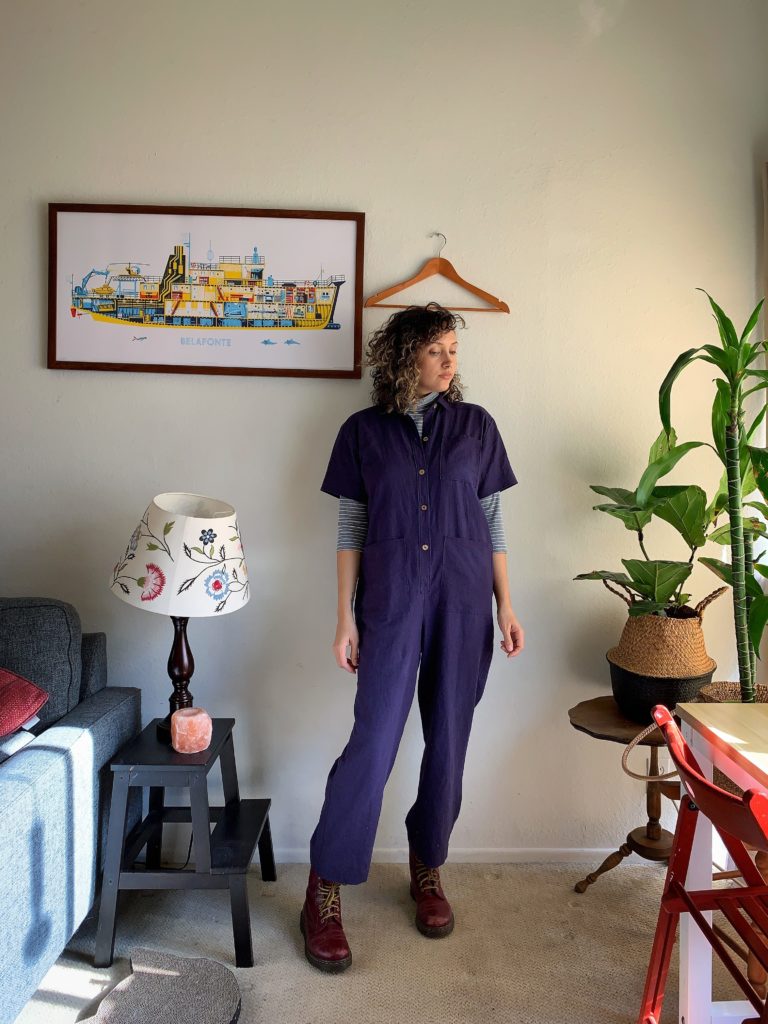
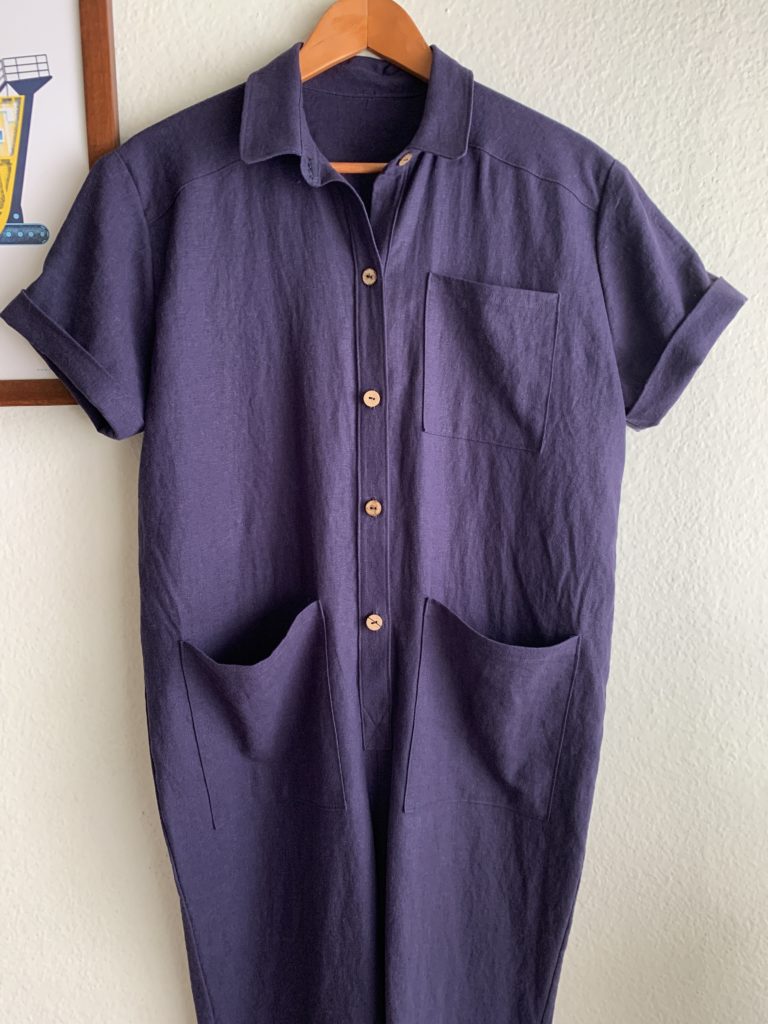
The Carmella jumpsuit is an oversized jumpsuit pattern drafted with a button placket and collar, long sleeves, a long cuff-able inseam and a waist tie. The collar has sweet little rounded corners. I made some tweaks to my pattern as you can see. My inspo was the Tradlands jumpsuit that keeps popping up all over my Instagram. See photo below.
This pattern does not include a seam allowance. I repeat, Fibre Mood patterns do not include seam allowance! Don’t worry, it wasn’t all that bad honestly. I jumped right into cutting out the Carmella and decided I wasn’t going to fuss too much over perfect seam allowances since I was going in blind, no muslin or anything. Seam allowances were added as I cut my fabric using my rotary cutter, can you believe that?
Cutting
Literally all it took was placing the Carmella Jumpsuit pattern pieces onto this linen/rayon blend from Joann Fabrics, securing them with my trusty pattern weights (giant washers from the hardware store) and using my ruler to add 1 cm all around.
That is, all pieces excluding the Collar and Collar Stand. Those I added only 1/4″ because I prefer that. Plus, listen to this, when cutting the interfacing I added no seam allowance at all! Yup. No interfacing in the seam allowances and, Voilà! No bulky seams, simple as that. I did my best to eyeball even seams around some tight curves and all came together pretty well I think.
Note: I used Pellon EK130 knit interfacing which I love for button bands that need some softness. I use it for most things but remember to use a pressing cloth when applying. It likes to leave a sticky residue on my iron. And I might as well mention that I have EZ-Off for those occasions when a quick iron cleaning is needed.
Sizing and Mods
Since I knew I wanted to wear my Carmella jumpsuit with or without a waist tie I decided to size down one size. The pattern has a lot of ease built in. I also removed a few inches from the length of the pants as I wanted them to be cropped (when do I not, right?)
Based on my inspiration I really wanted short sleeves which was easy to do. I wasn’t sure how short I wanted to go so I held the pattern piece up to my arm and tried to determine a safe amount to chop off. Using a sleeve from another pattern that you like would be a good option, too. I sort of know from experience how to widen the bottom of the sleeve sightly to make hemming easier.
Another thing I wanted was to swap the inseam pockets included in the Carmella pattern for patch pockets. I basically sewed the jumpsuit pattern together which was all pretty intuitive as I’ve made plenty of shirts. After a quick try on I determined around how big I wanted my pockets and cut them out being sure to add seam allowances. I increased the size of the chest pocket slightly, as well.
Finally, I ended up skimming about an inch off of the top of the shoulder at the armscye. The Carmella Jumpsuit is drafted to have a slight dropped shoulder look and I didn’t love where it was sitting with the shorter sleeves. Starting at the top of the shoulder with an inch and tapering to none towards the underarm worked well. Then, I attached the sleeves as normal.
Final Thoughts
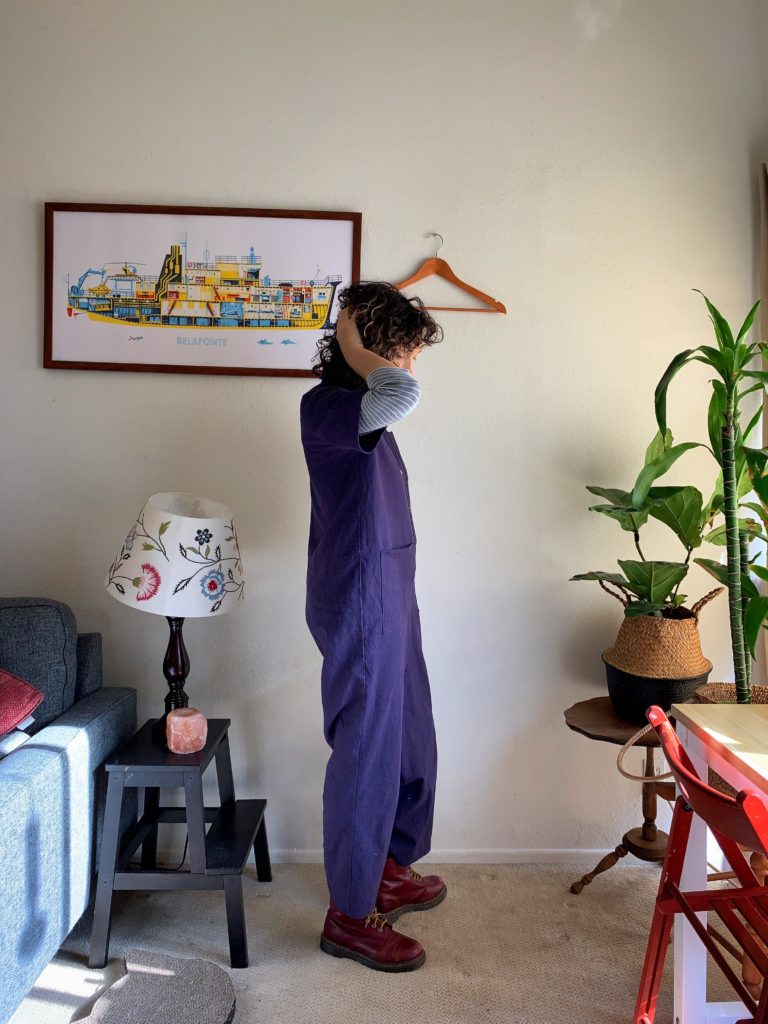
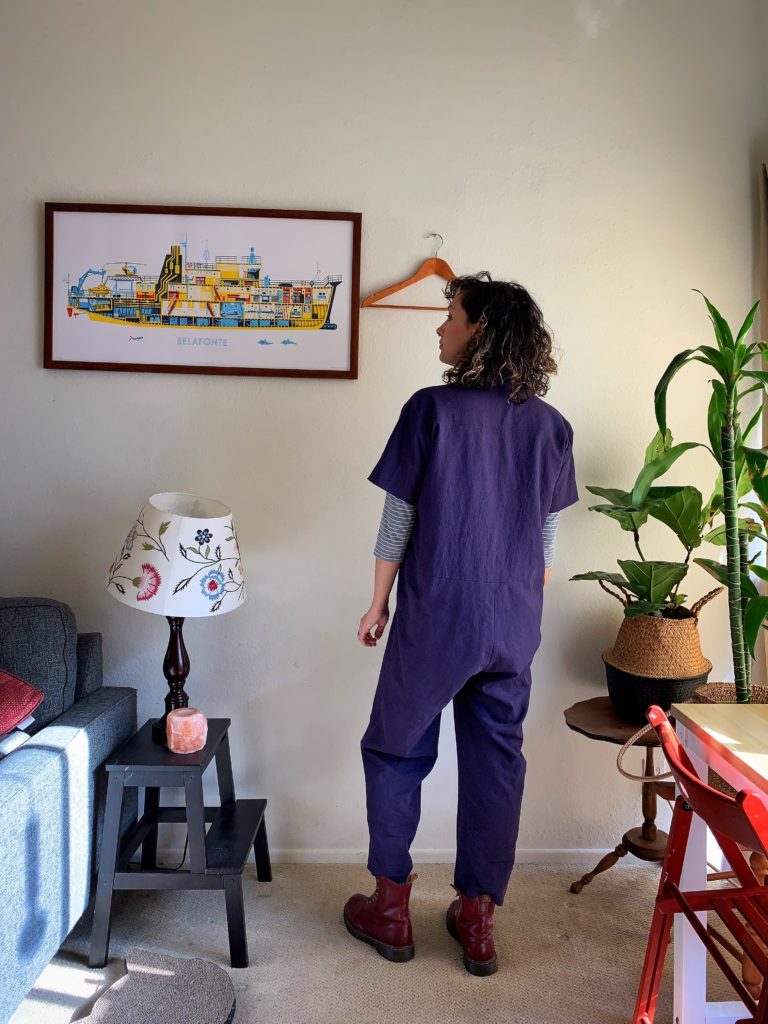
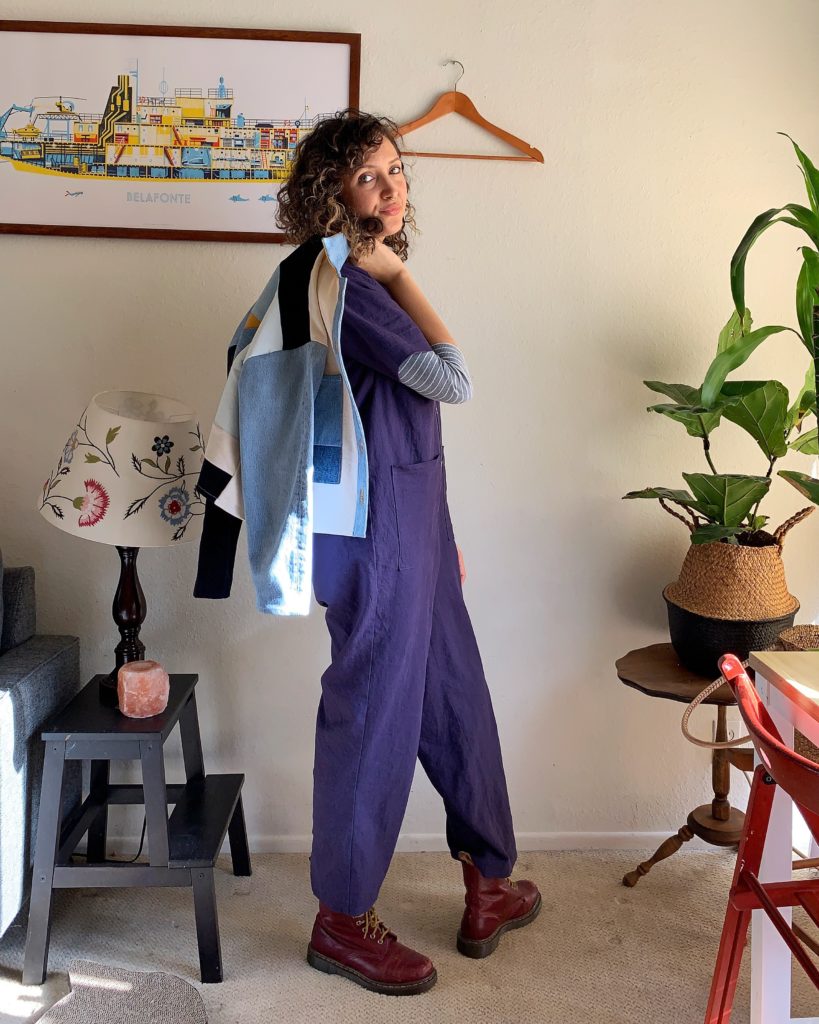
I am really loving how my this jumpsuit turned out. The Carmella pattern was the perfect starting point for what I needed. I love the button placket and the sweet coconut buttons purchased on Etsy. I can see this being great for fall layering as well as summertime. The more utilitarian styling over a Monroe Turtleneck (Tessuti Fabrics’ FREE pattern) and with Dr. Martens is such a comfortable look for me.
Before I go I wanted to let you know that I finally tried PDF Plotting which has been recommended to me by several sewing people. The shipping is a bit pricey, but if you’re prepared and want several patterns printed for future projects, it is such a time saver and totally worth it. Honestly, the pattern themselves are so inexpensive to print that I wonder if it actually saved me money in ink and paper. I highly recommend them here in the states. xxx

4 Comments
Jo
You look great! Such a great look.
Angie Hook
Thank you so much! <3
EMMALINA
Hello.
I love the jumpsuit. Do you offer pdf of your patterns or do you just show your creations.
Thanks so much for inspiring.
EMMALINA ??
Angie Hook
This is a review of a pattern that is linked here in this post. Thank you.