
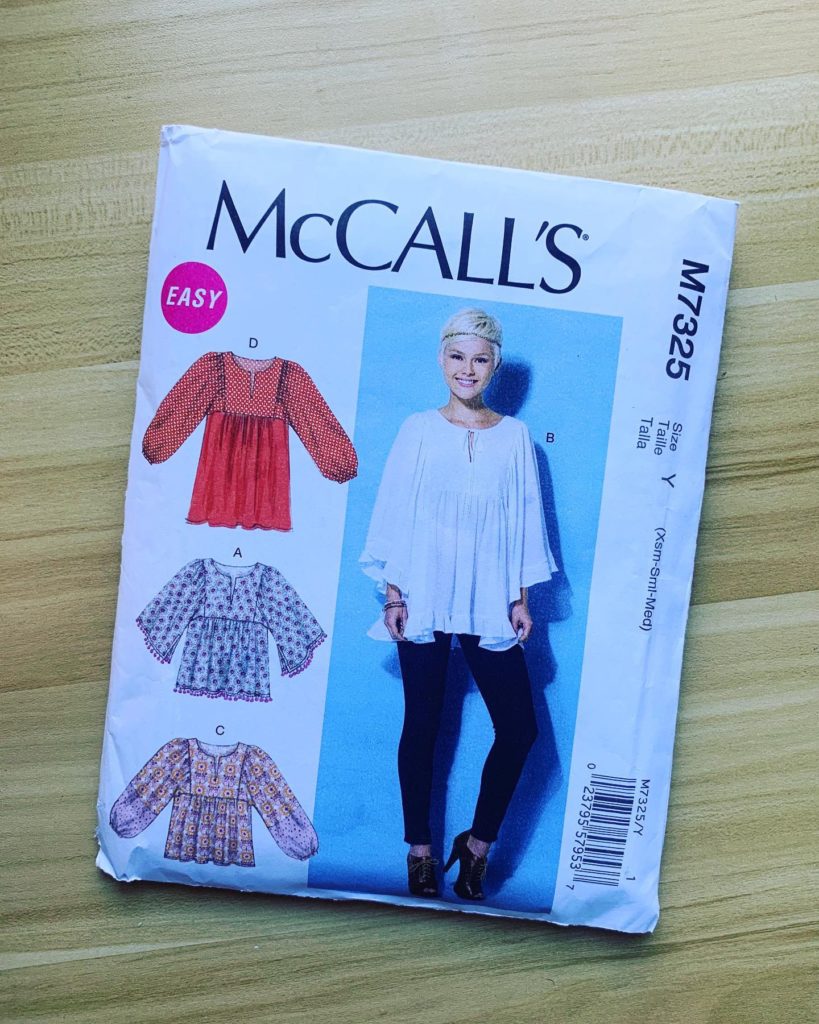
McCall’s m7325 Review
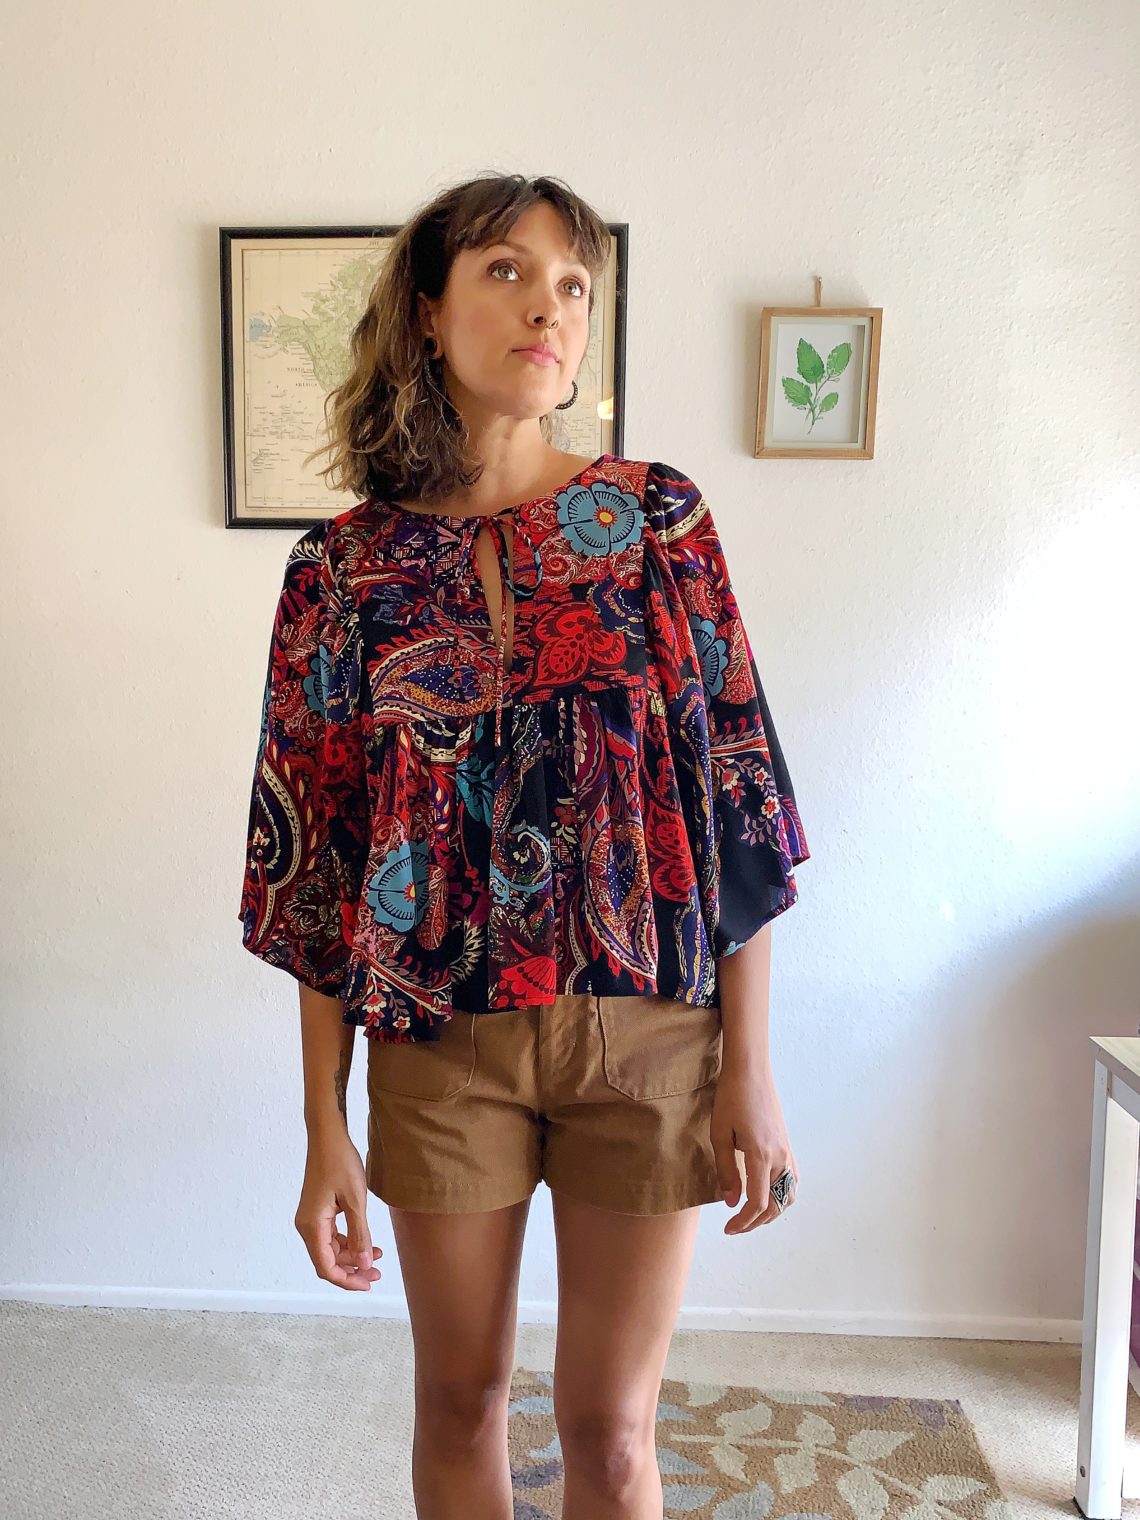
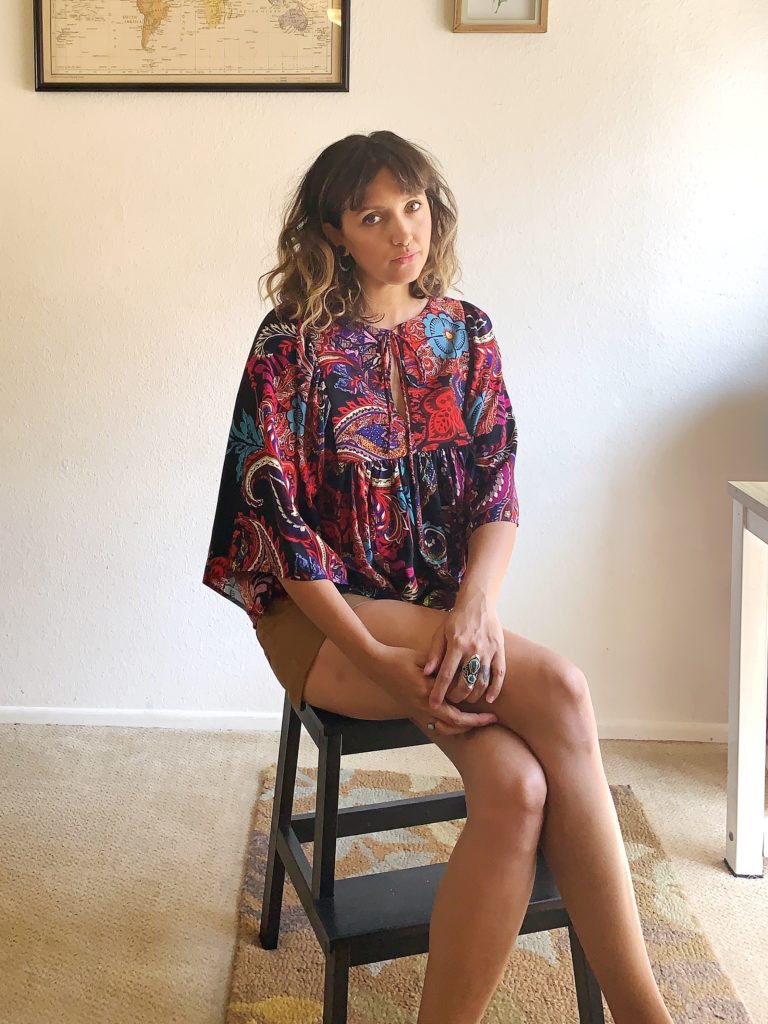
Howdy! I’m just jumping on to share a recent make. It is McCall’s m7325 and I sewed this up in a very silky rayon.
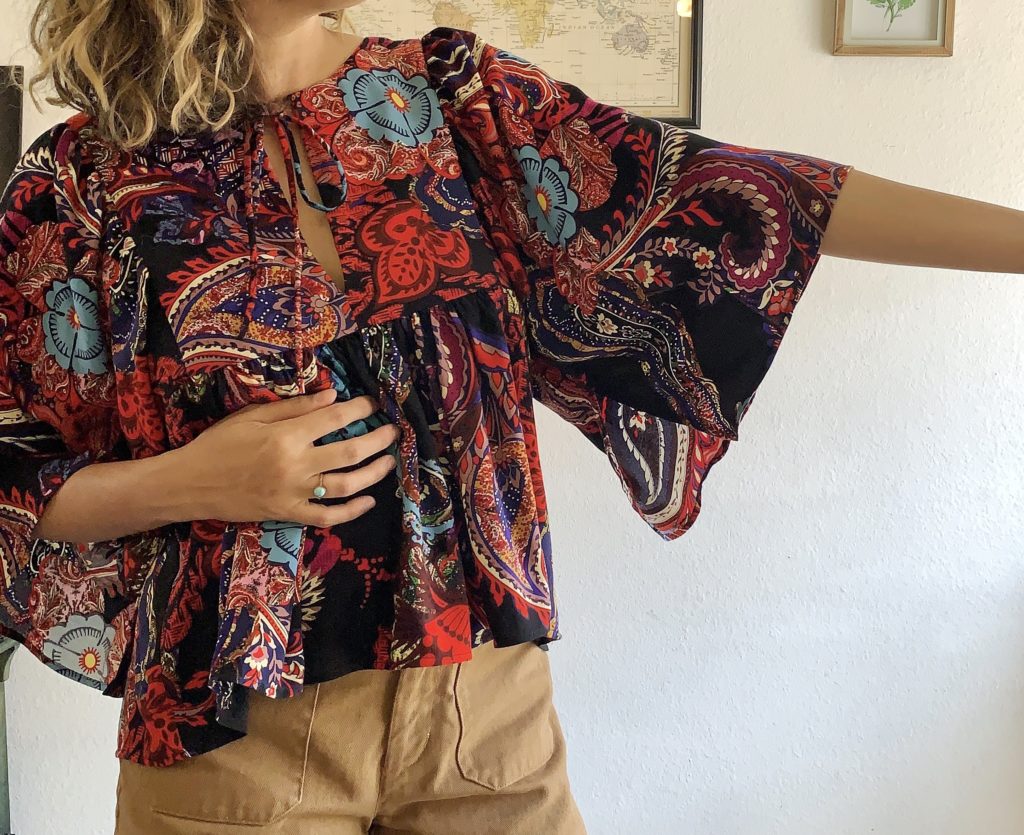
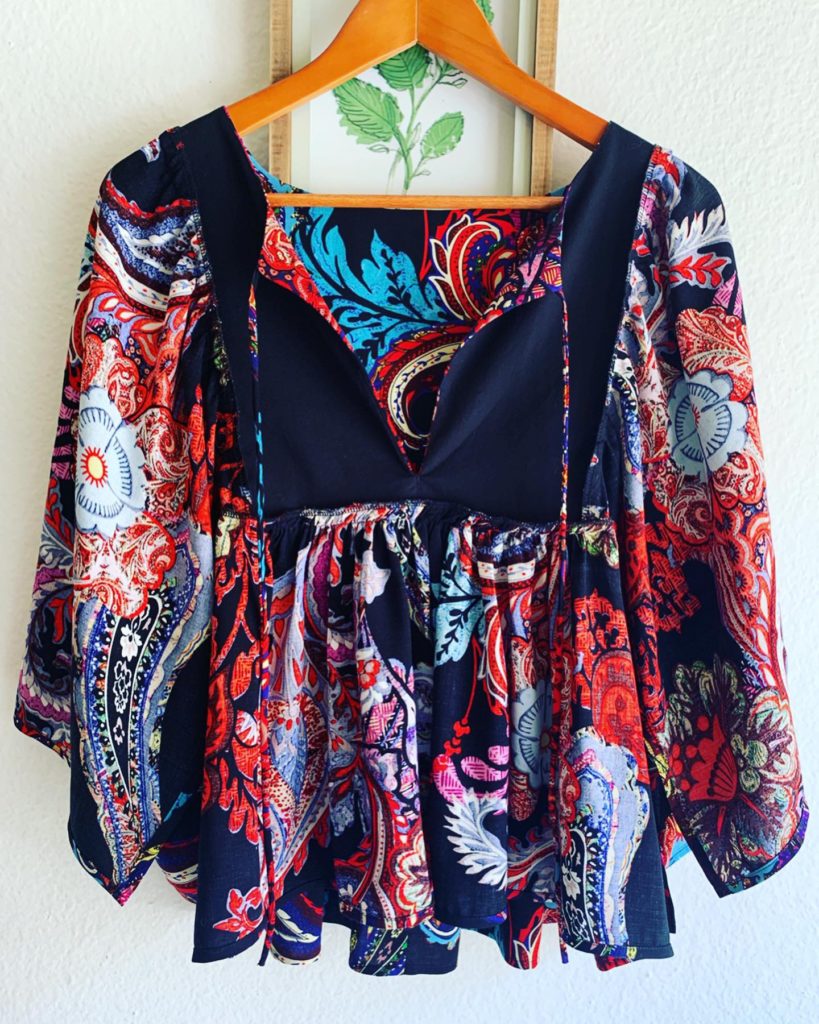
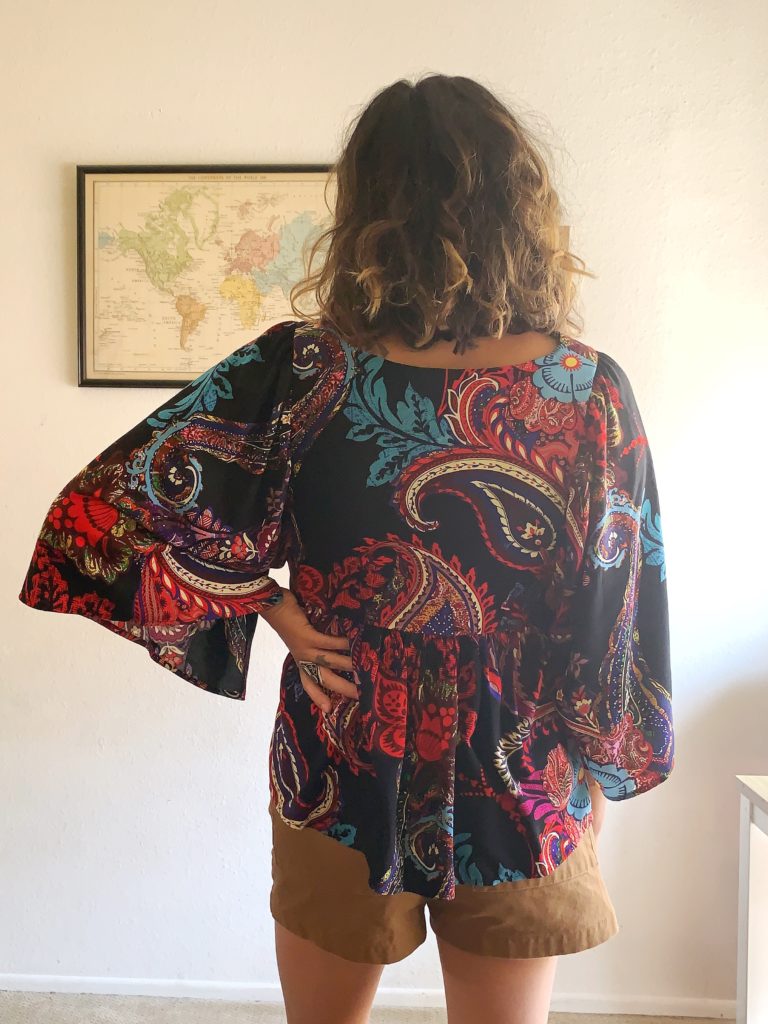
This was a quick sew using fabric that had been stashed a long time! It’s really fun and I’m hoping I’ll want to wear this more in the fall. M7325 is drafted with a lot volume in the body. The shape is fun and swingy! All good things but also just a little bit of a shape I’m not really used to.
I think I’ll have to experiment with styling this one. It’s so bright and bold which hasn’t really been my jam lately. In these photos I’m wearing it over some Lander Shorts by True Bias. I like it, but honestly don’t feel completely comfortable in this look.
Construction:
As an object, however, the m7325 is super nice to look at. I had cut this top out long before I actually got to sewing it. I squeeeeezed this pattern out of it. In fact, I shortened the body by a few inches to make it fit. Plus, I used another solid and more stable fabric as the lining which was actually helpful. All of the gathering involved I found very meditative.
Unfortunately, I lost the front piece somehow! Duhhh. So I used some really small scraps to recut the front piece and had to “make it work.” Wink.
Mods:
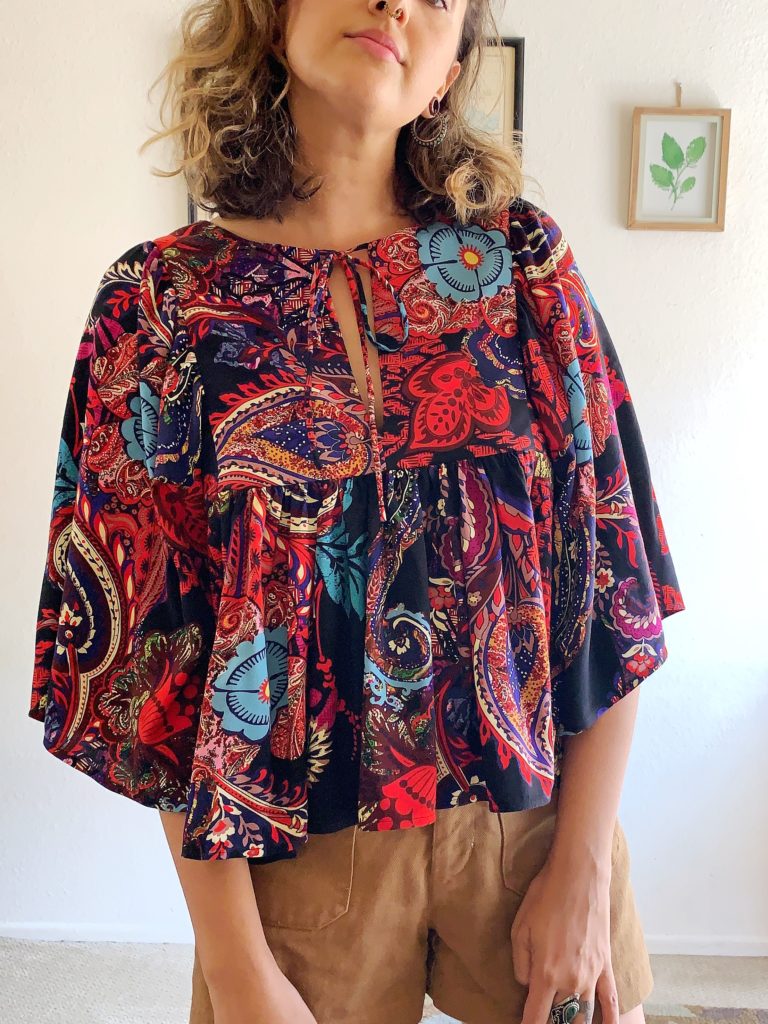
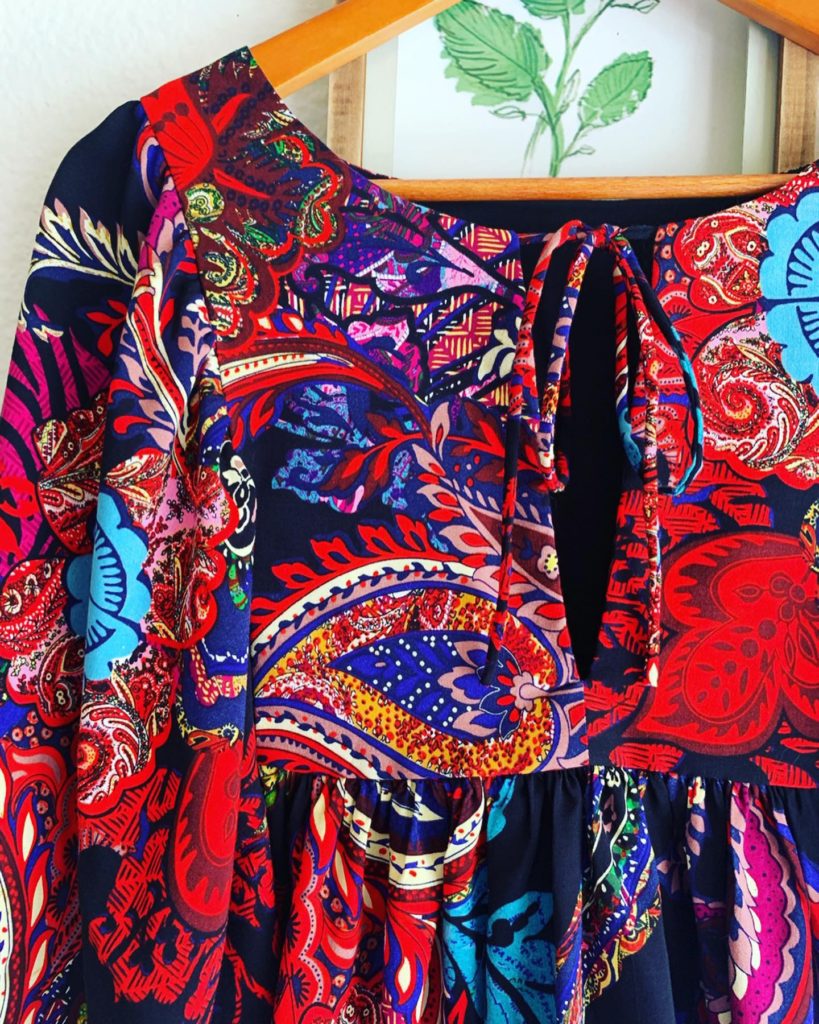
To correct my whoops, rather than cutting the front piece on the fold I added a small seam allowance to the center front and cut two front pieces instead. I sewed it down the center, pressed the seam open, and continued as directed attaching the lining and all. I did lower the point of the V about 1.5″ as well. In the end I think the seam down the center front adds a cute ‘lil detail.
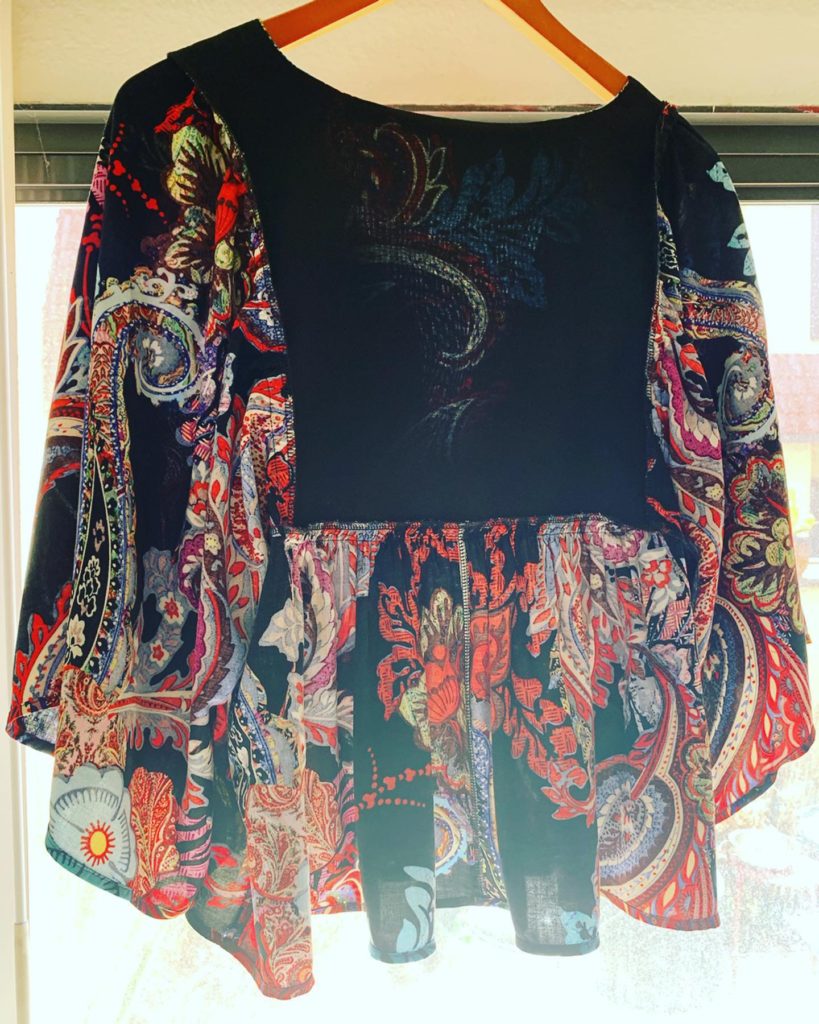
Additionally, I swapped out the cord for self-fabric skinny ties. To make these ties I used embroidery floss to turn them by tacking down (make sure you really tack it down!) the end of the floss to the inside of the tie. The floss basically runs through the length of the tie as your sew it right sides together. This makes turning a really skinny tie right side out really simple. Just keep pulling on that cord! I learned this from Anna’s Lotte Blouse hack tutorial. Other than shortening the top by about 3 inches as mentioned earlier, I also cut the bottom back gathered piece in two rather than on the fold only to conserve fabric.
Final Thoughts:
A note to remember: I should have sewed across the bottom of the point of the V for a sharper angle. I always forget to do this but it’s really helpful especially in a high stress point like on this top. One would stitch down one side of the V, pivot and sew a couple stitches at a right angle across the bottom of the V, and then pivot again to sew up the opposite side. Maybe putting it down like this will help me remember this for future makes.
Anyway, there’s not much more to say about it. I’m not sure I’ll be doing this m7325 again but I am wanting to experiment more with these flowy, bohemian styles. Bye for now!


5 Comments
Linda (ACraftyScrivener)
I do hope you get lots of wear out of it as I think it is absolutely stunning!
Angie Hook
Thank you so much! I’m gonna keep playing with it. <3
Natalee Mellett
Hi Angie, I’m a beginner sewist and bought this pattern as it looked easy.
I made the draft out of cheap material first for a practice run. I’m having difficulties:
1. on the the understitching on the v panel, how do I do this with the lining attached, it gets difficult in the corners so I’m not sure if what I did was proper.
2. As well as the bottom panel attaching to the bodice at the sleeves had got me perplexed as well as it seemed I had more material past the dots to still attached to the rest and the sleeves, these sleeves had am opening still which I wasn’t sure if what I did was also good practice.
Can you possibly make a video perhaps before I tackle the material I want to use?
Thank you ever so kindly.
Charmaine
I love the style of this floaty bohemian style, but I’m going to make a dress, which I’m shocked they didn’t. The four tops are nice but really how different are they? Yes I think a nice floaty bohemian dress will look great!
I love your make, it looks gorgeous!
Bre
I’m having the same questions as your question #2. How did you figure it out?