

Raspberry Rucksack Review
I finally got around to sewing some bags! I’m gonna be sharing all about my newly completed Raspberry Rucksack. This pattern, created by Sarah Kristen, is so very special. It was a rather difficult, yet satisfying project and I am very, very pleased with how it turned out.
The Pattern
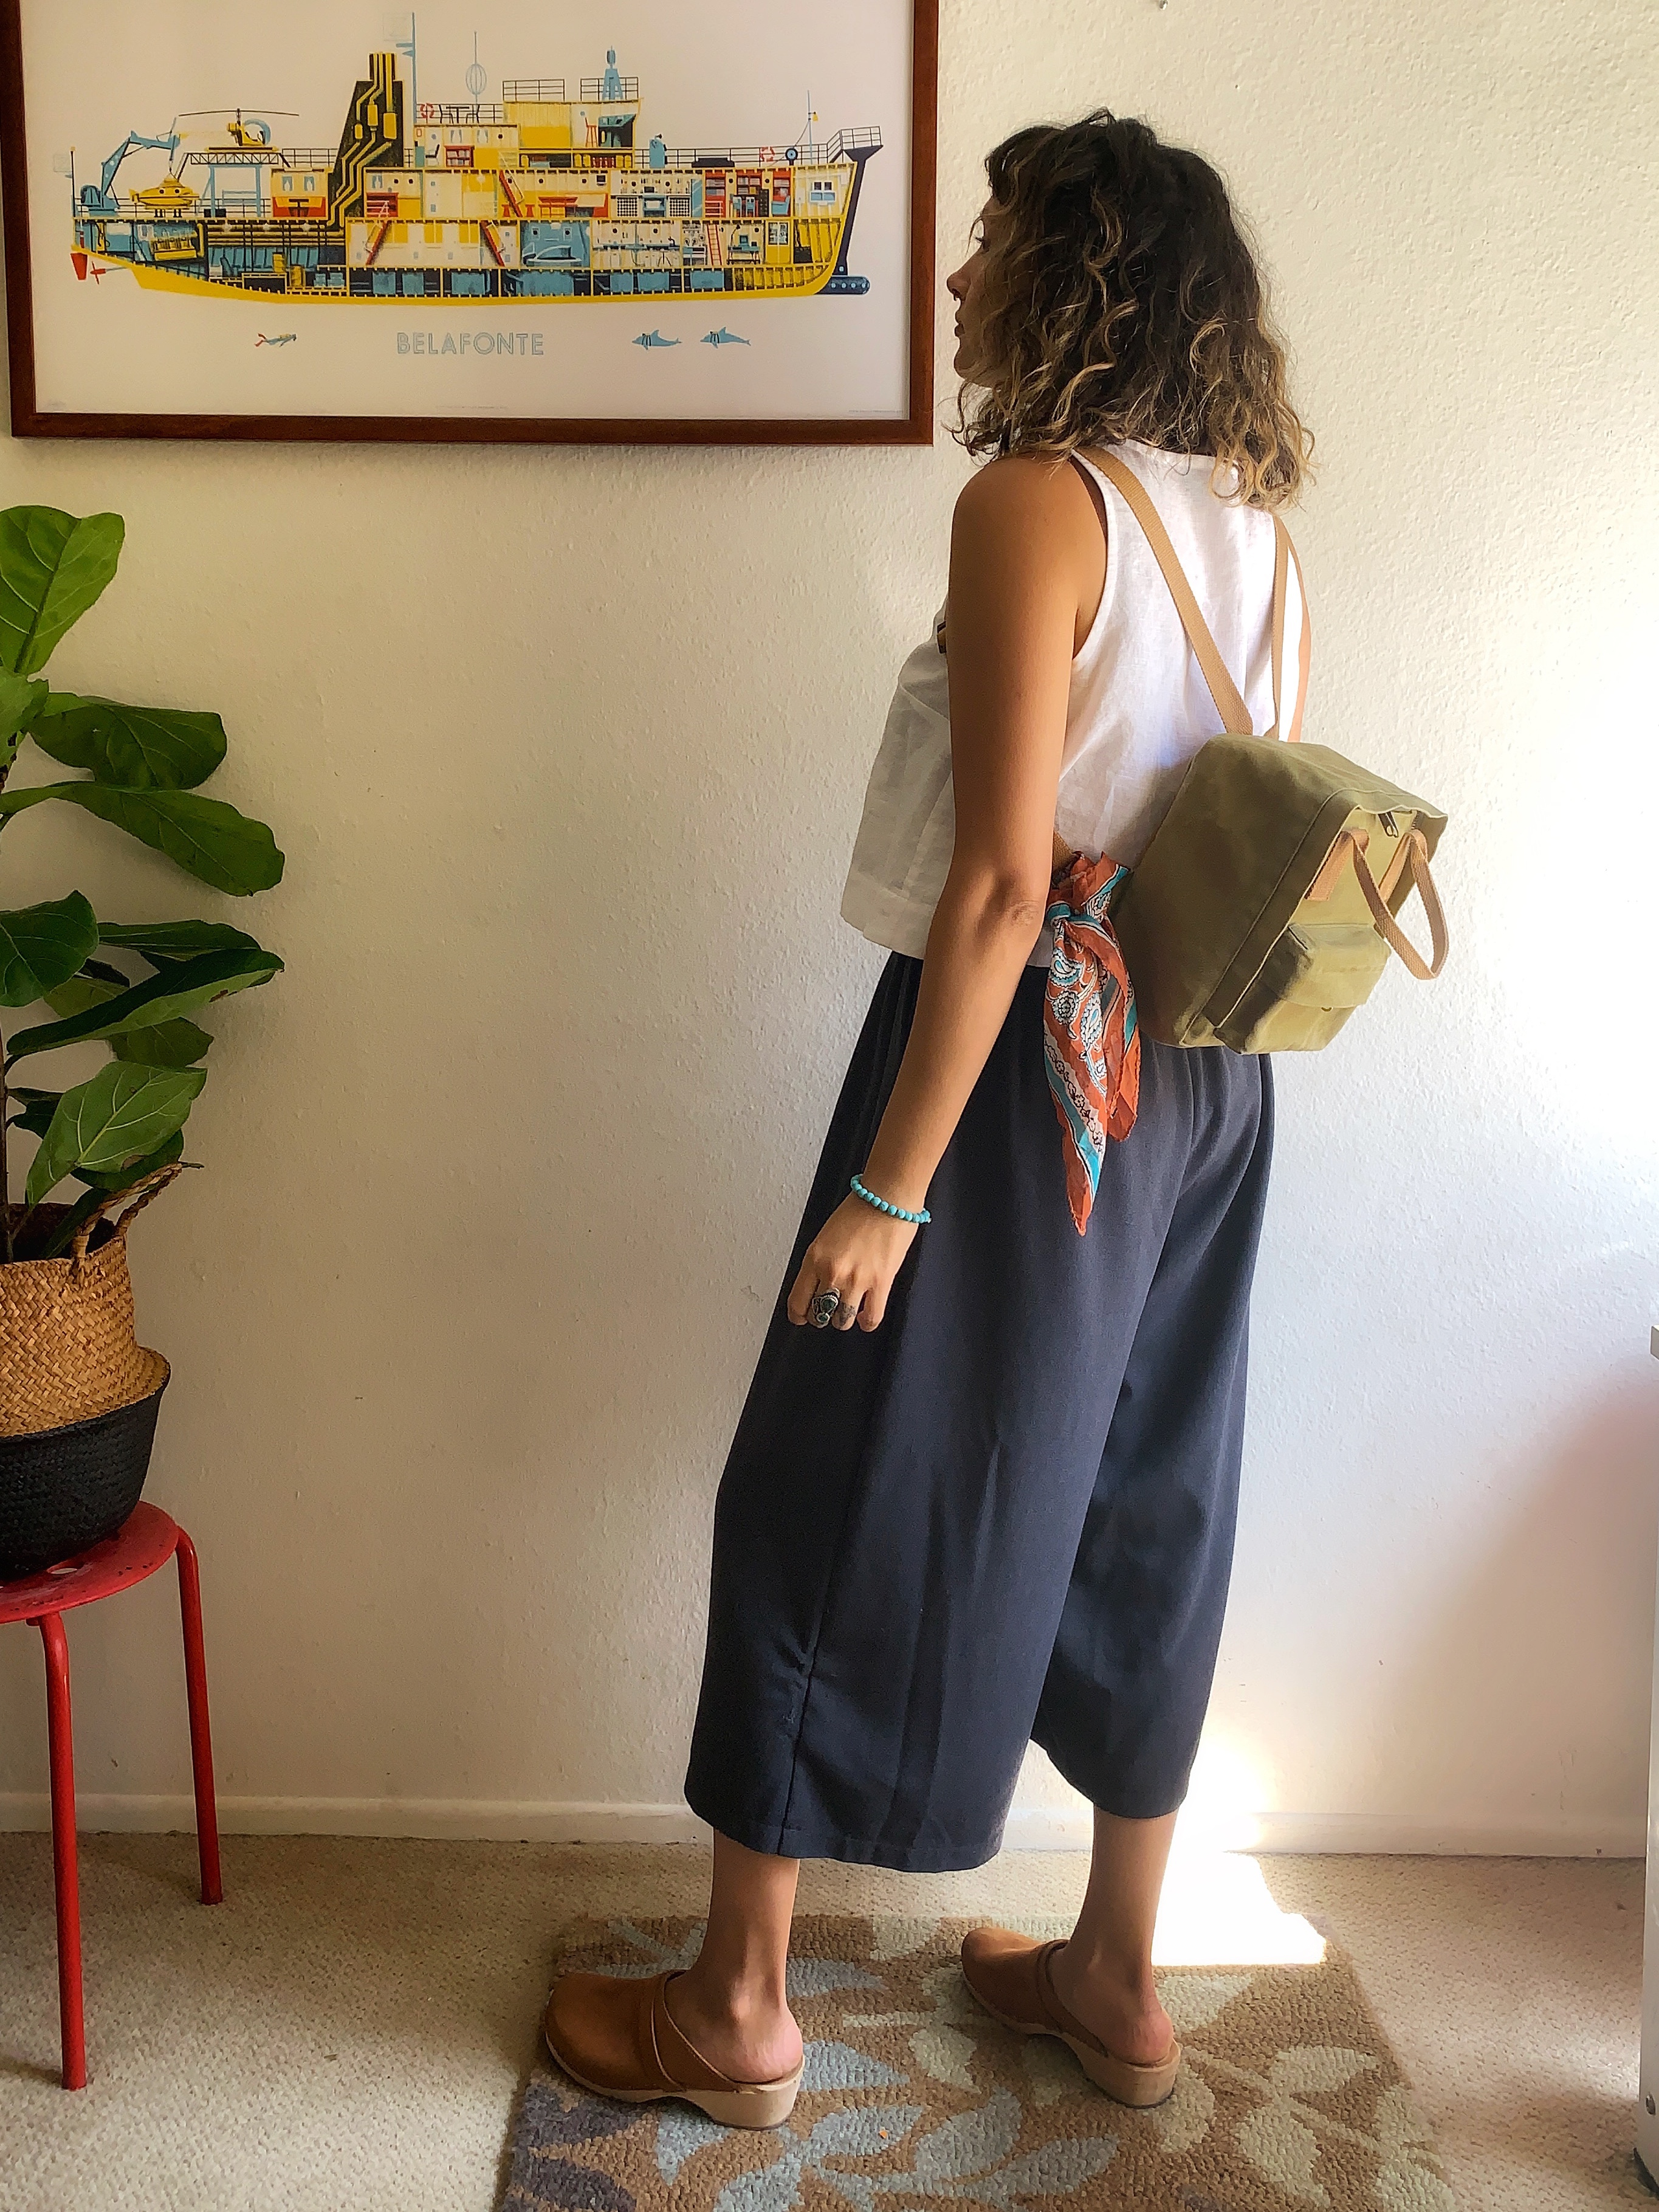
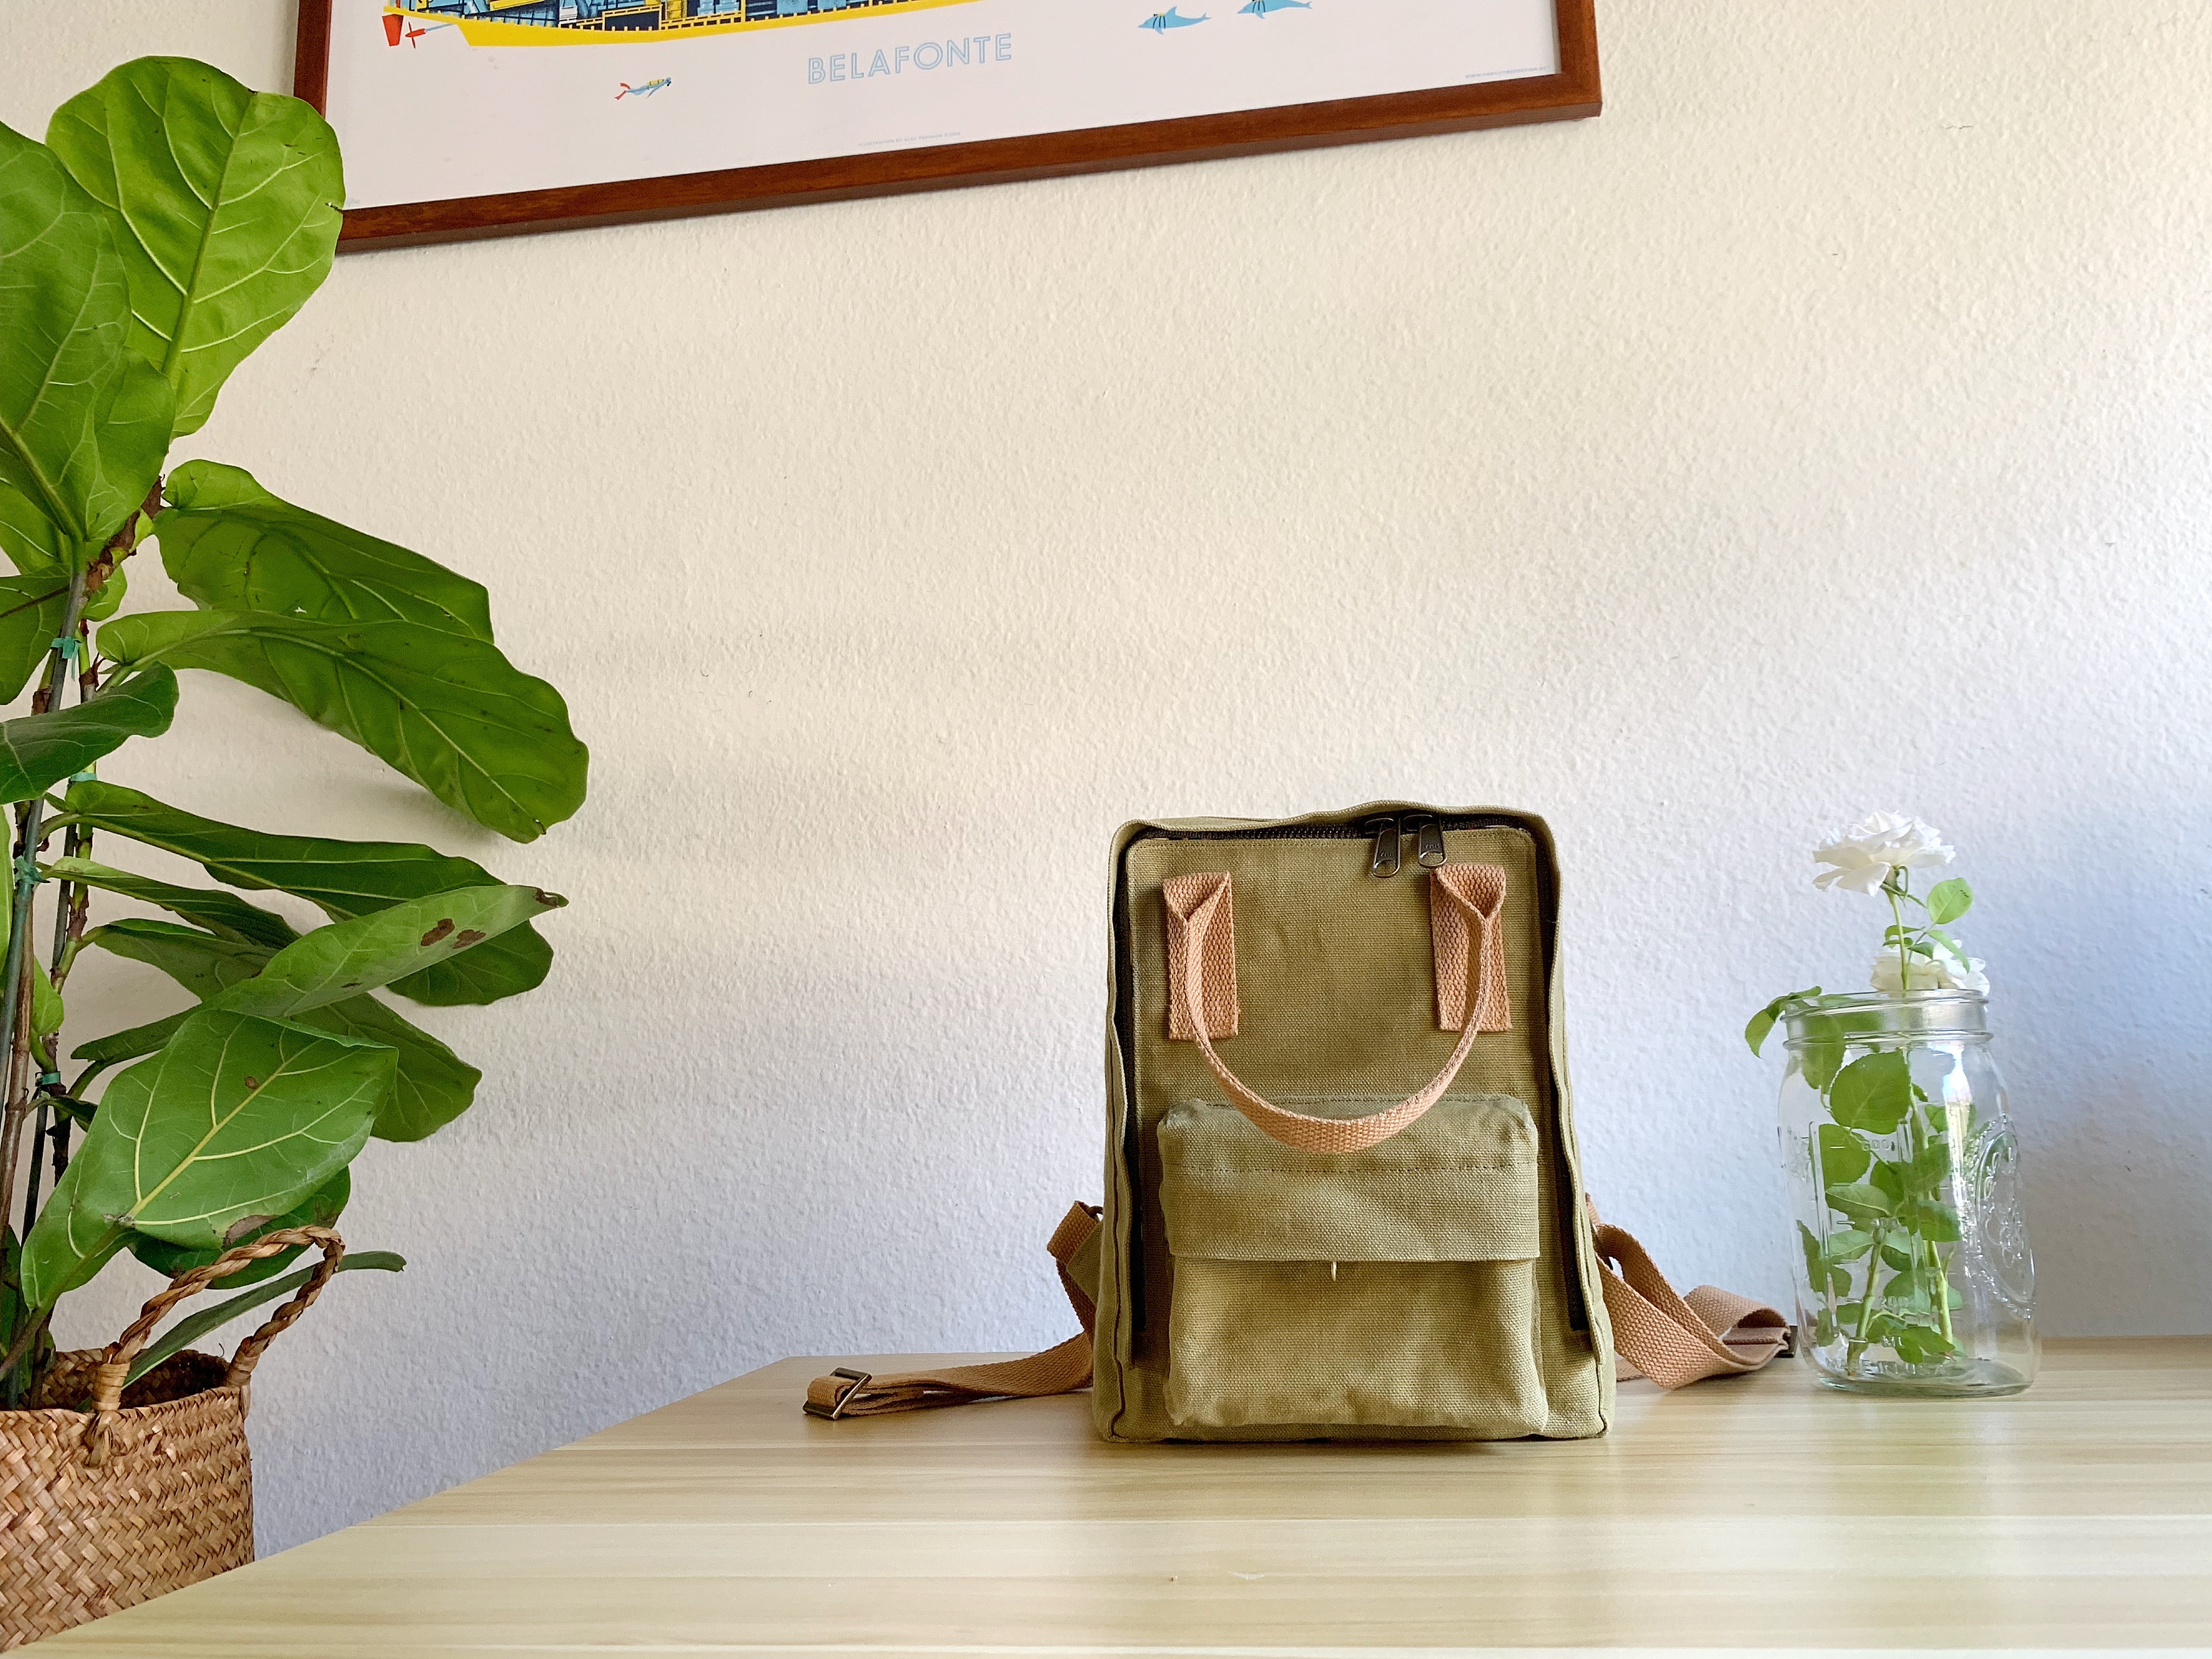
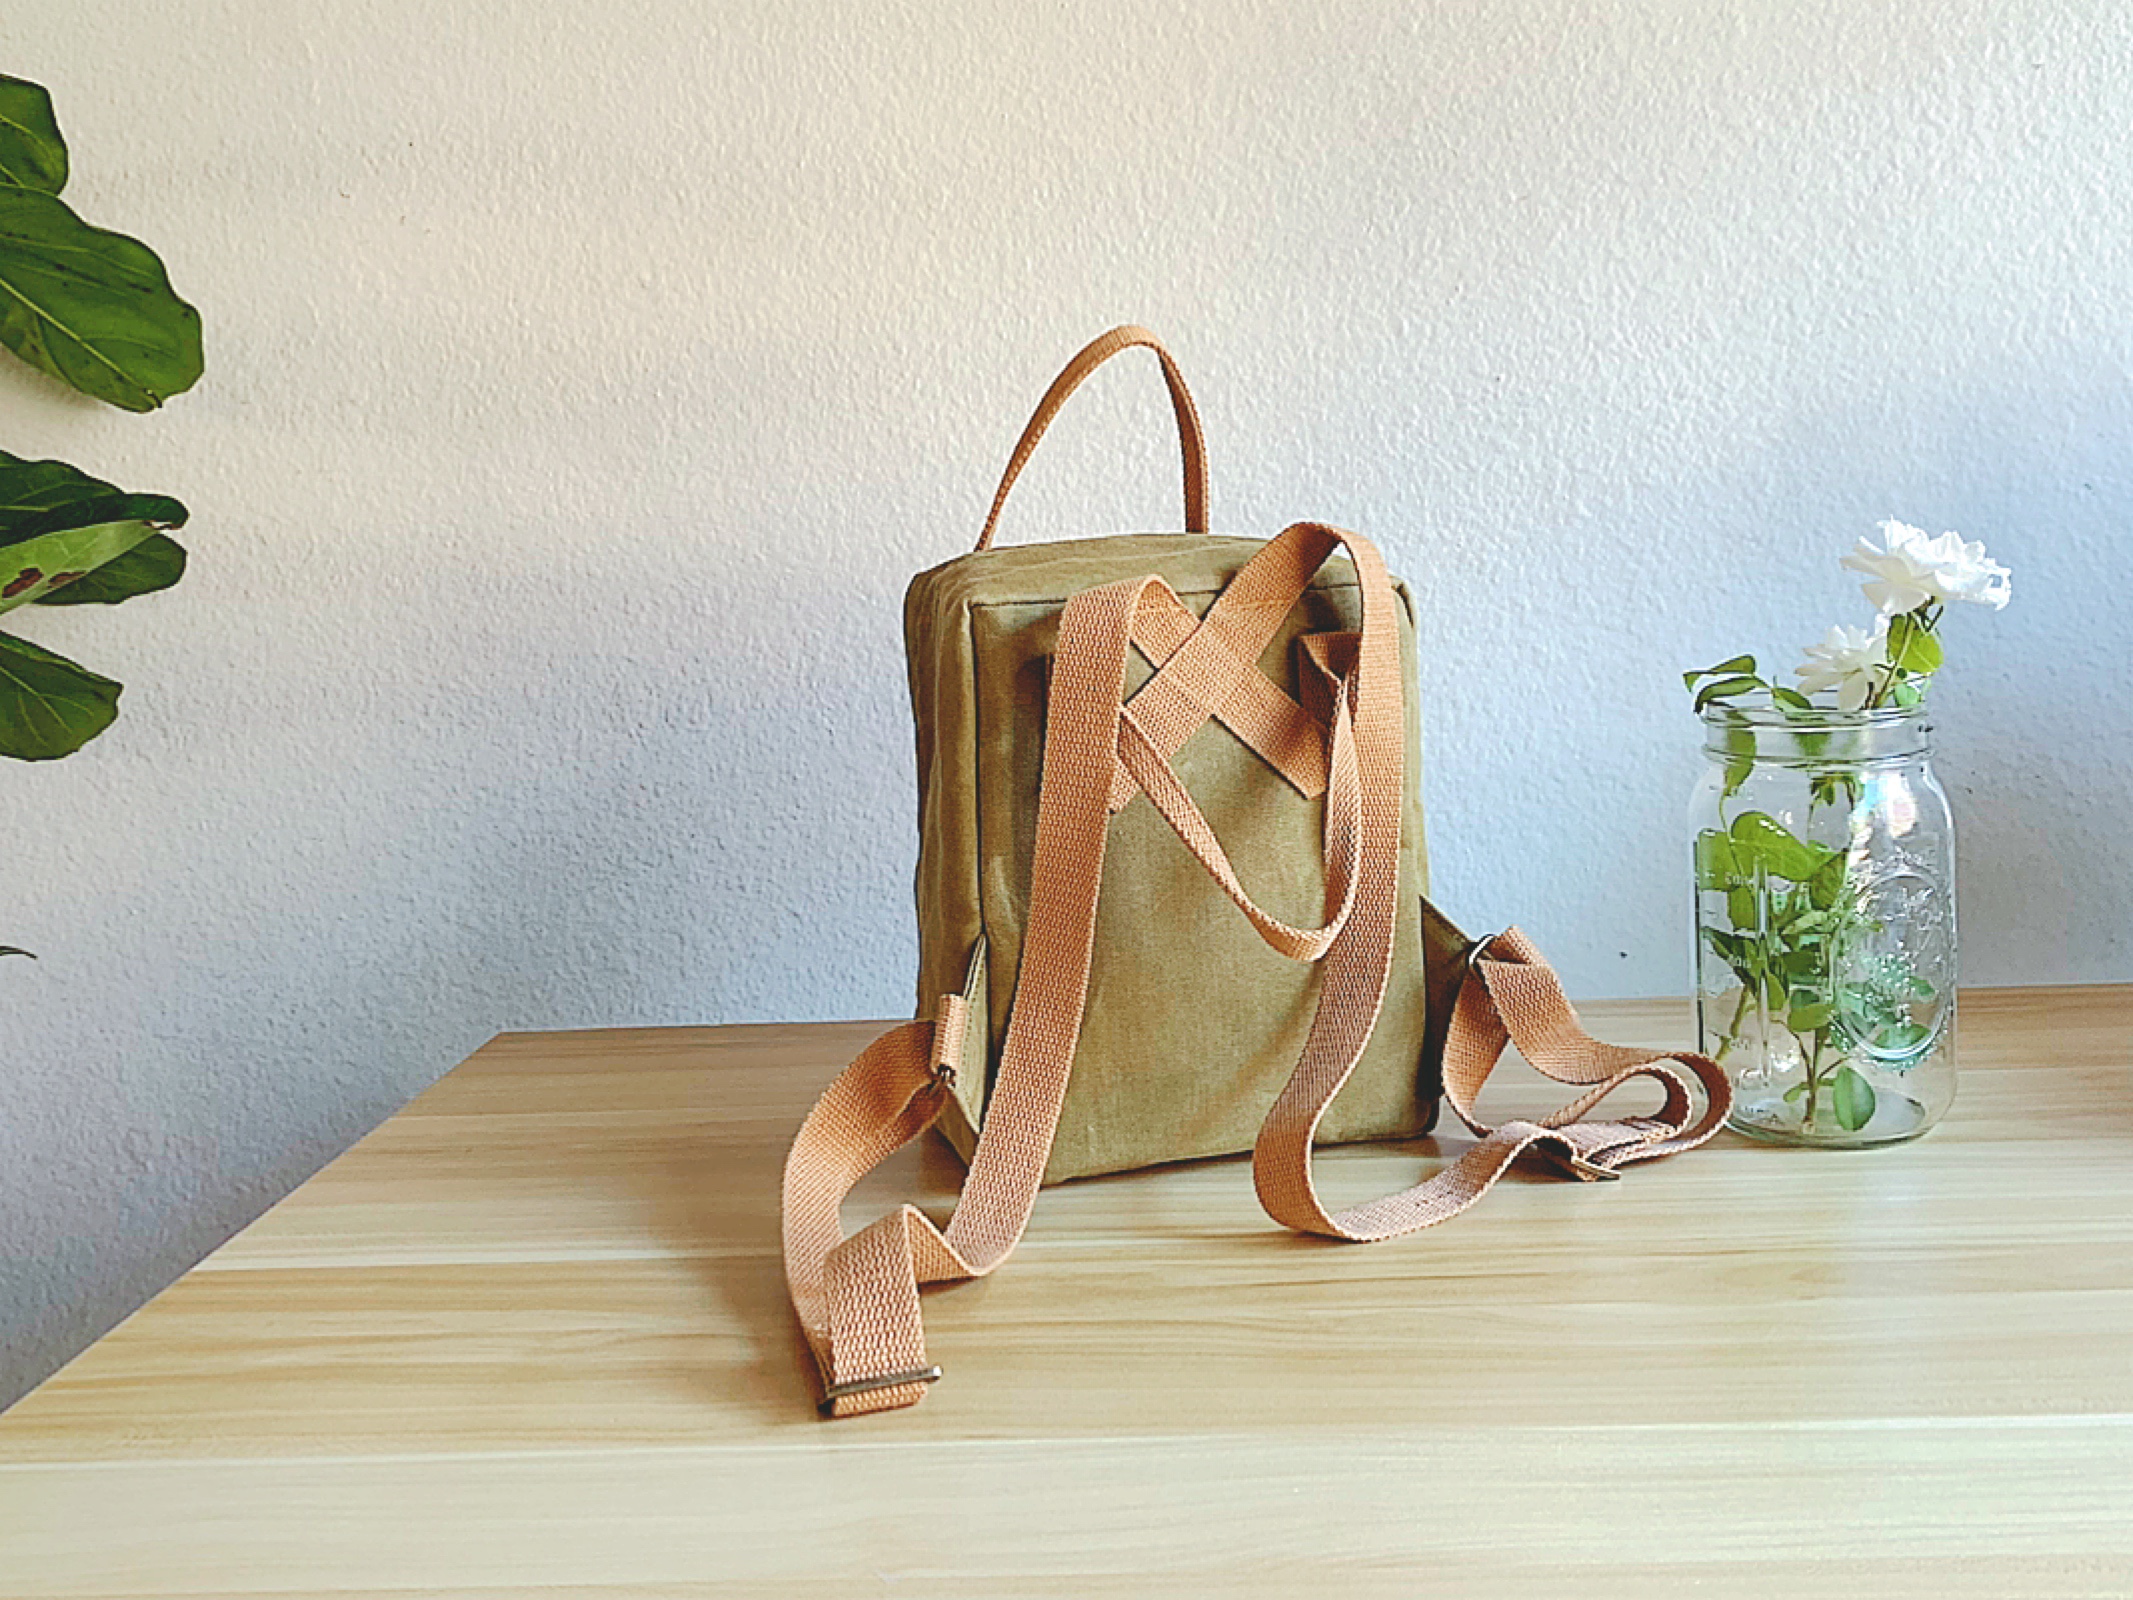
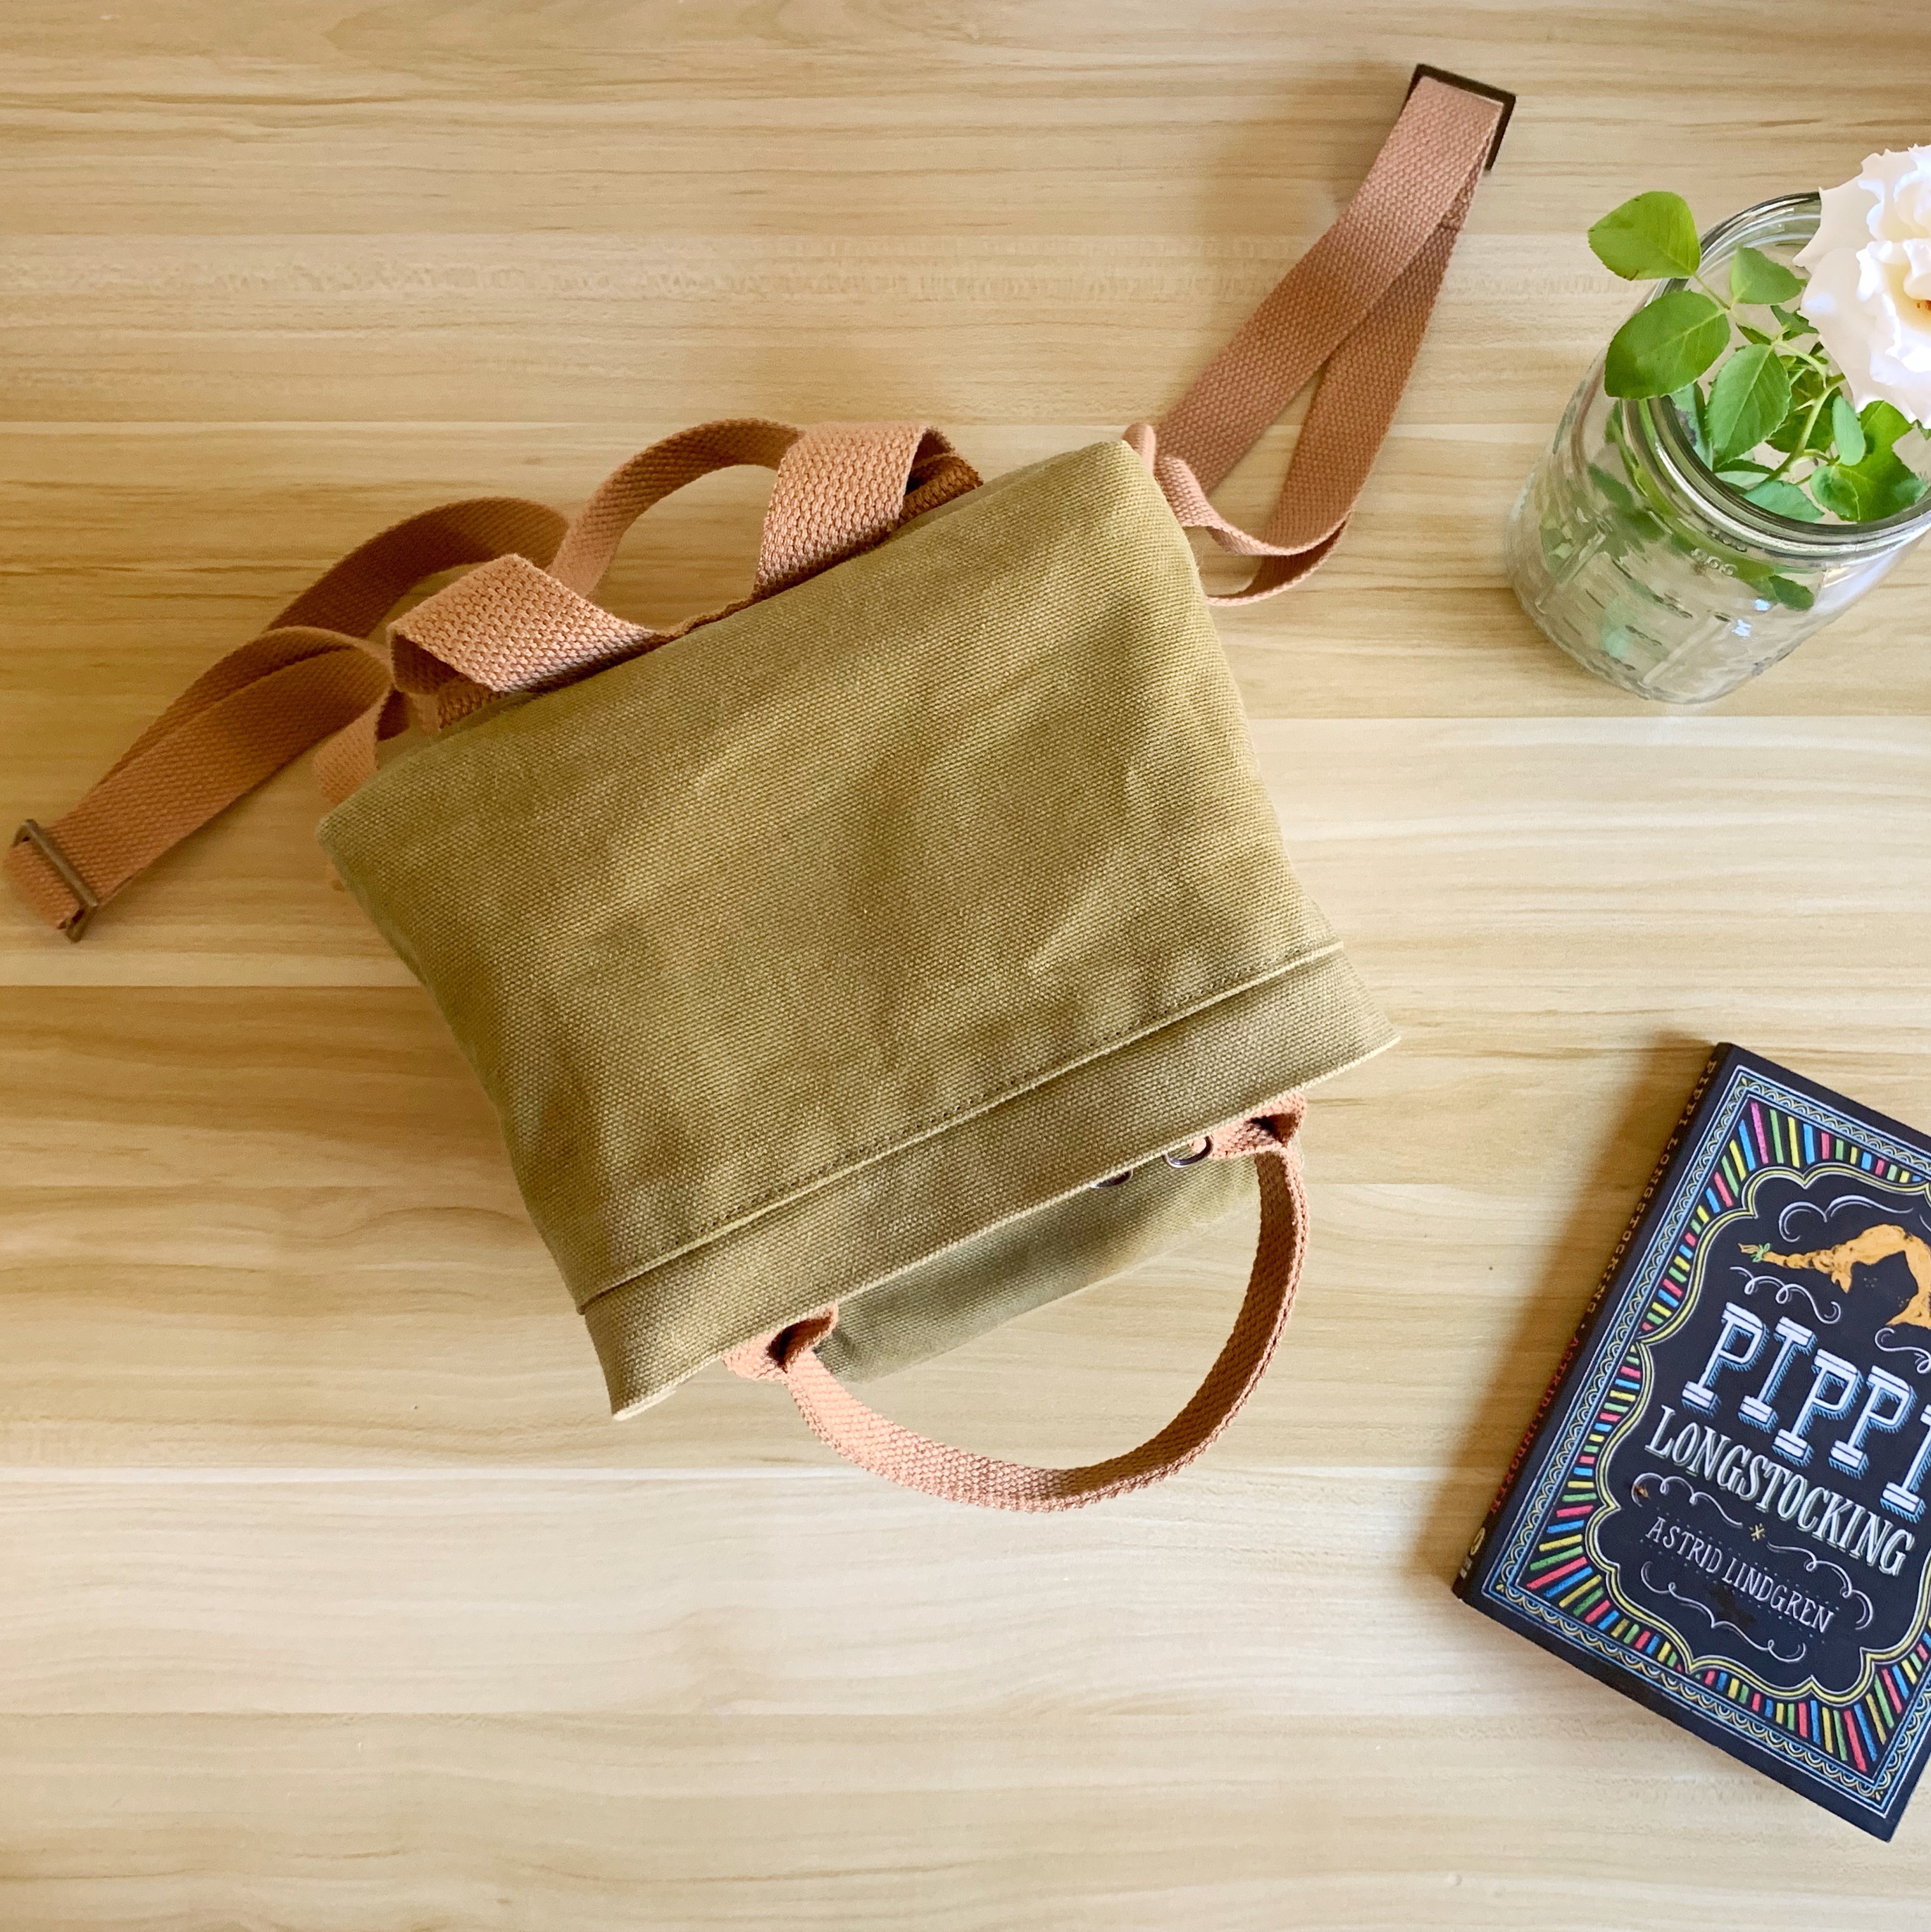
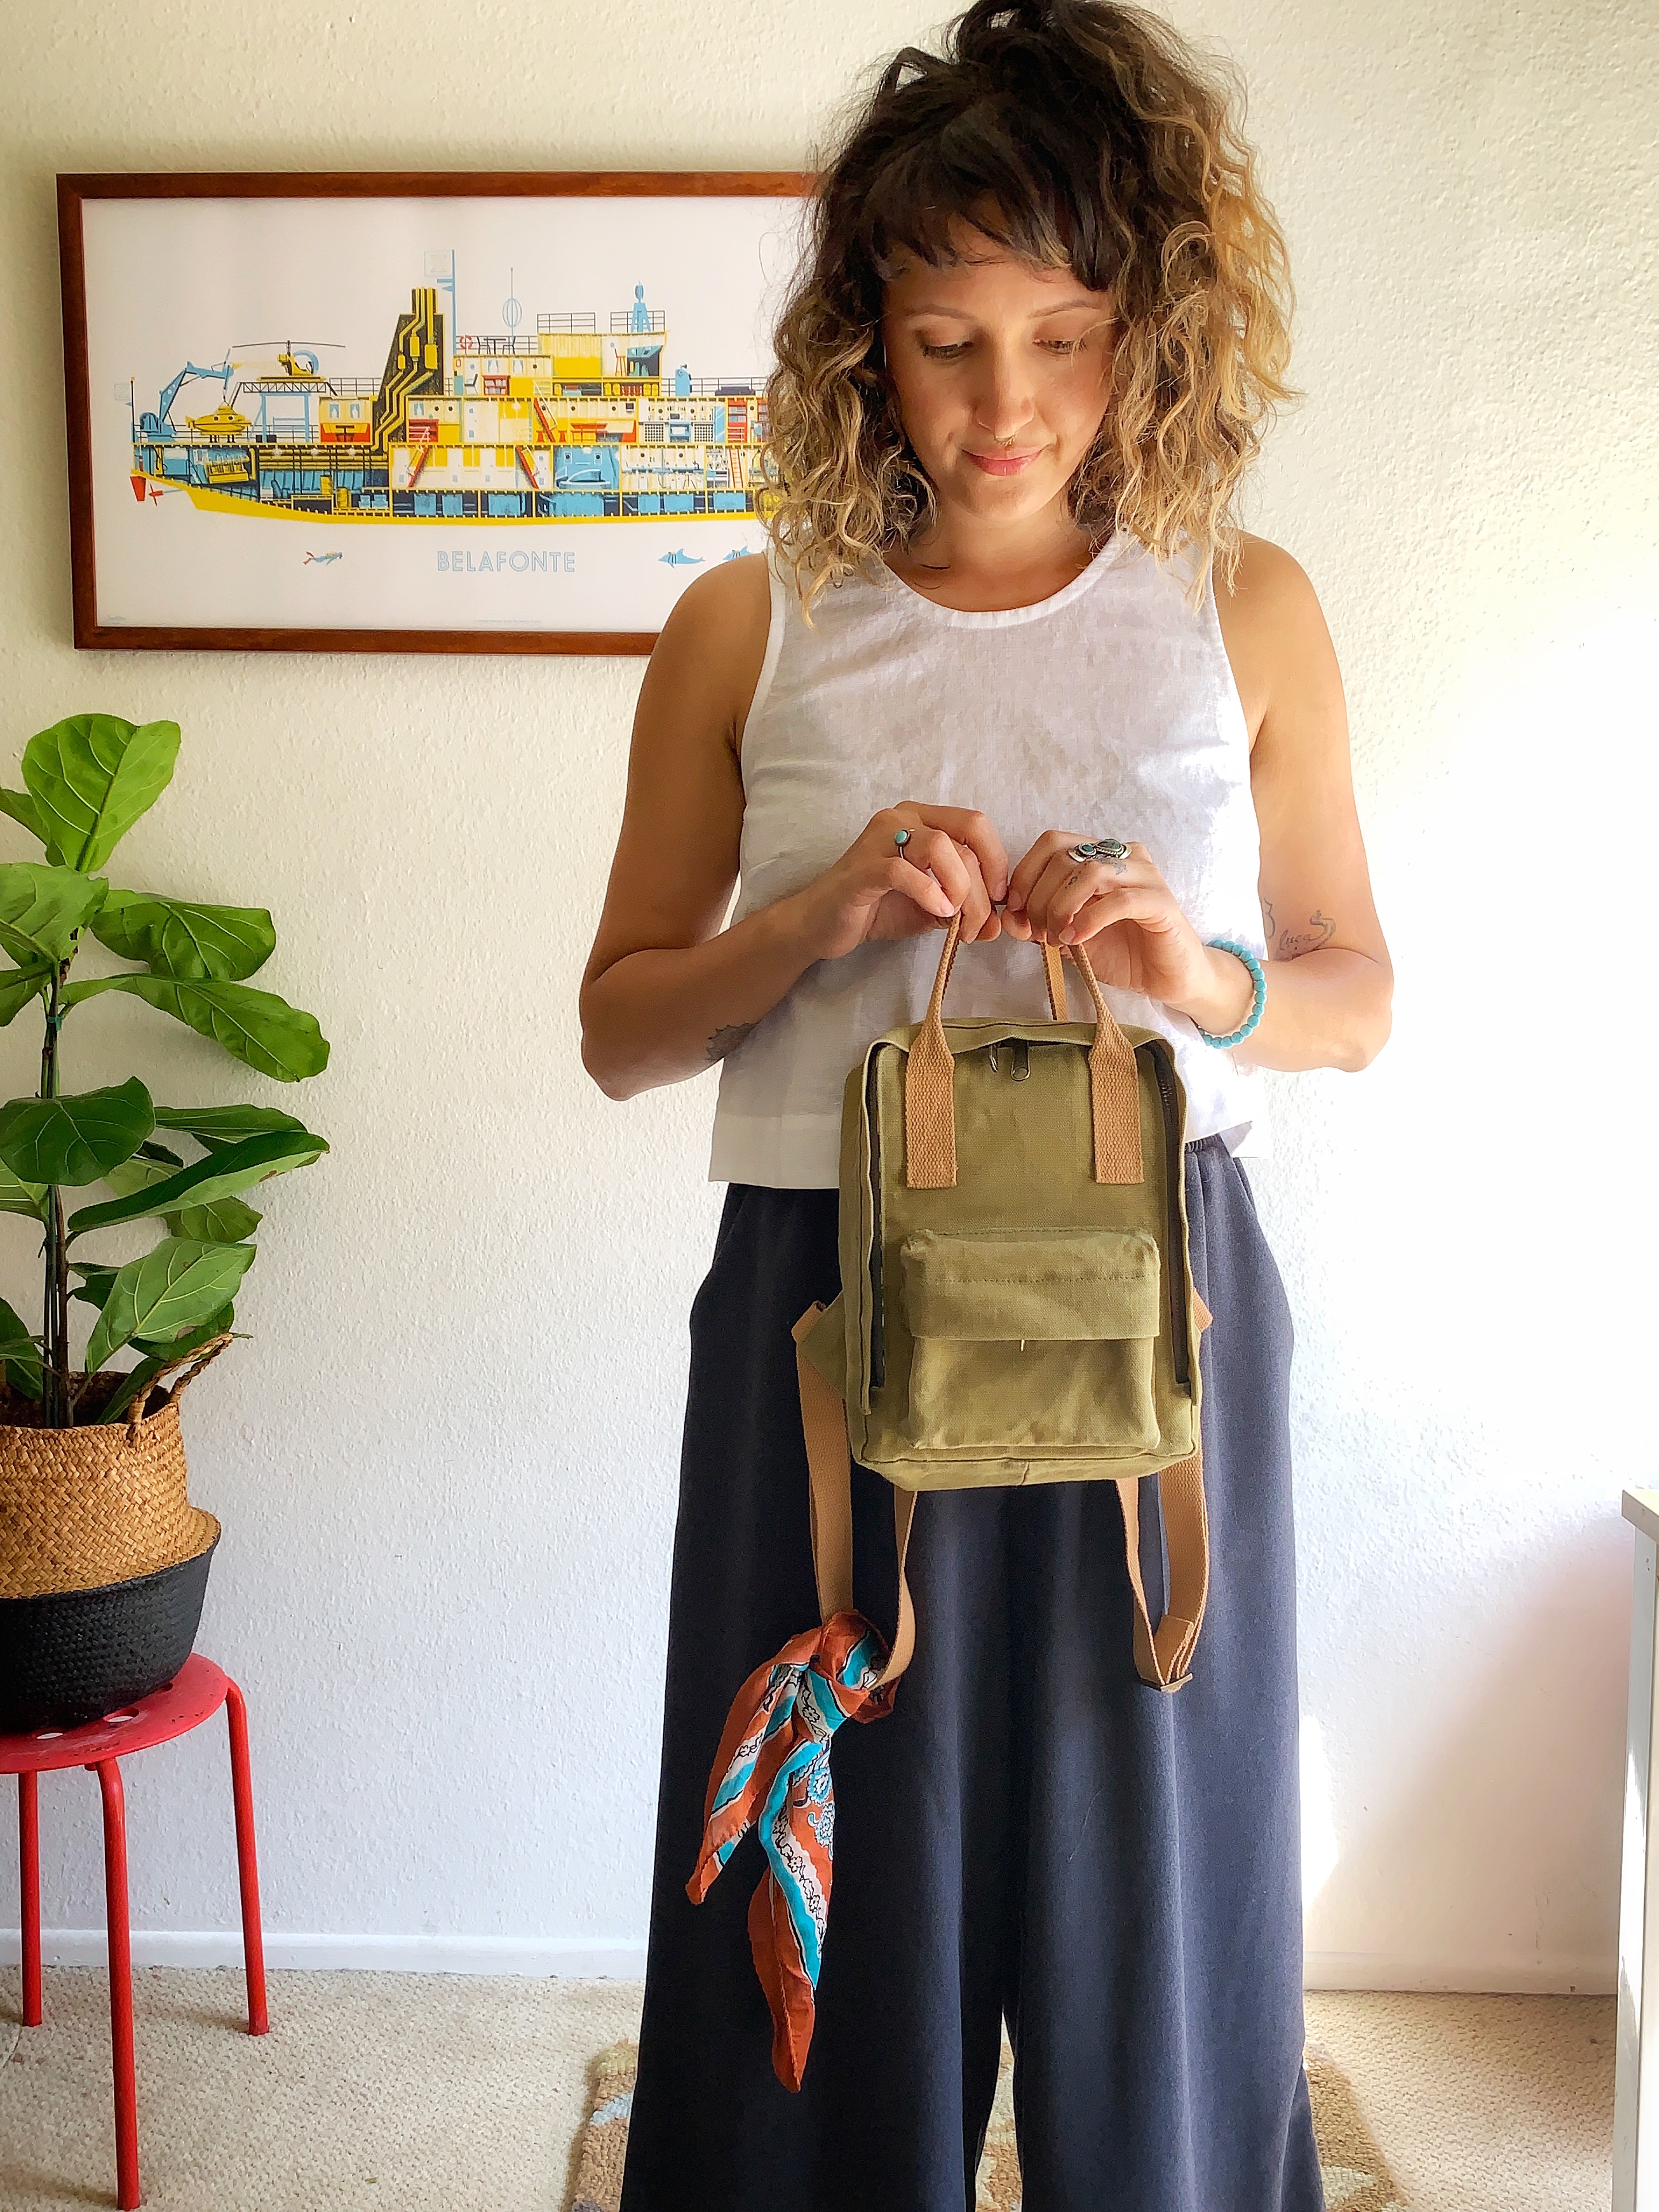
So, on release day of the Raspberry Rucksack pattern I knew I needed one for myself. There is something really adorable and unique about the squareness of the finished bag. I don’t often buy clothing or accessories for myself anymore and a small backpack is just a thing that I’ve been wanting for day to day activities with the kids. A practical way to carry around some small belongings. Who wouldn’t need one?
Now that it’s finished, it somehow has ended up way better than I expected. Sometimes while sewing I get all caught up in the details of the thing. All of the small imperfections really begin to stand out at me. However, once this was finished and all of the repeated flipping inside out and right side out, over and over again, was completed, it’s so special as a finished object.
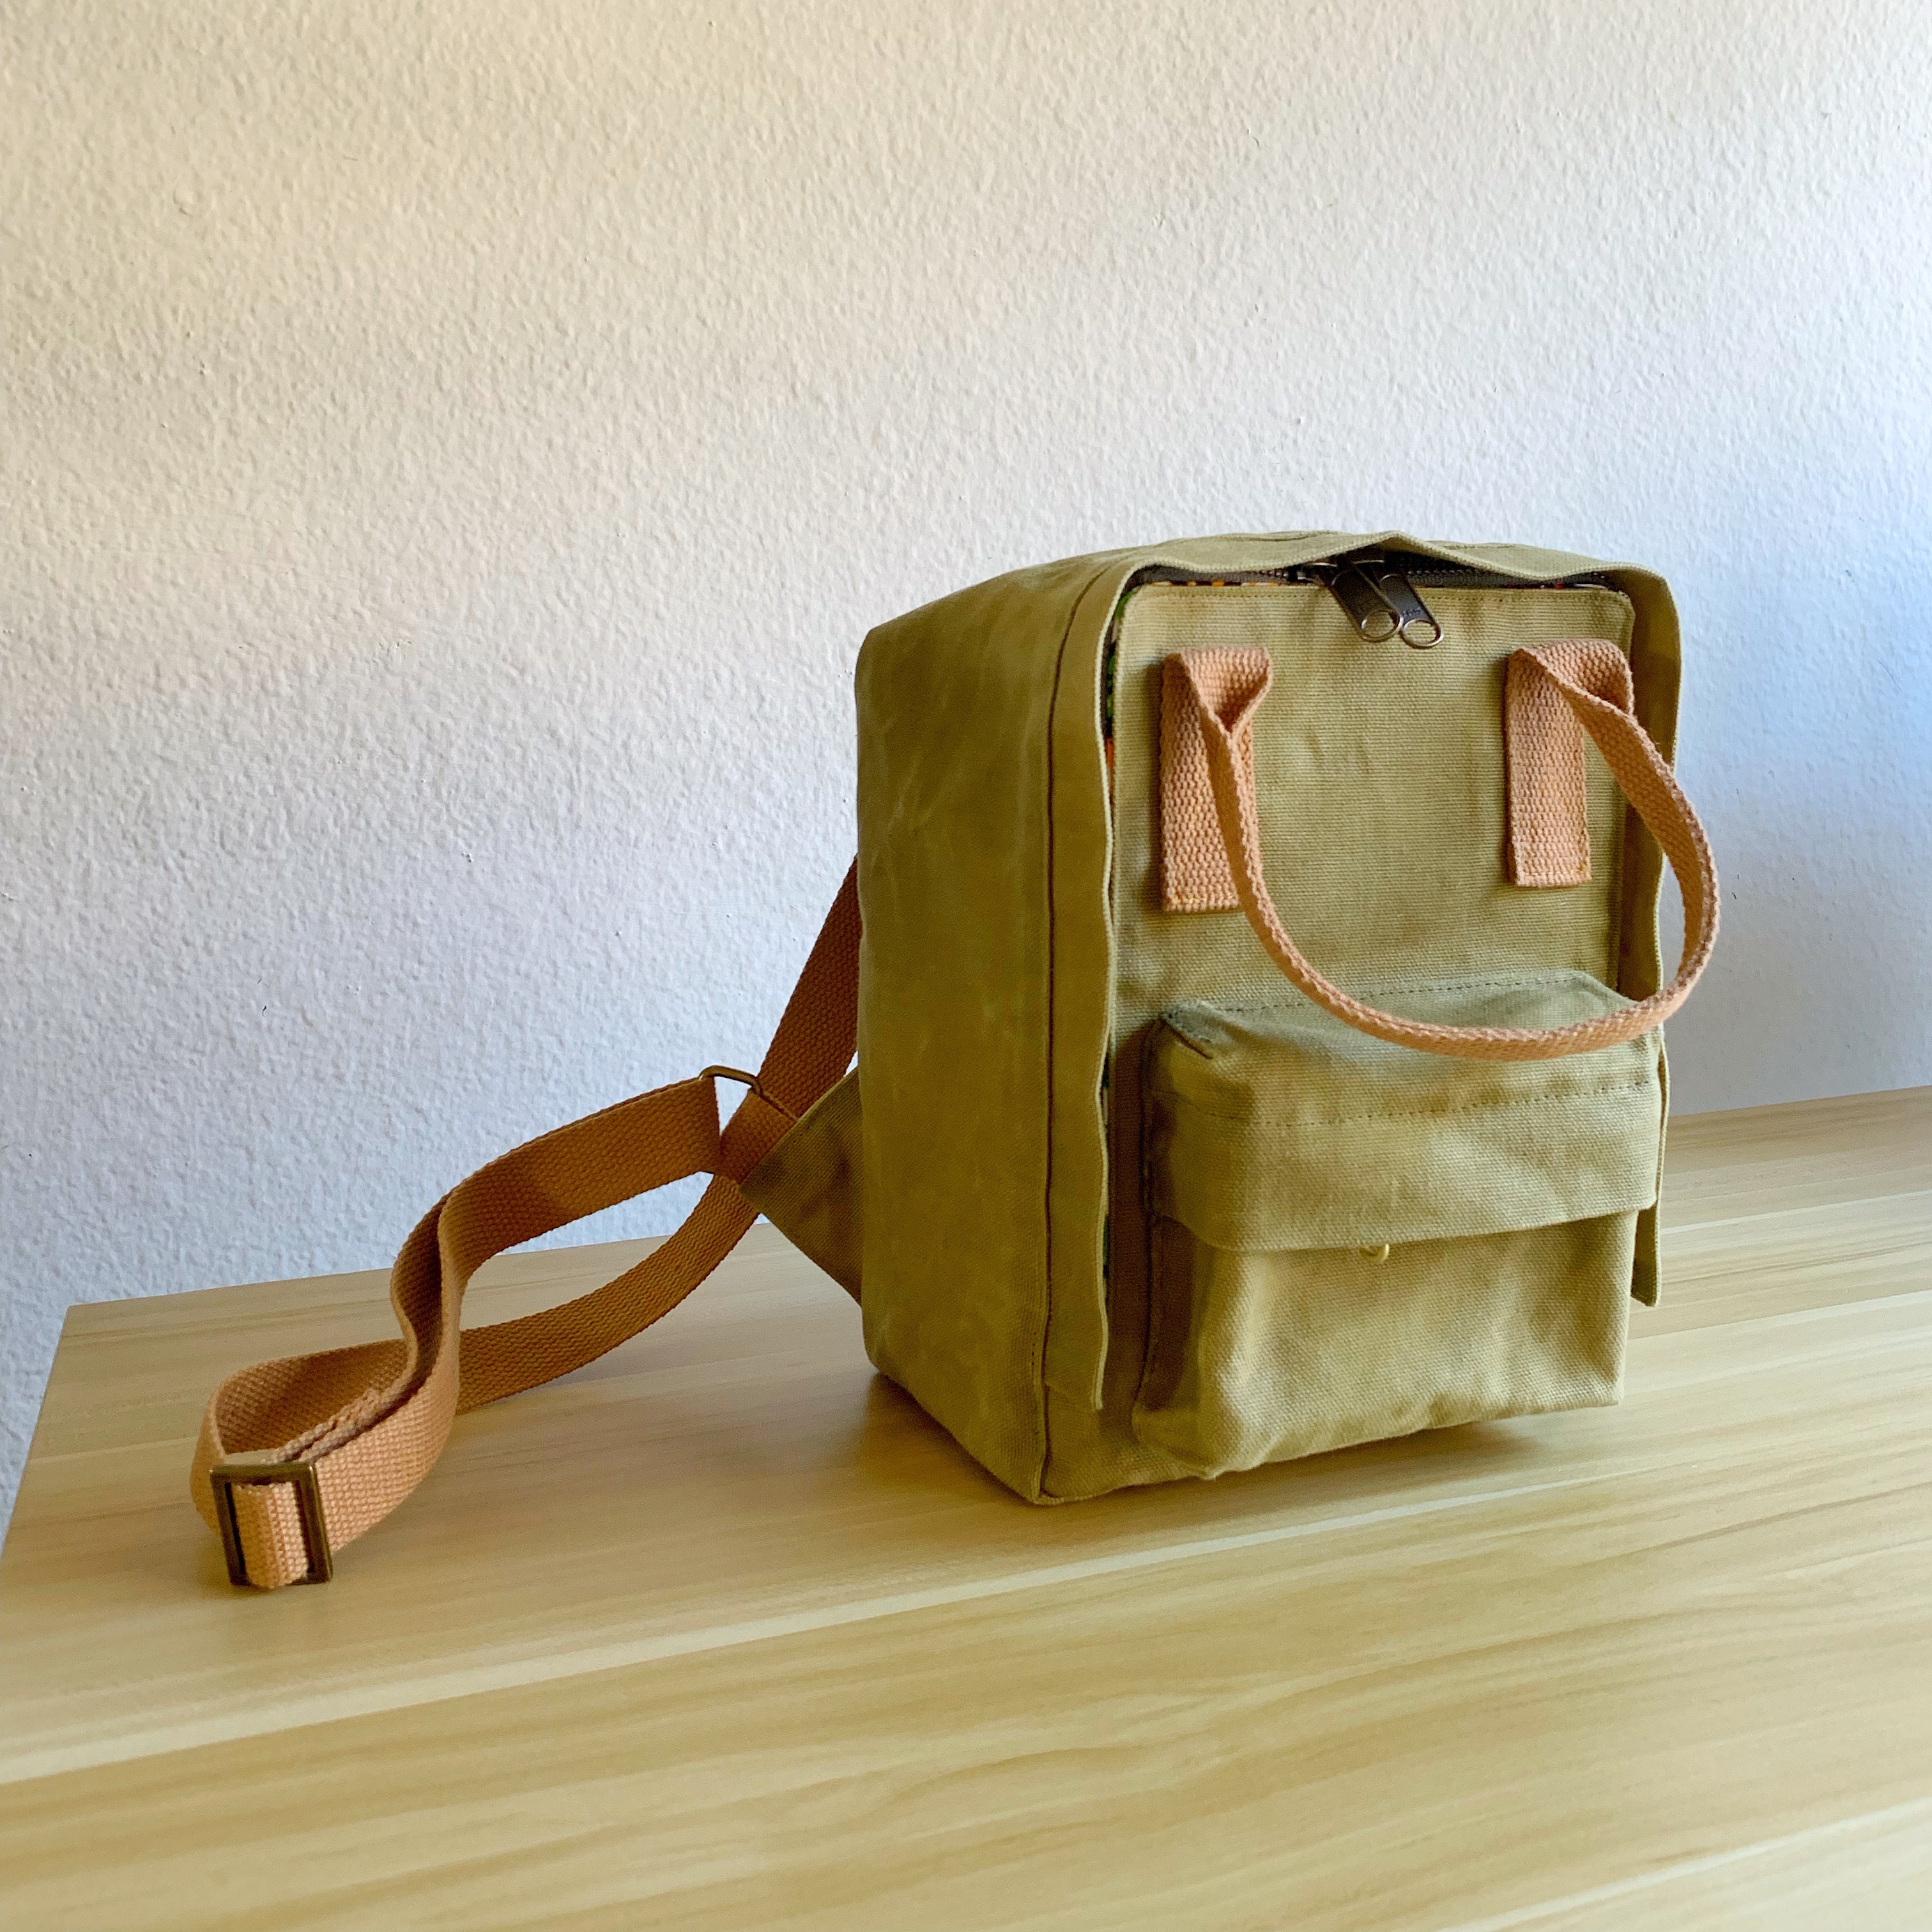

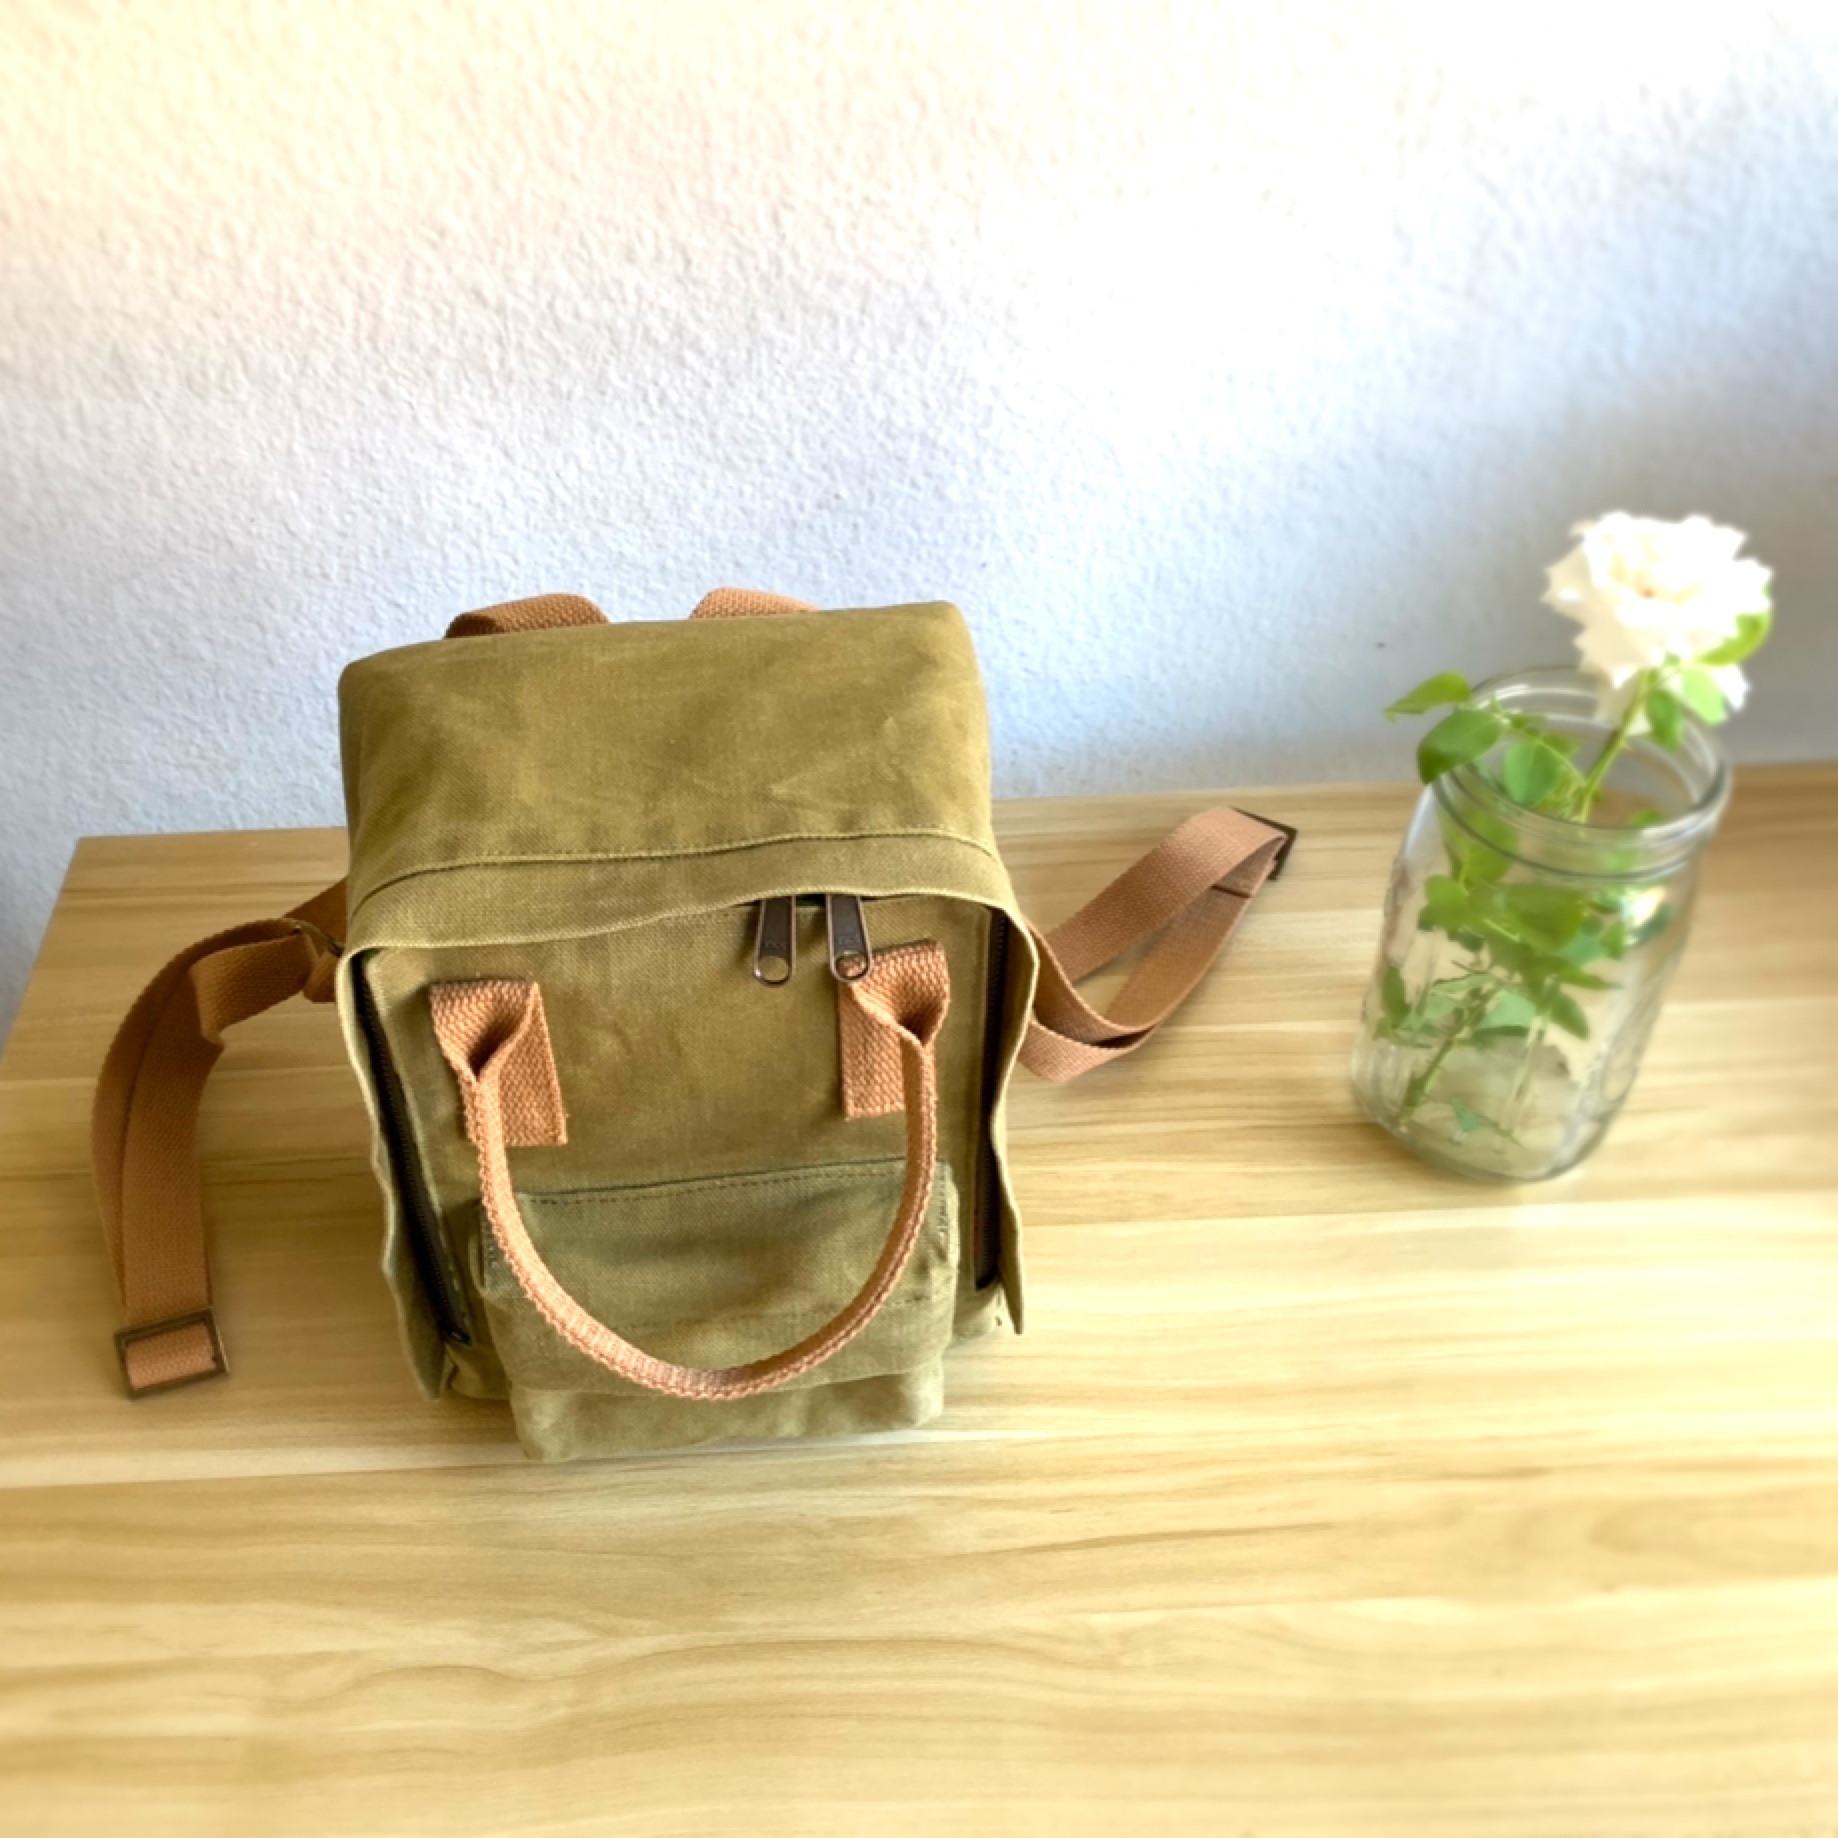
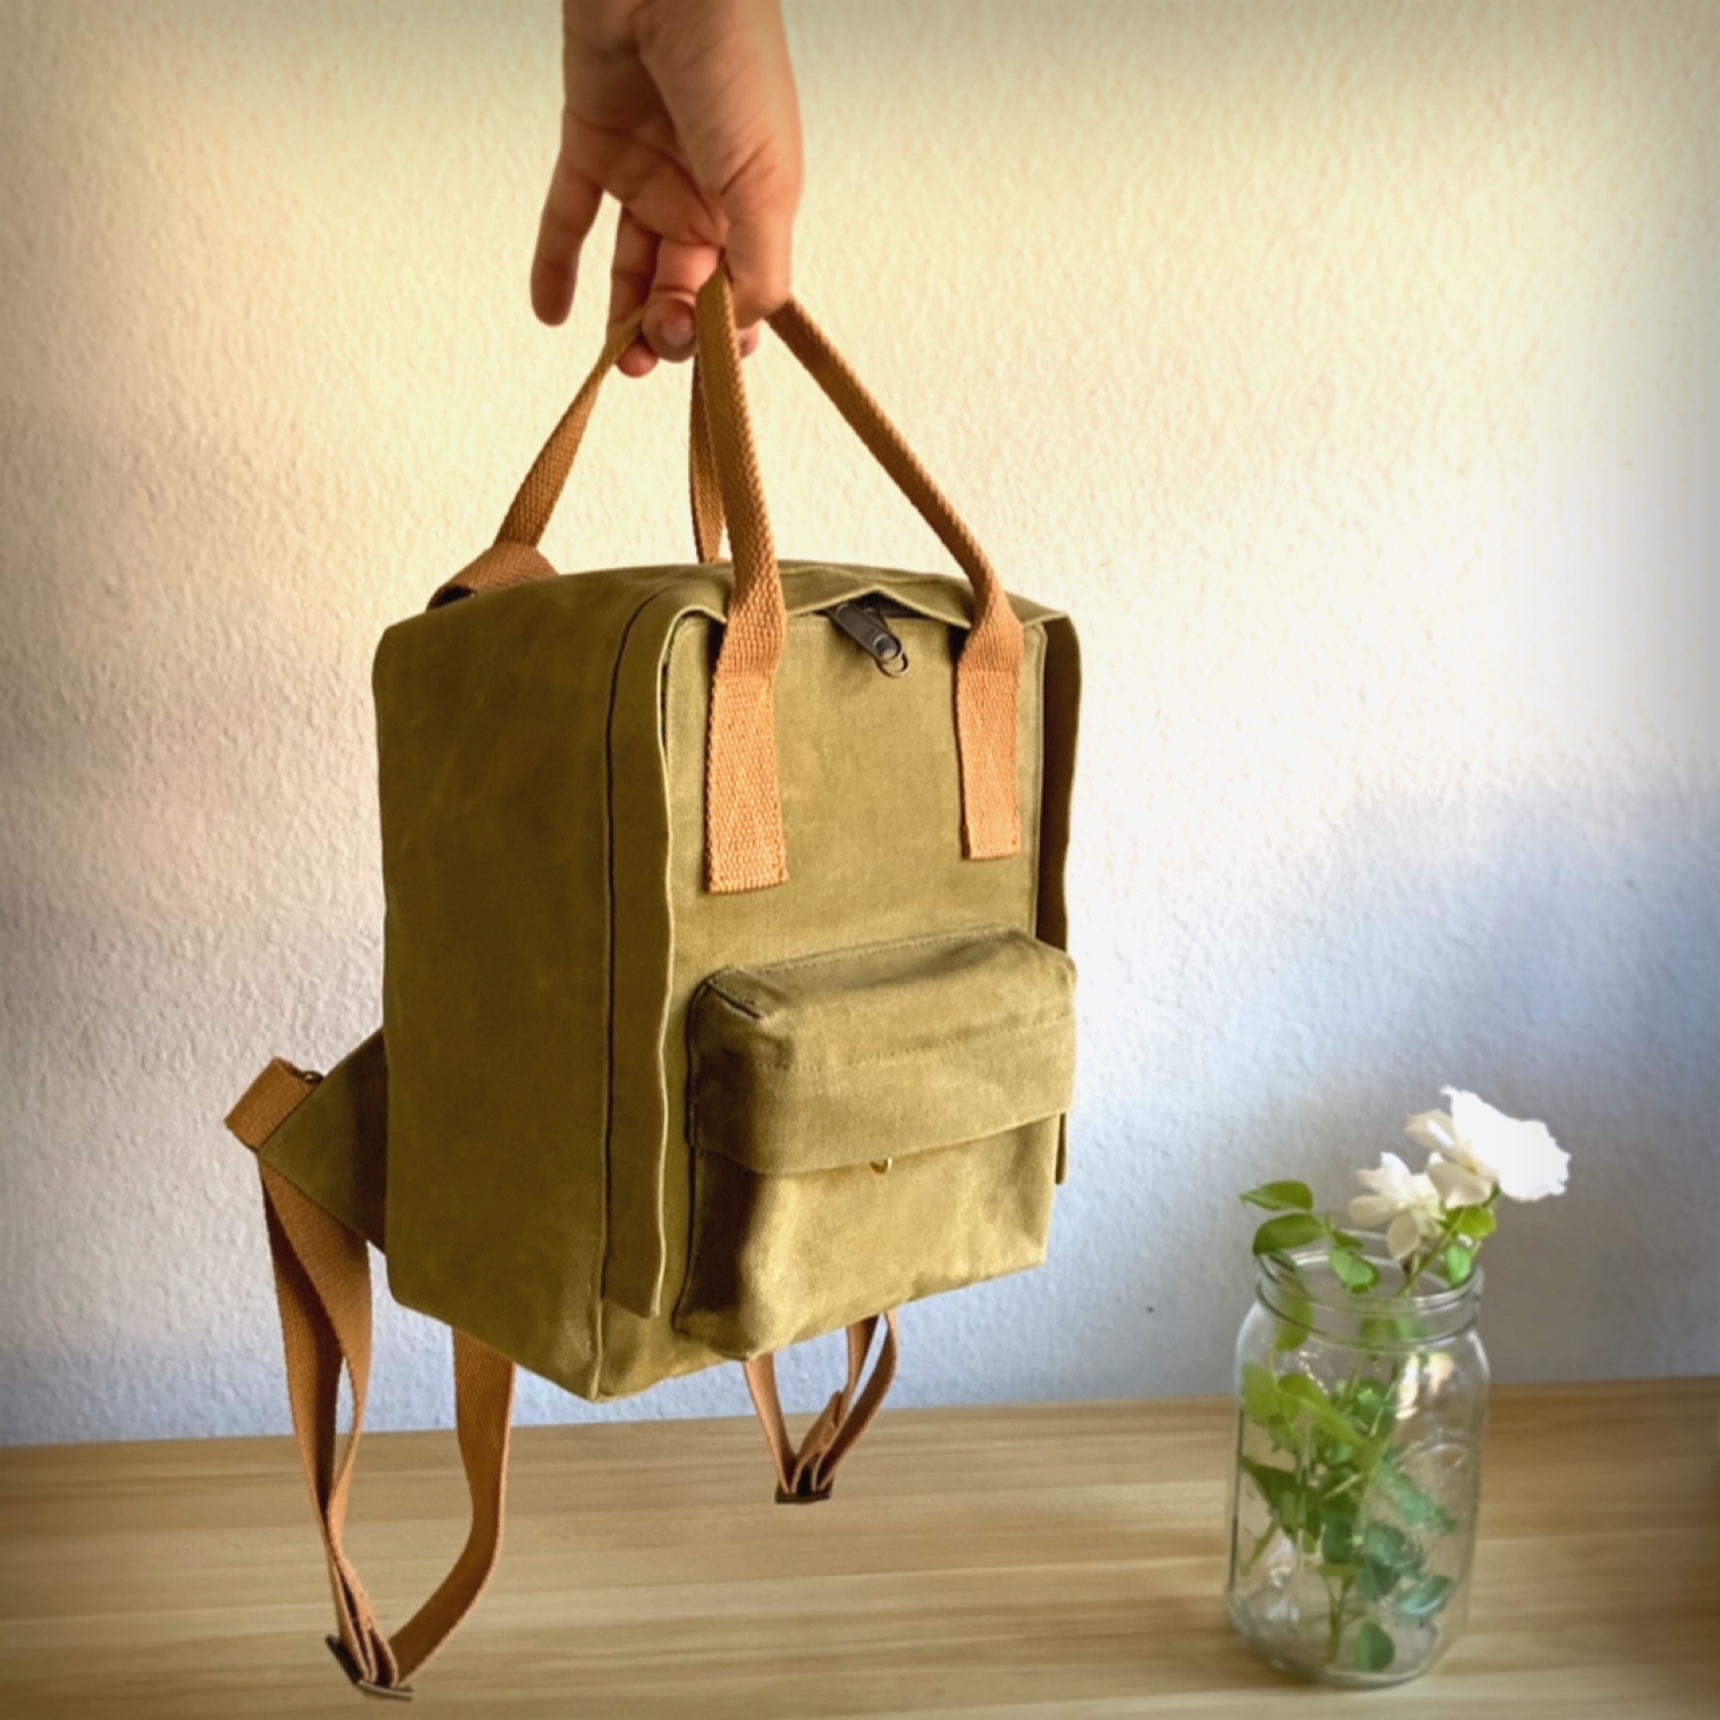
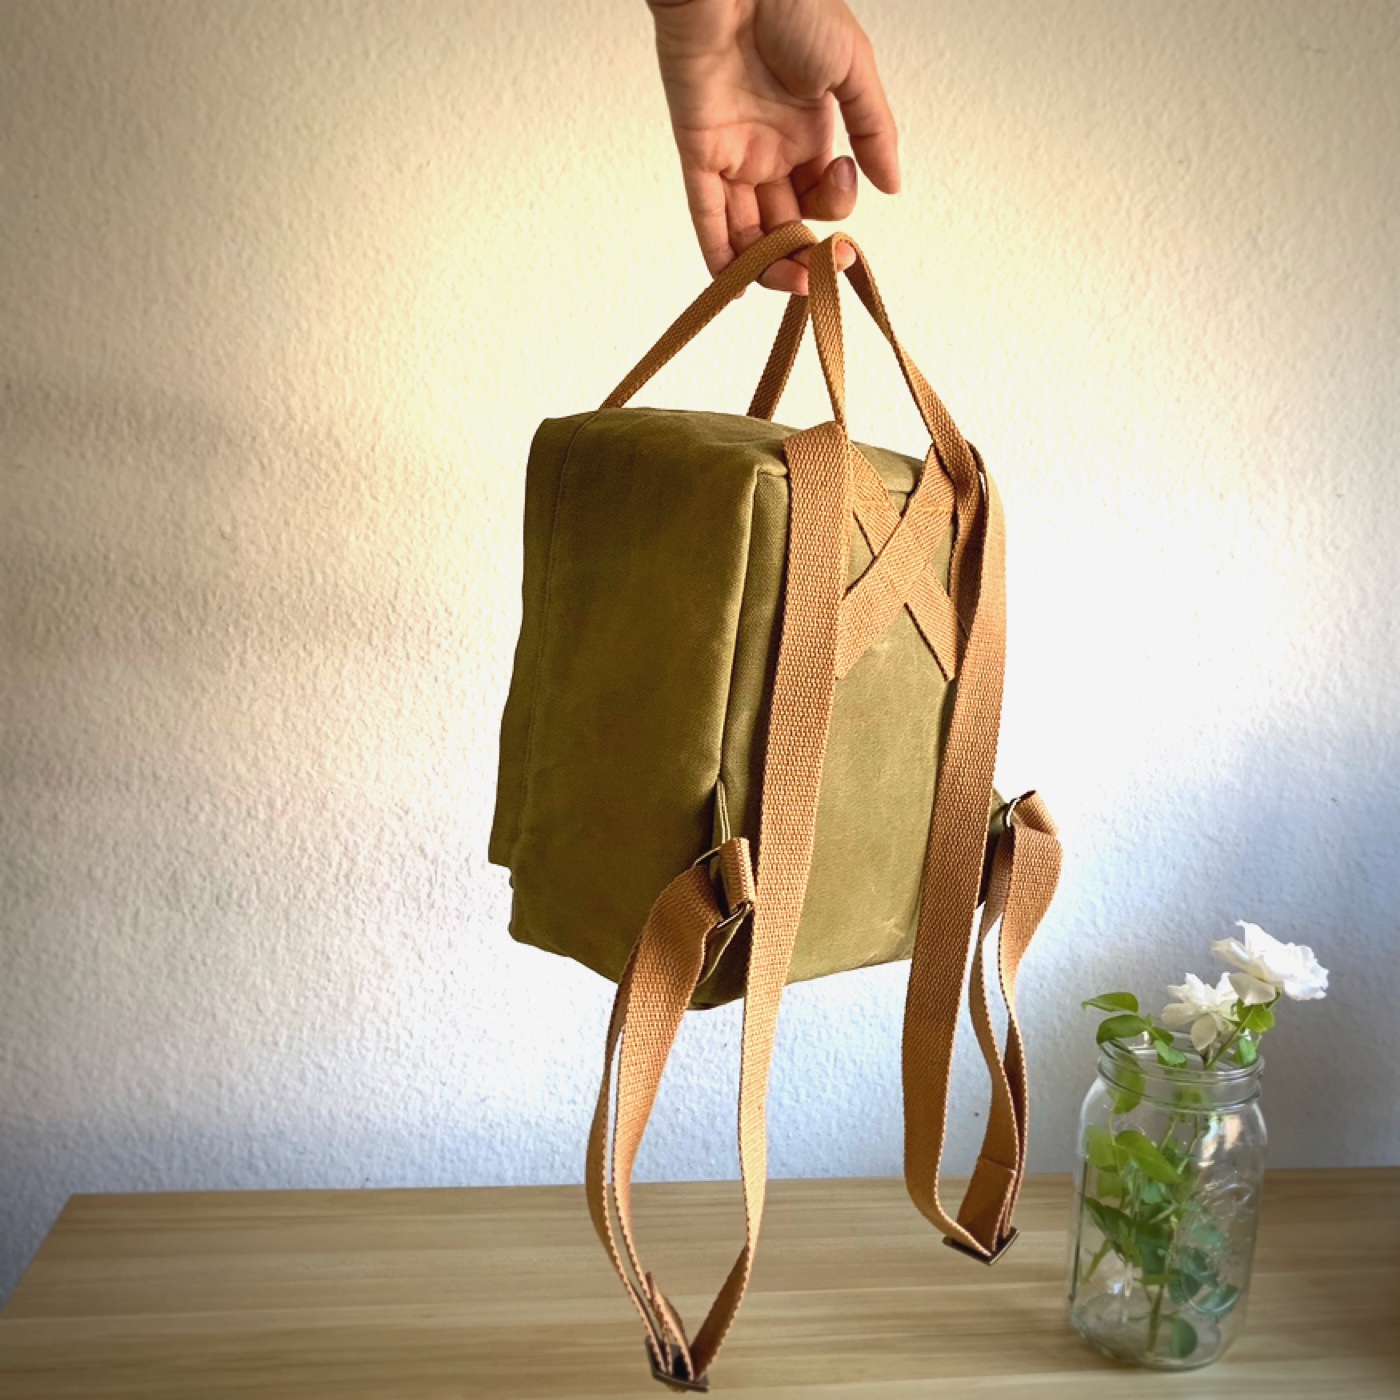
The boxy shape with the detail of the intricately positioned straps, the popup pocket, the big zippers… My Raspberry is greater than the sum of its parts, or whatever. I am certain I’ve annoyed Aaron with my constant vocalization of how much this bag brings me joy in the way it just sits there. It’s like it has attitude. I’m in love.
Supplies
I knew I wanted a waxed canvas Raspberry Rucksack. What I didn’t know was how new the experience of sewing with this fabric choice would be. It’s not the easiest fabric to manipulate, and the Raspberry requires plenty of manipulation to construct. No joke, sewing this bag resembled what wrestling a fabric would look like. There was a lot of cursing under my breath. It was fun. though, and I took on the challenge with patience (most of the time.)
- Zippers from Zipit on Etsy
- 10 oz Waxed Canvas in Prairie purchased onEtsy
- Cotton webbing also purchased on Etsy in the color 12
- Hardware from BagMakersSupply (on Etsy, duh.)
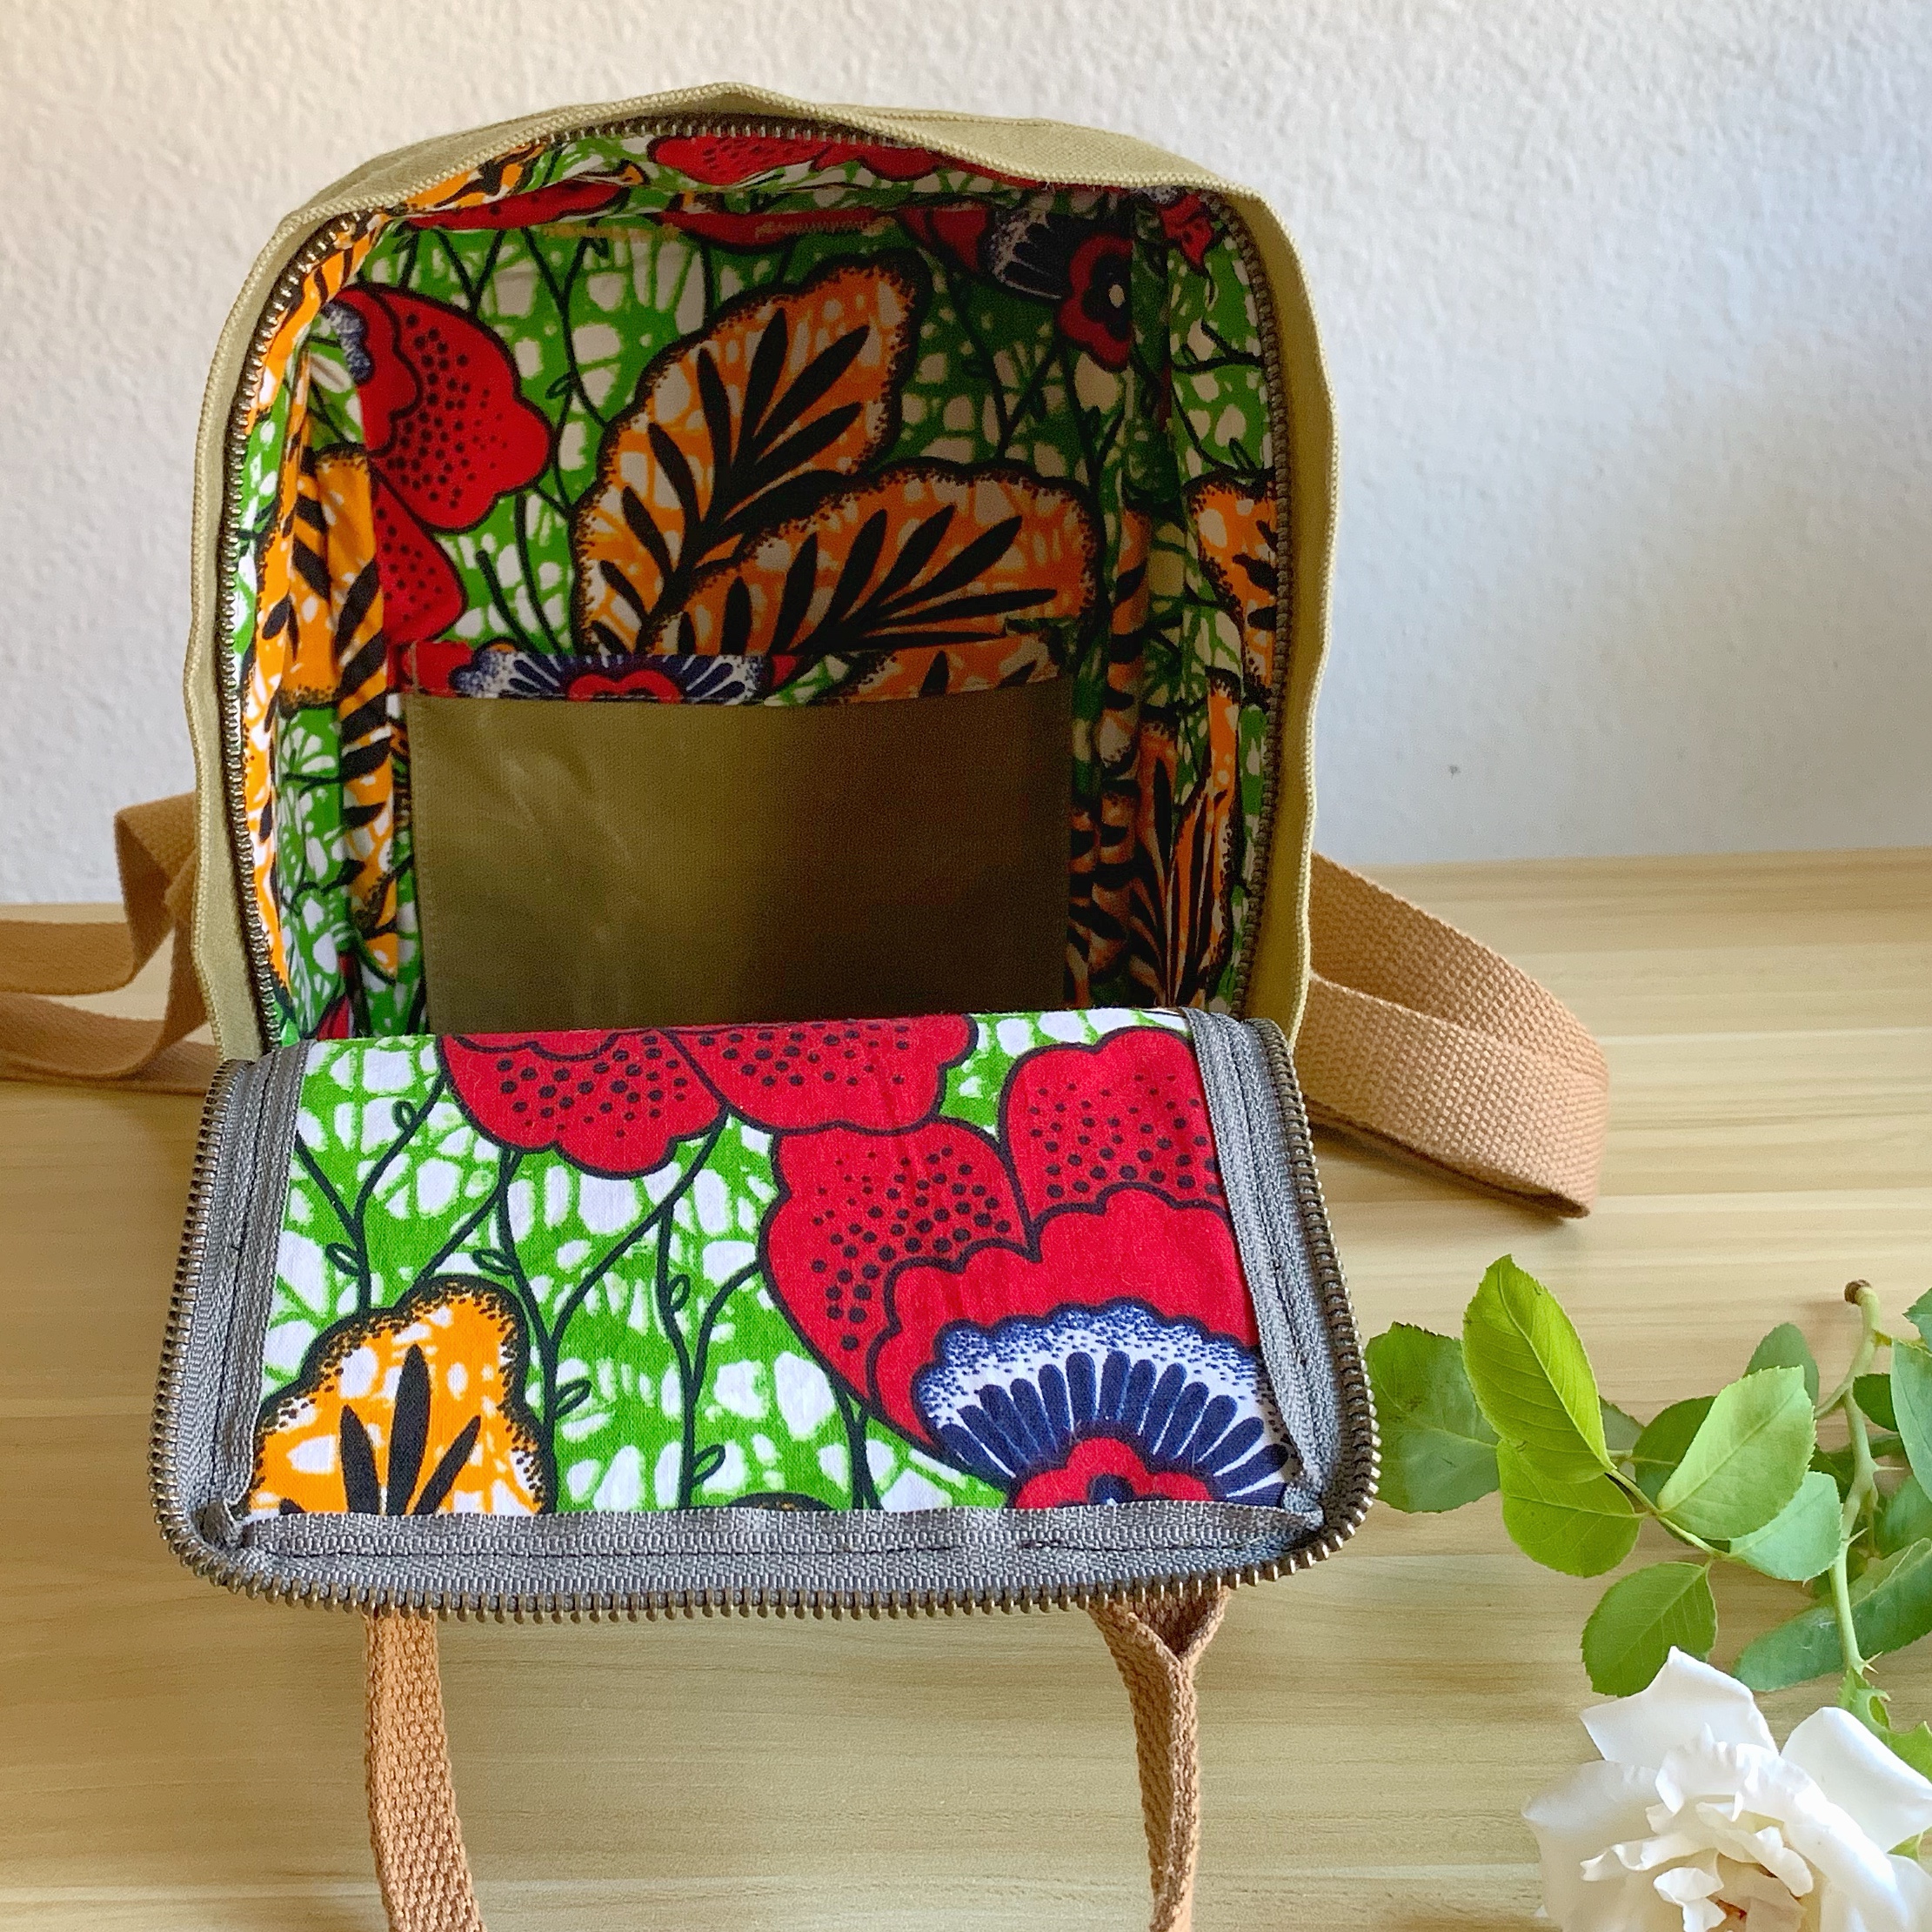
My lining fabric is leftovers from my Ankara wax print dress and for interfacing I used Pellon 101 from my stash.
Construction
Waxed canvas is obviously “waxed” so I decided to use interfacing on the lining pieces instead. That worked really well. The instructions are very clear. I just took this pattern one step at a time and had no problems. The only problems that I came across were due to my fabric choice. This waxed canvas was stiff! Sewing through multiple layers and curves was quite a workout for my little machine. I honestly think my machine needs a tune up after this project.

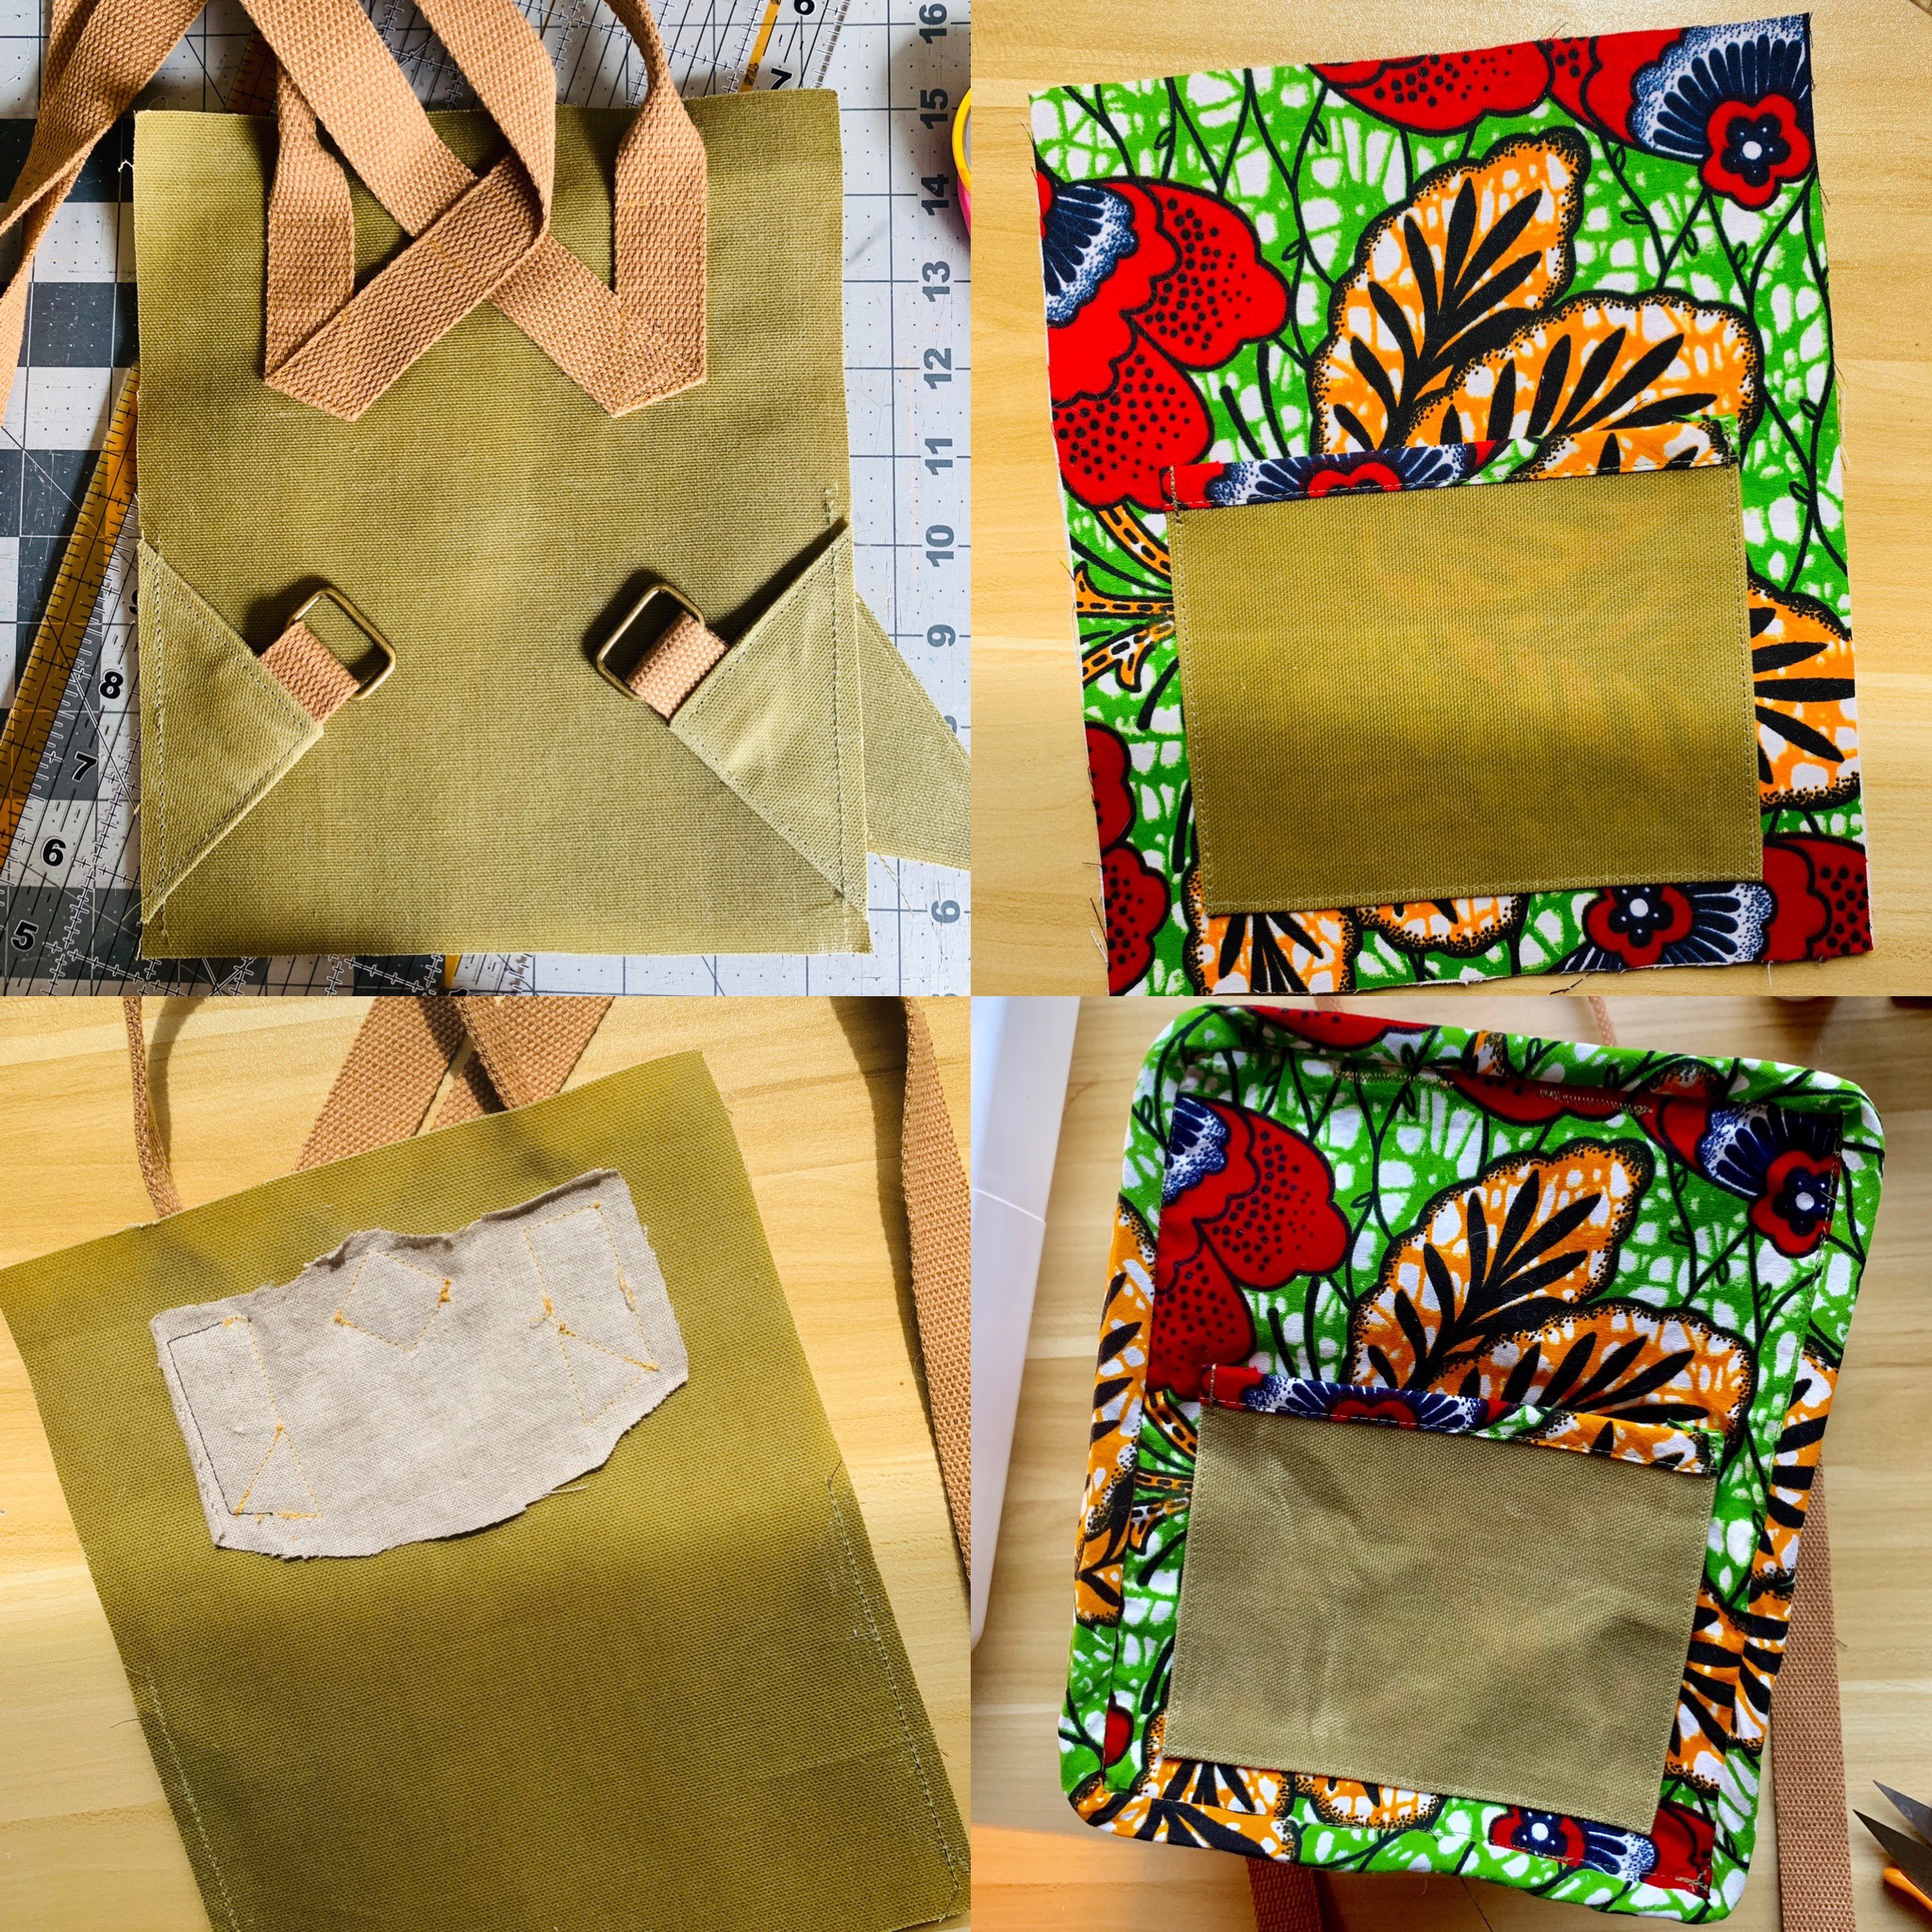
There’s is a Raspberry story highlight saved on my Instagram profile with some detailed process photos. I’m sharing a few above.
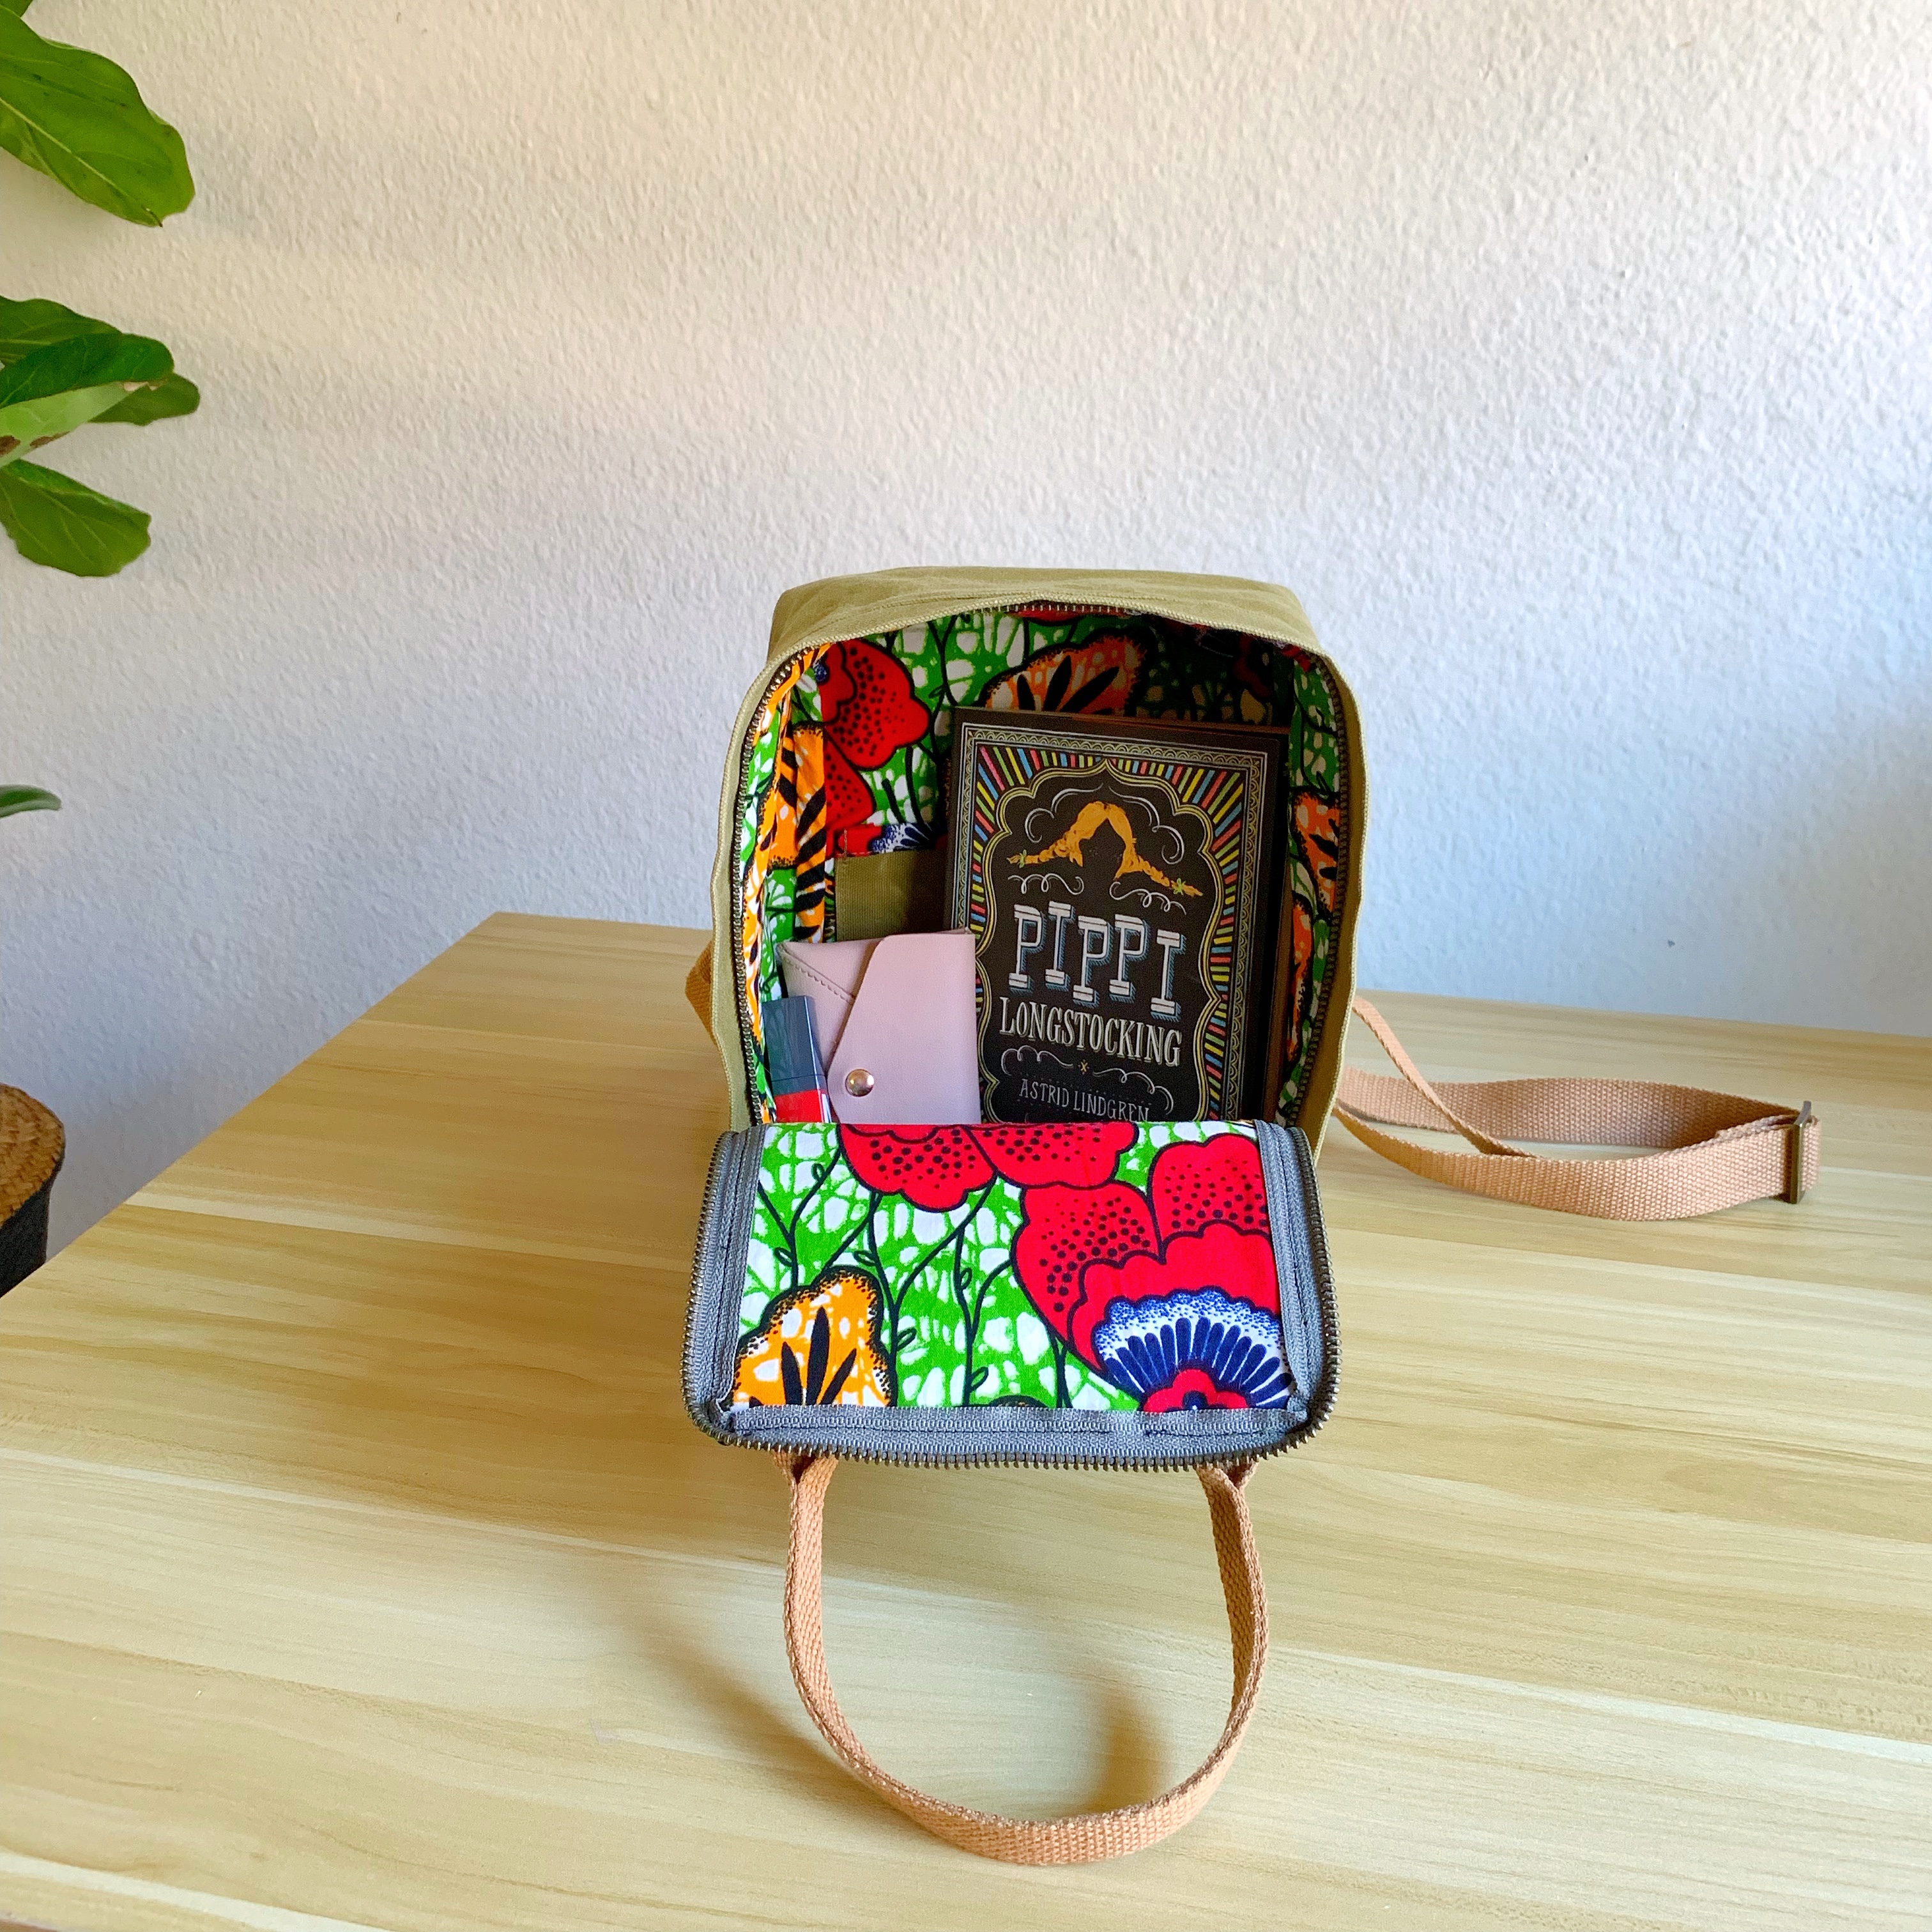
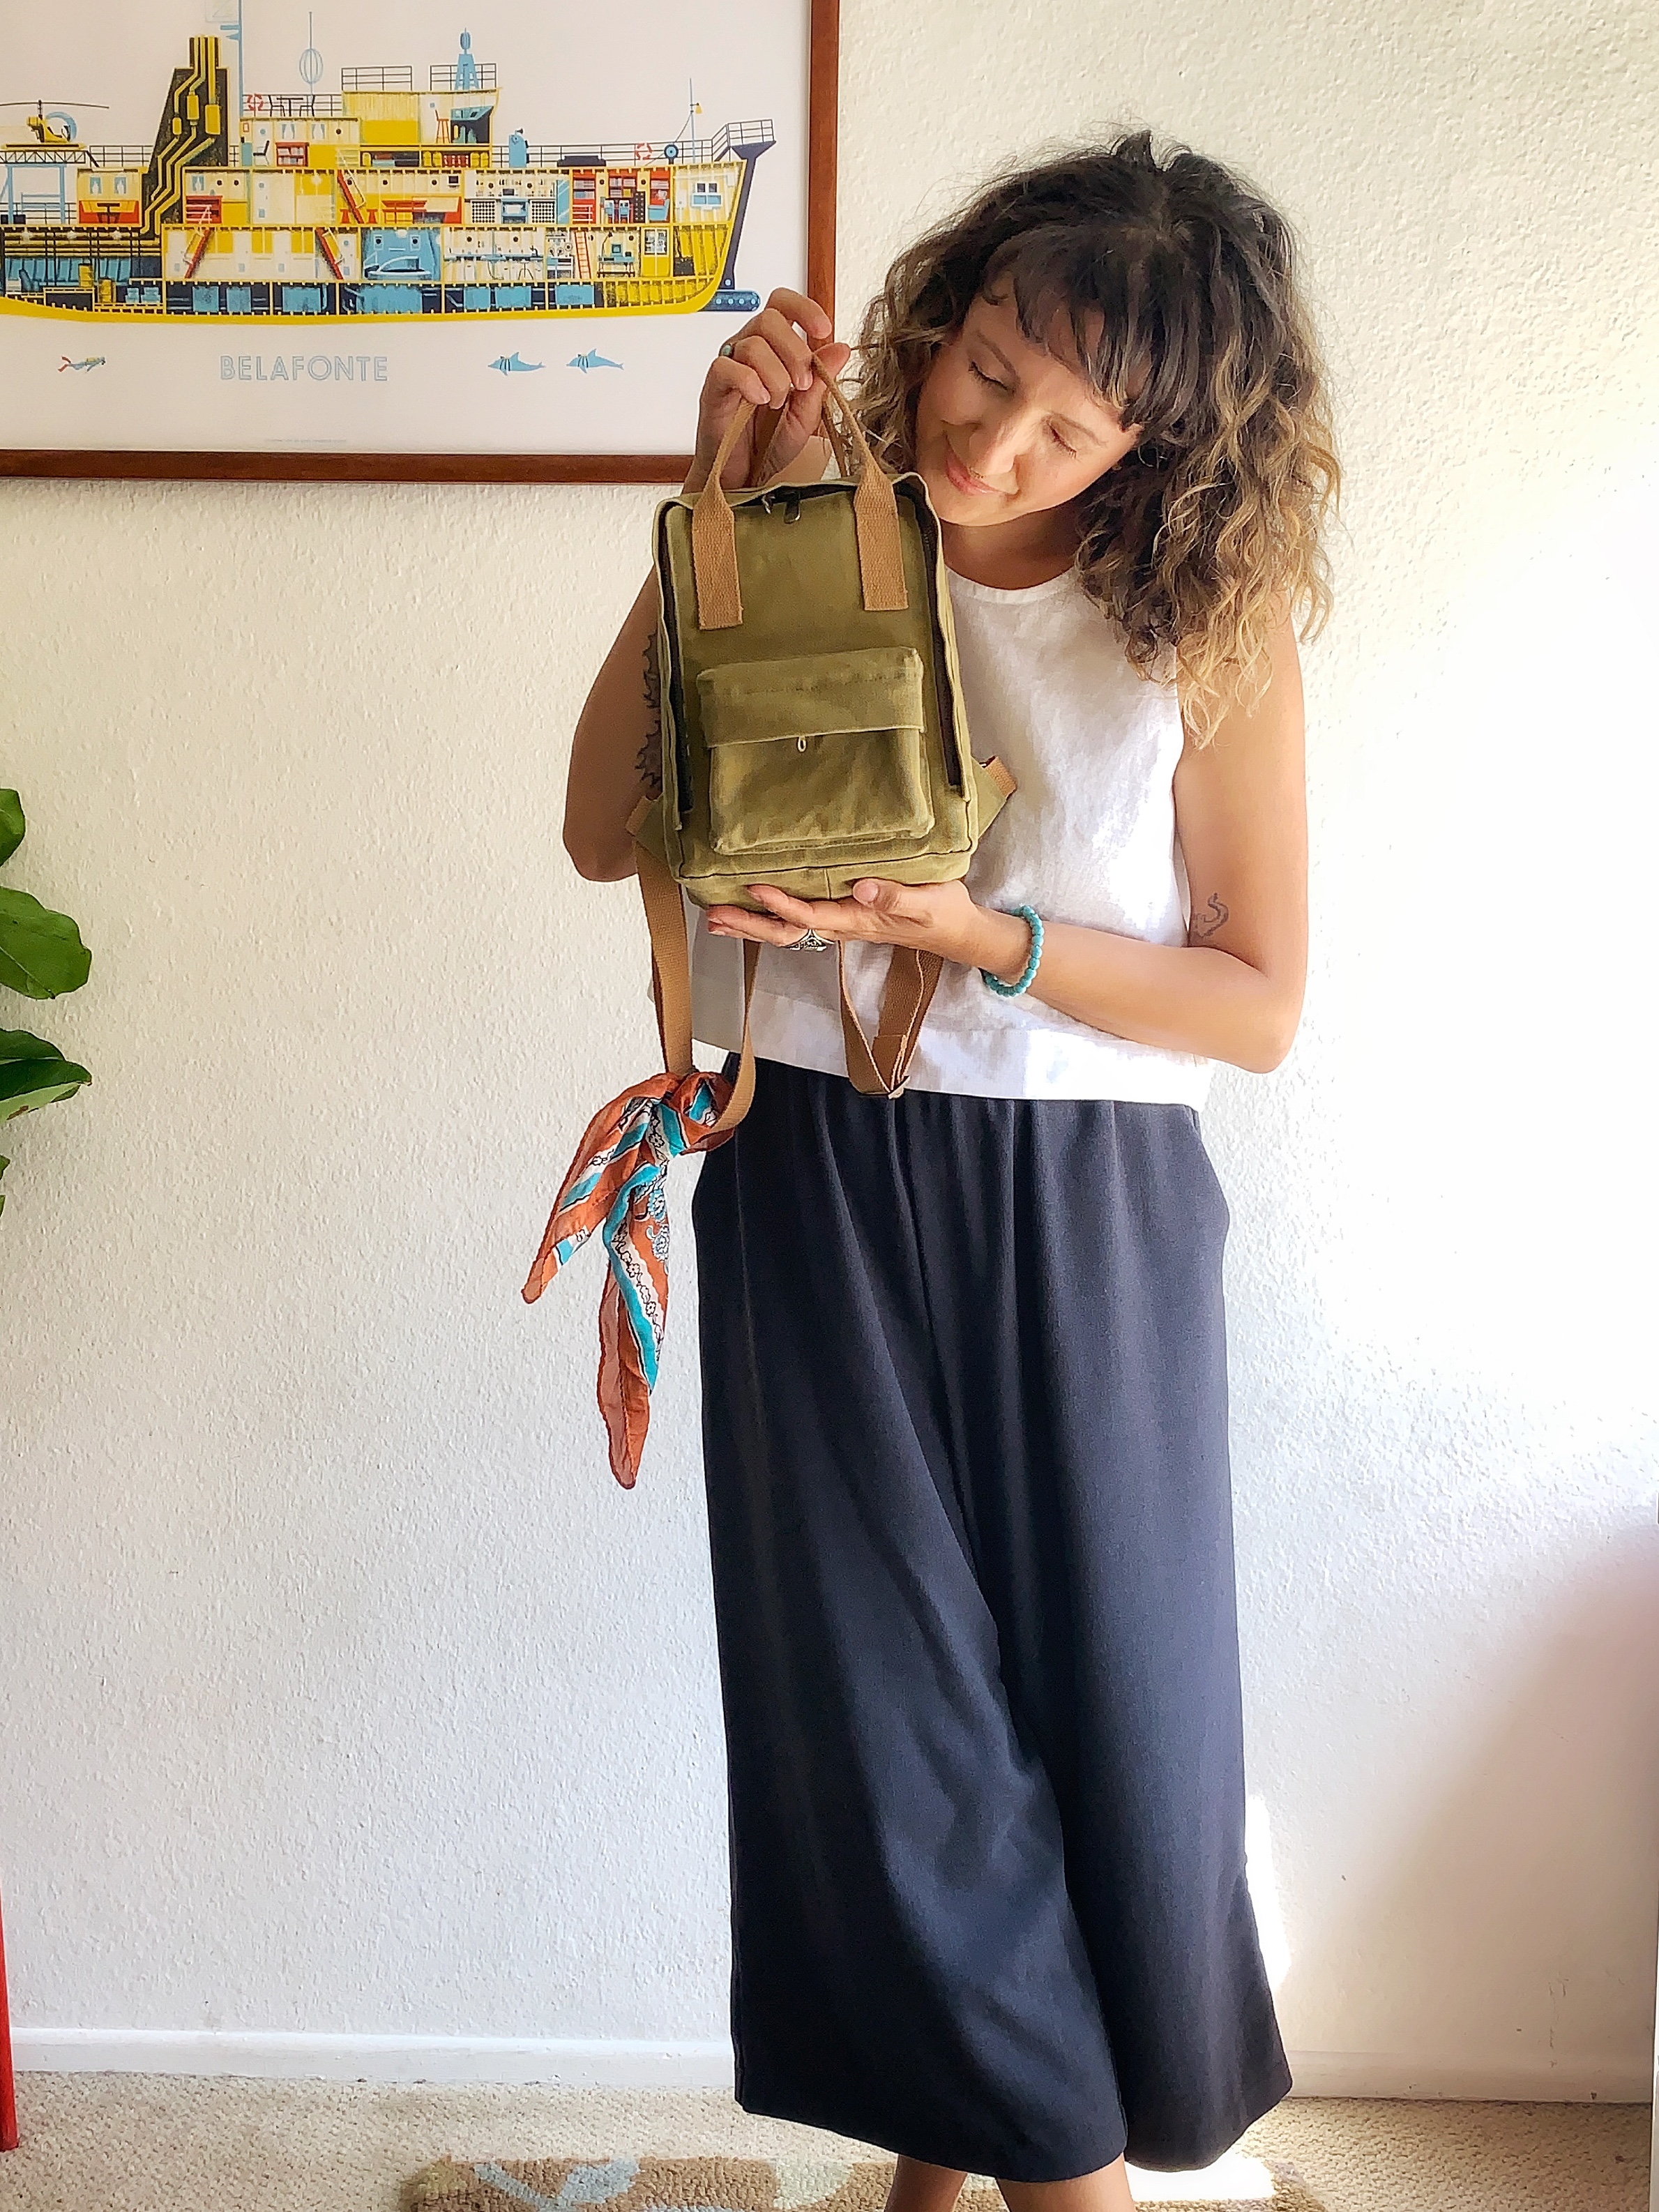
Popup Pocket
The popup pocket gave me a particularly difficult time. It’s still not perfectly straight, but topstitching the pocket into the front of the bag was incredibly challenging. Now that it’s complete, it really isn’t noticeable at all. My standards may have been set a little too high for this kind of project.
And then there’s the issue with my machine. It’s a Janome DC2013 and I wouldn’t call it a workhorse. I love it, but it just isn’t built to take on this kind of heft. I was often having to pull and tug and shift this bag around underneath the foot.
Binding
The first step of attaching the binding I completed by machine, which was difficult on its own so I opted to secure the binding on the last step by hand. The binding is only required around the inside of the back piece, so it was actually pretty fast to hand sew and the finished result is a lot neater than in my Fennel Fanny Pack (another Sarah pattern that I recently completed.)
Note: I learned that an easy way to remove scuffs or unwanted needle marks from waxed fabric is by using the hot air of a blowdrier.
Mods:
It’s horrendous to look at because my bobbin didn’t like sewing through the webbing on canvas, but I added some scrap fabric for support where the straps are attached to the back piece. I chose to do this since I didn’t use interfacing on the main fabric. *See the process photos above. Tissue paper under the canvas on the front piece also helped with gnarled bobbin threads.
Also, on the back lining piece I added a pocket. The top edge of the pocket is finished with bias binding.
Final Thoughts:
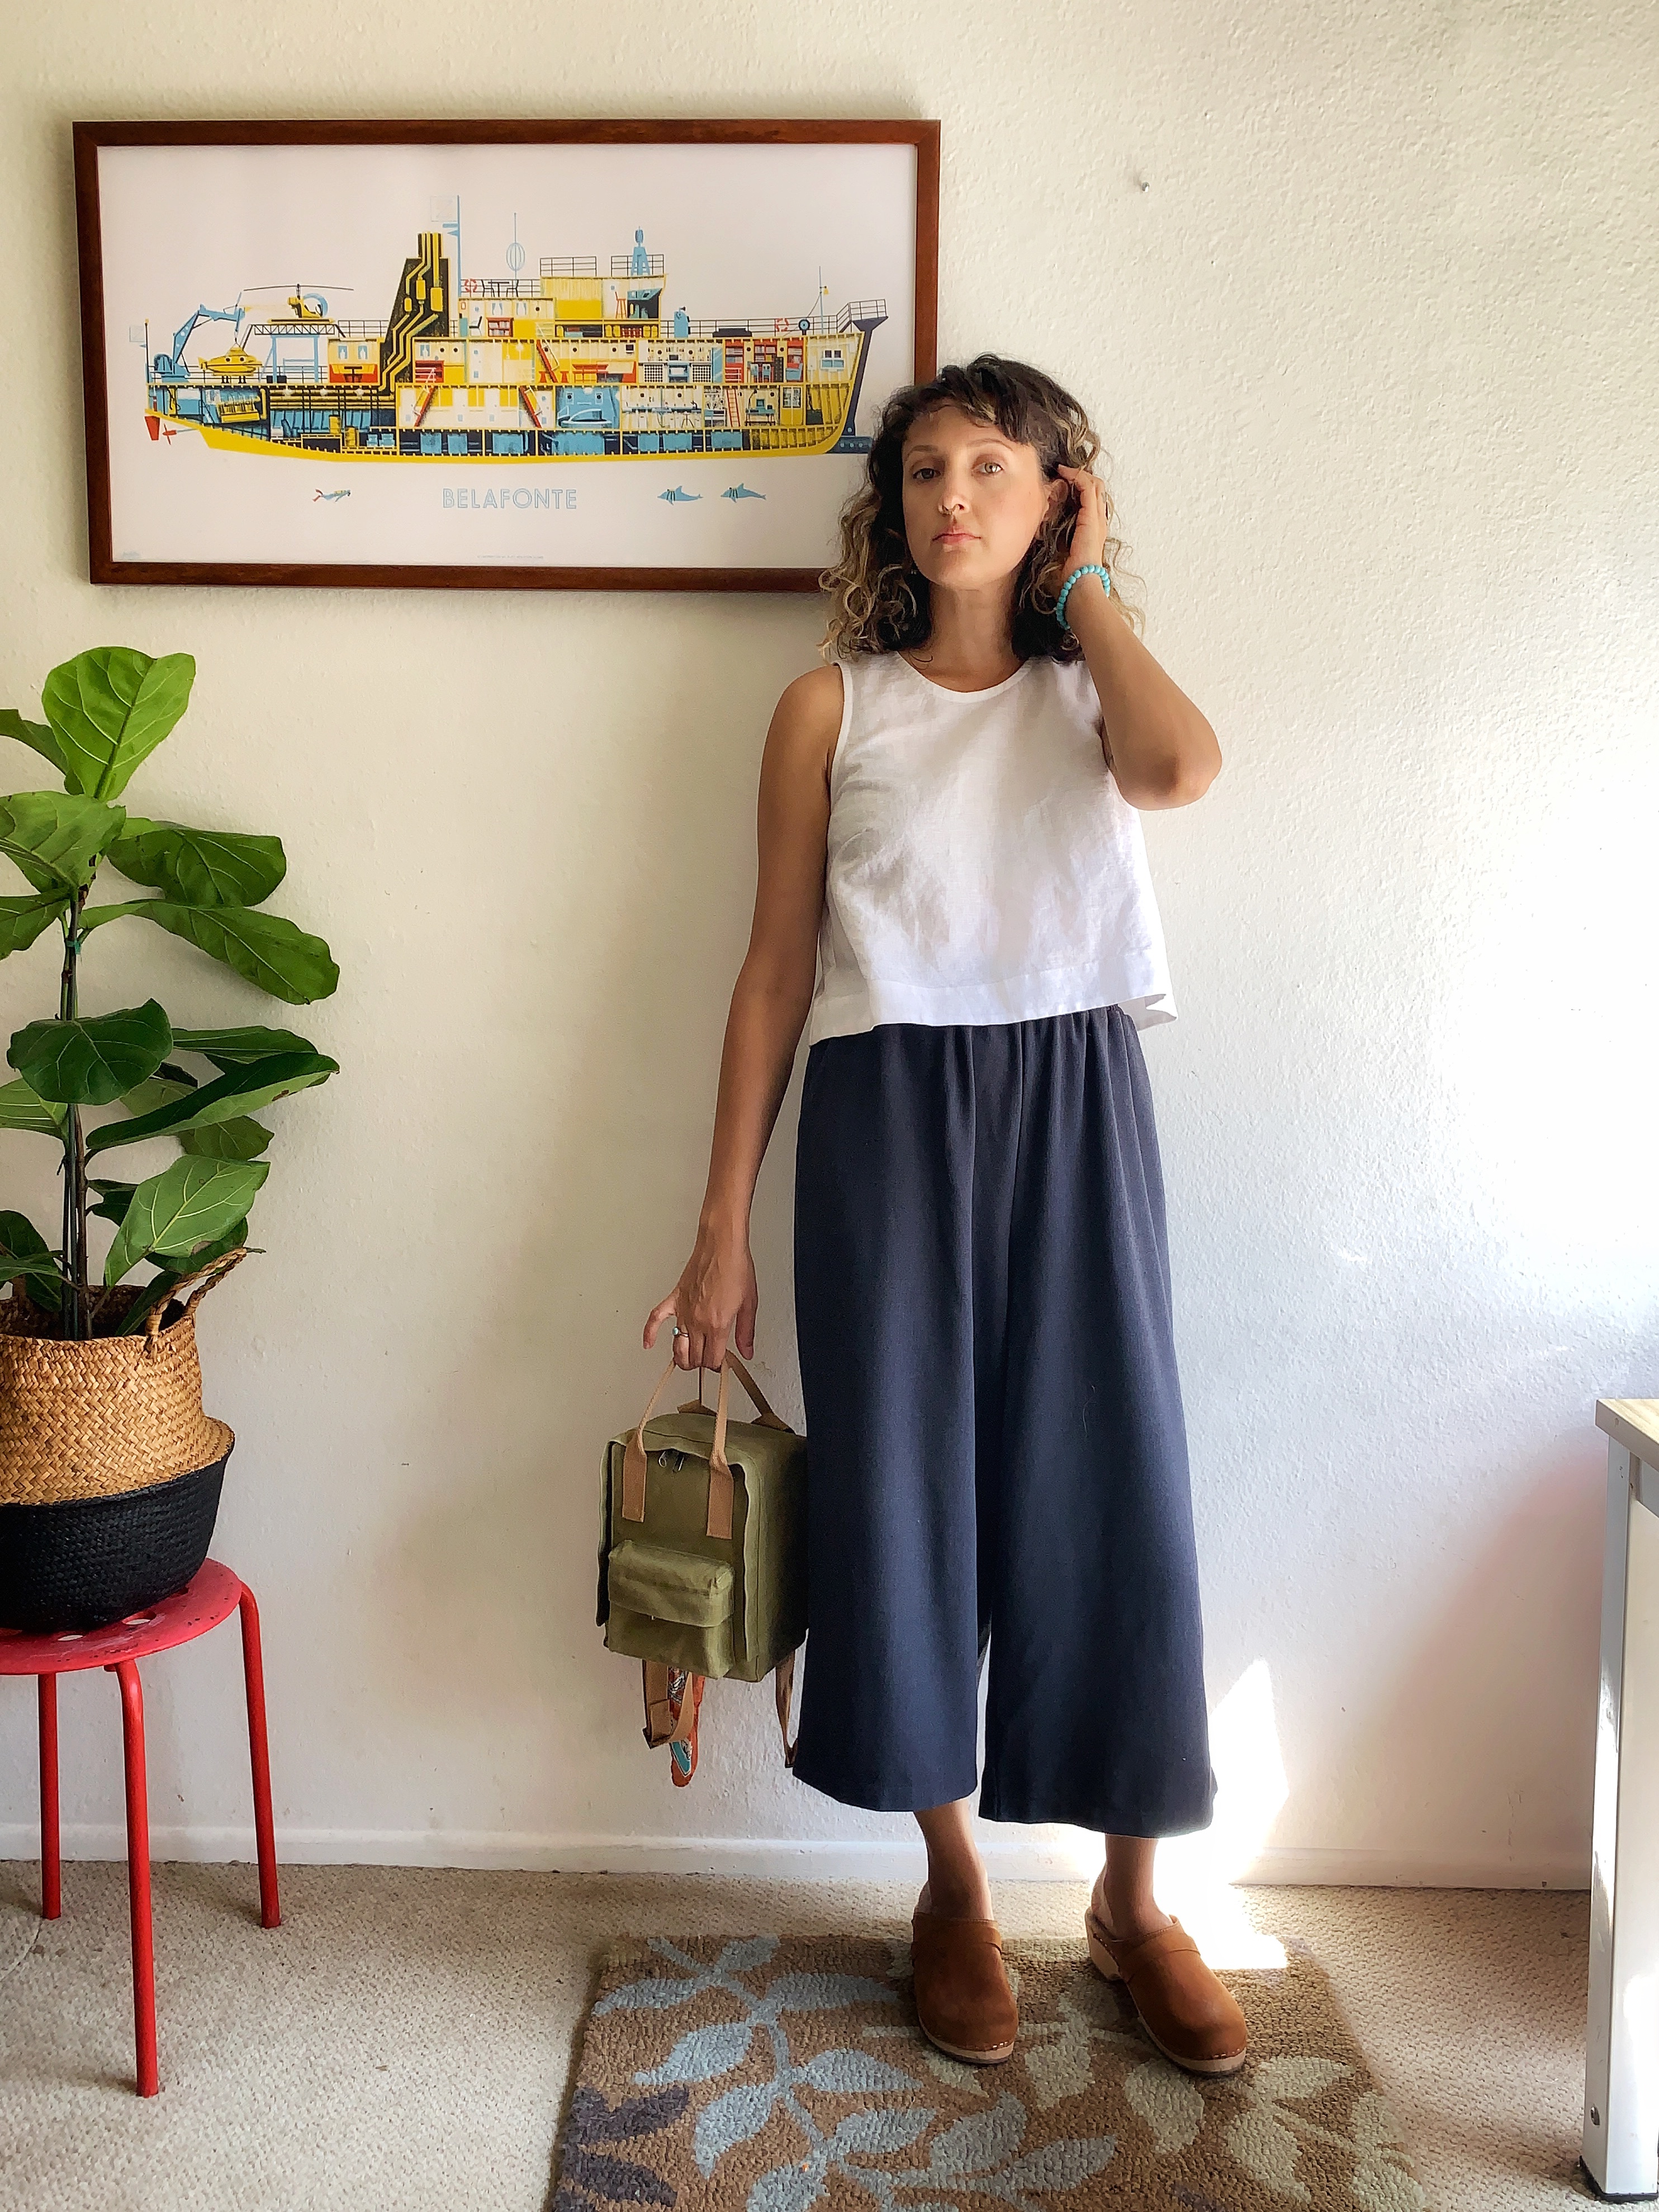
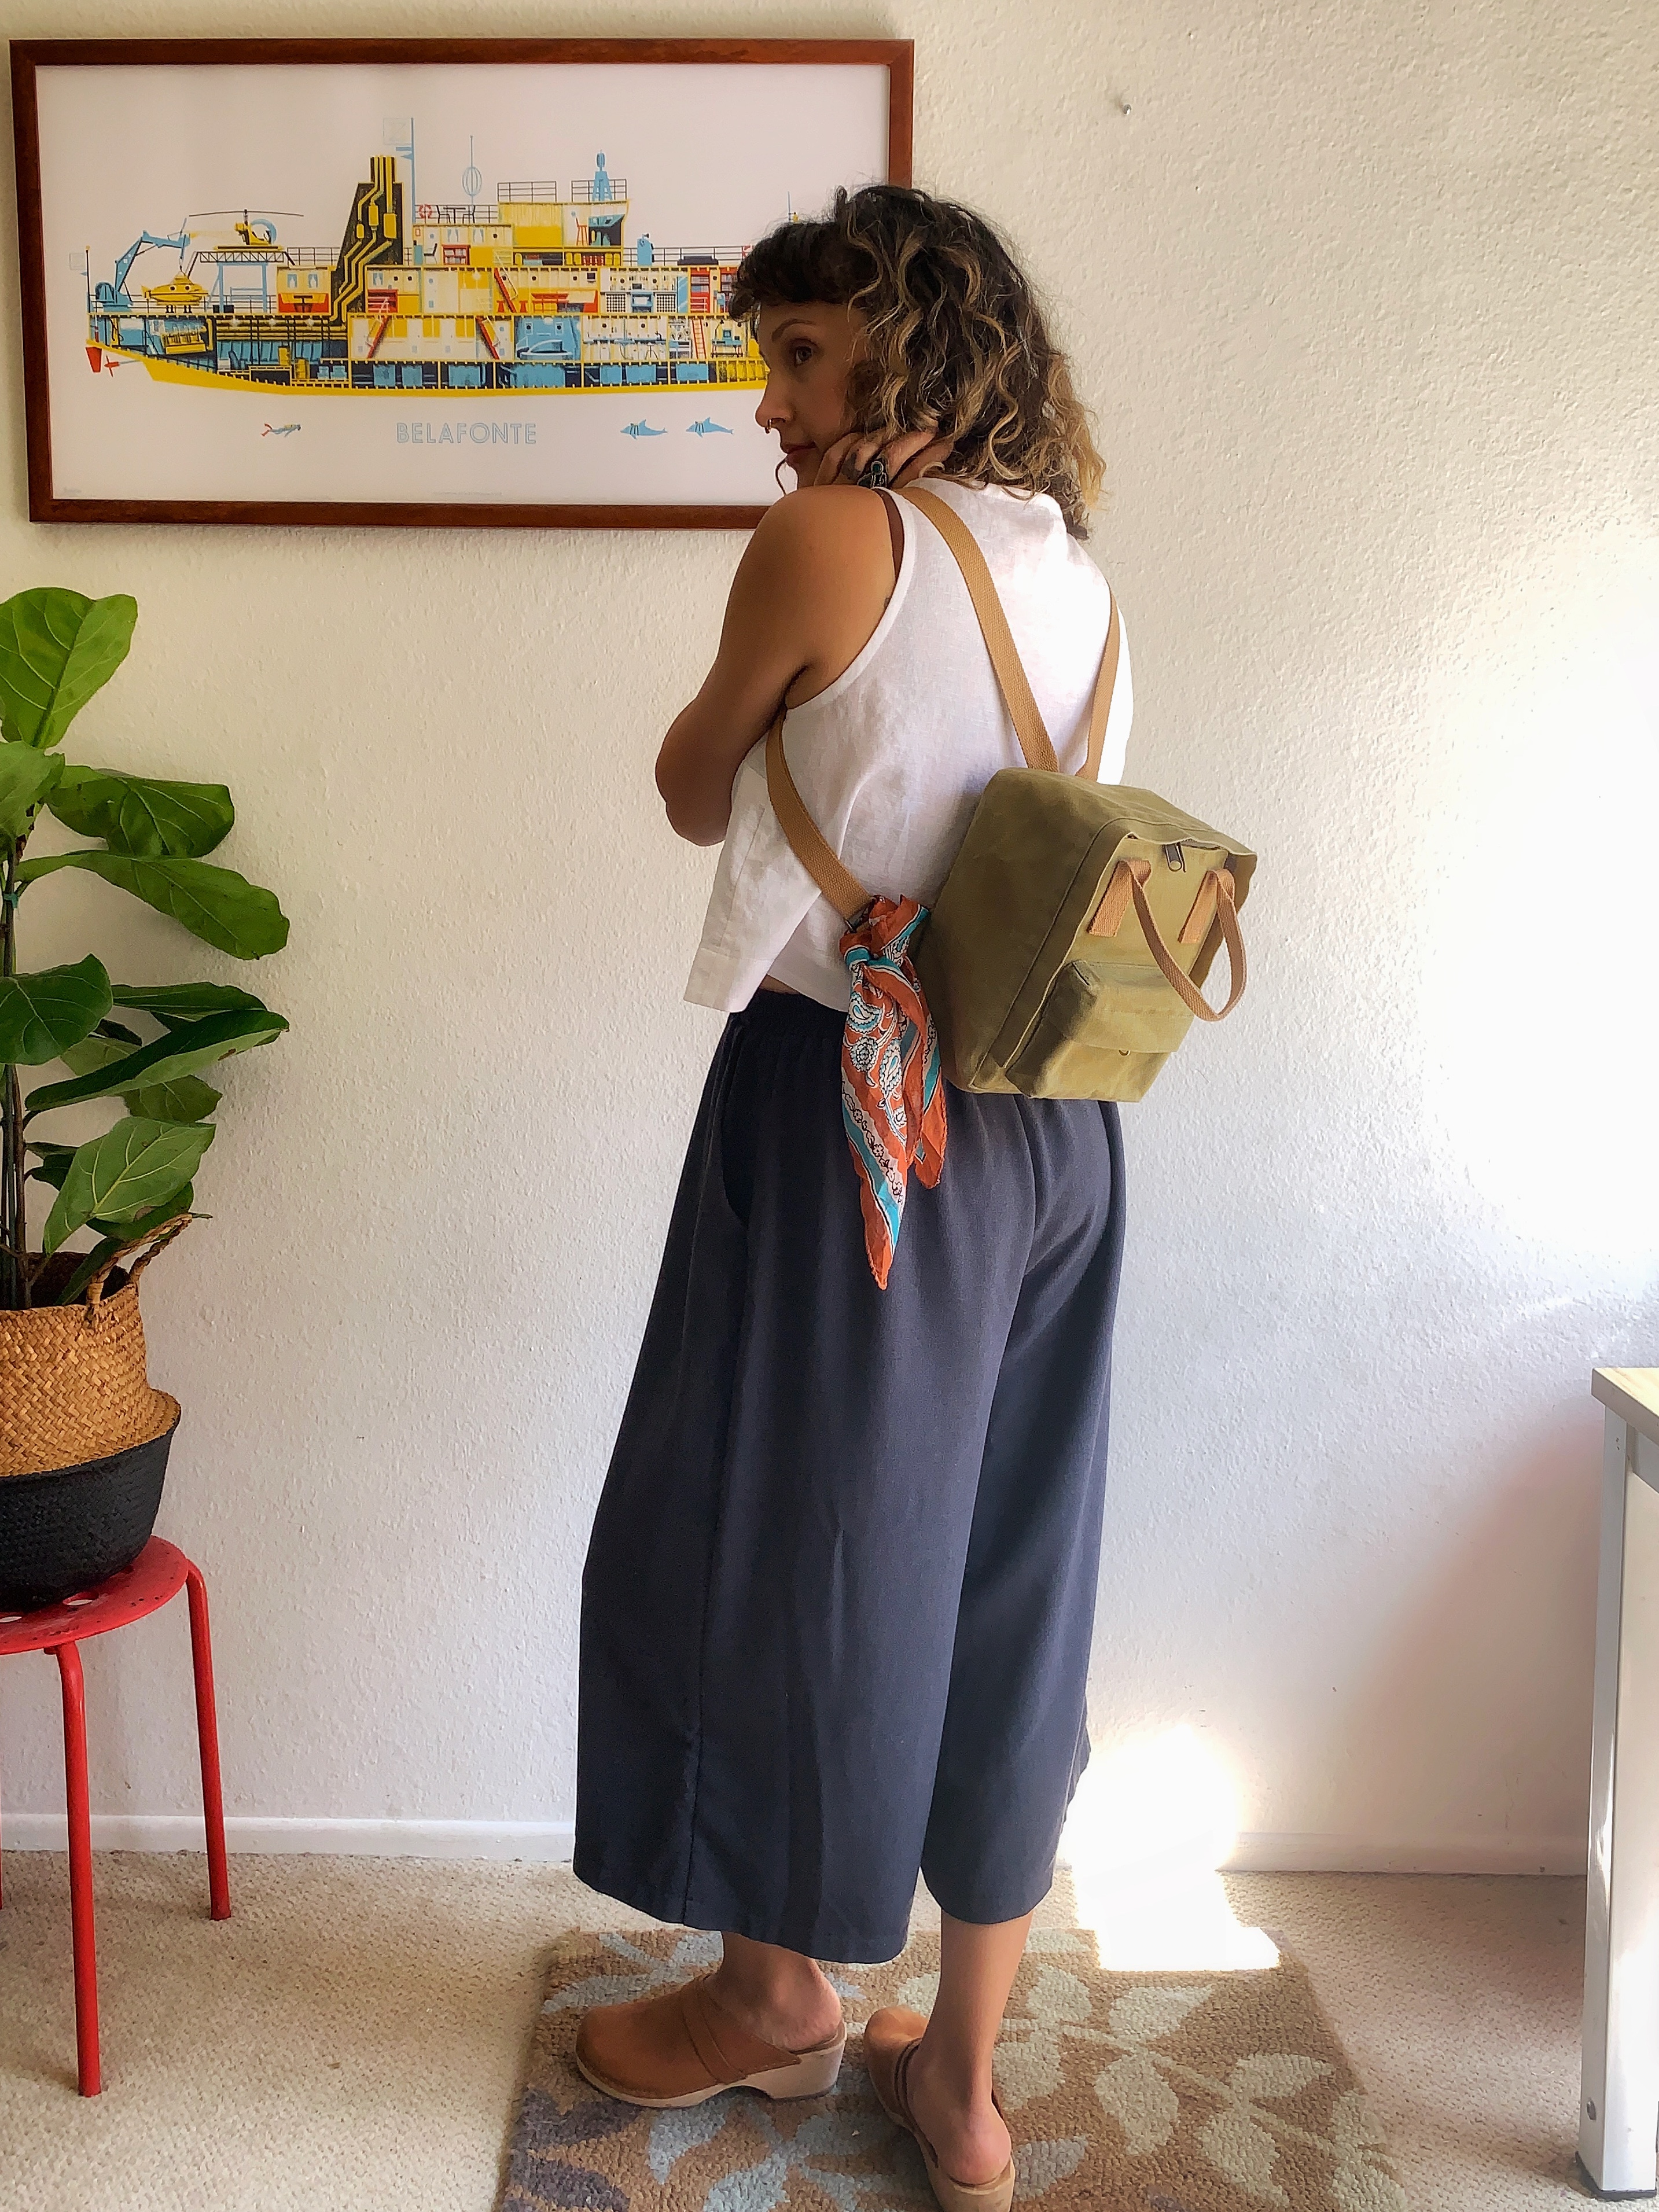
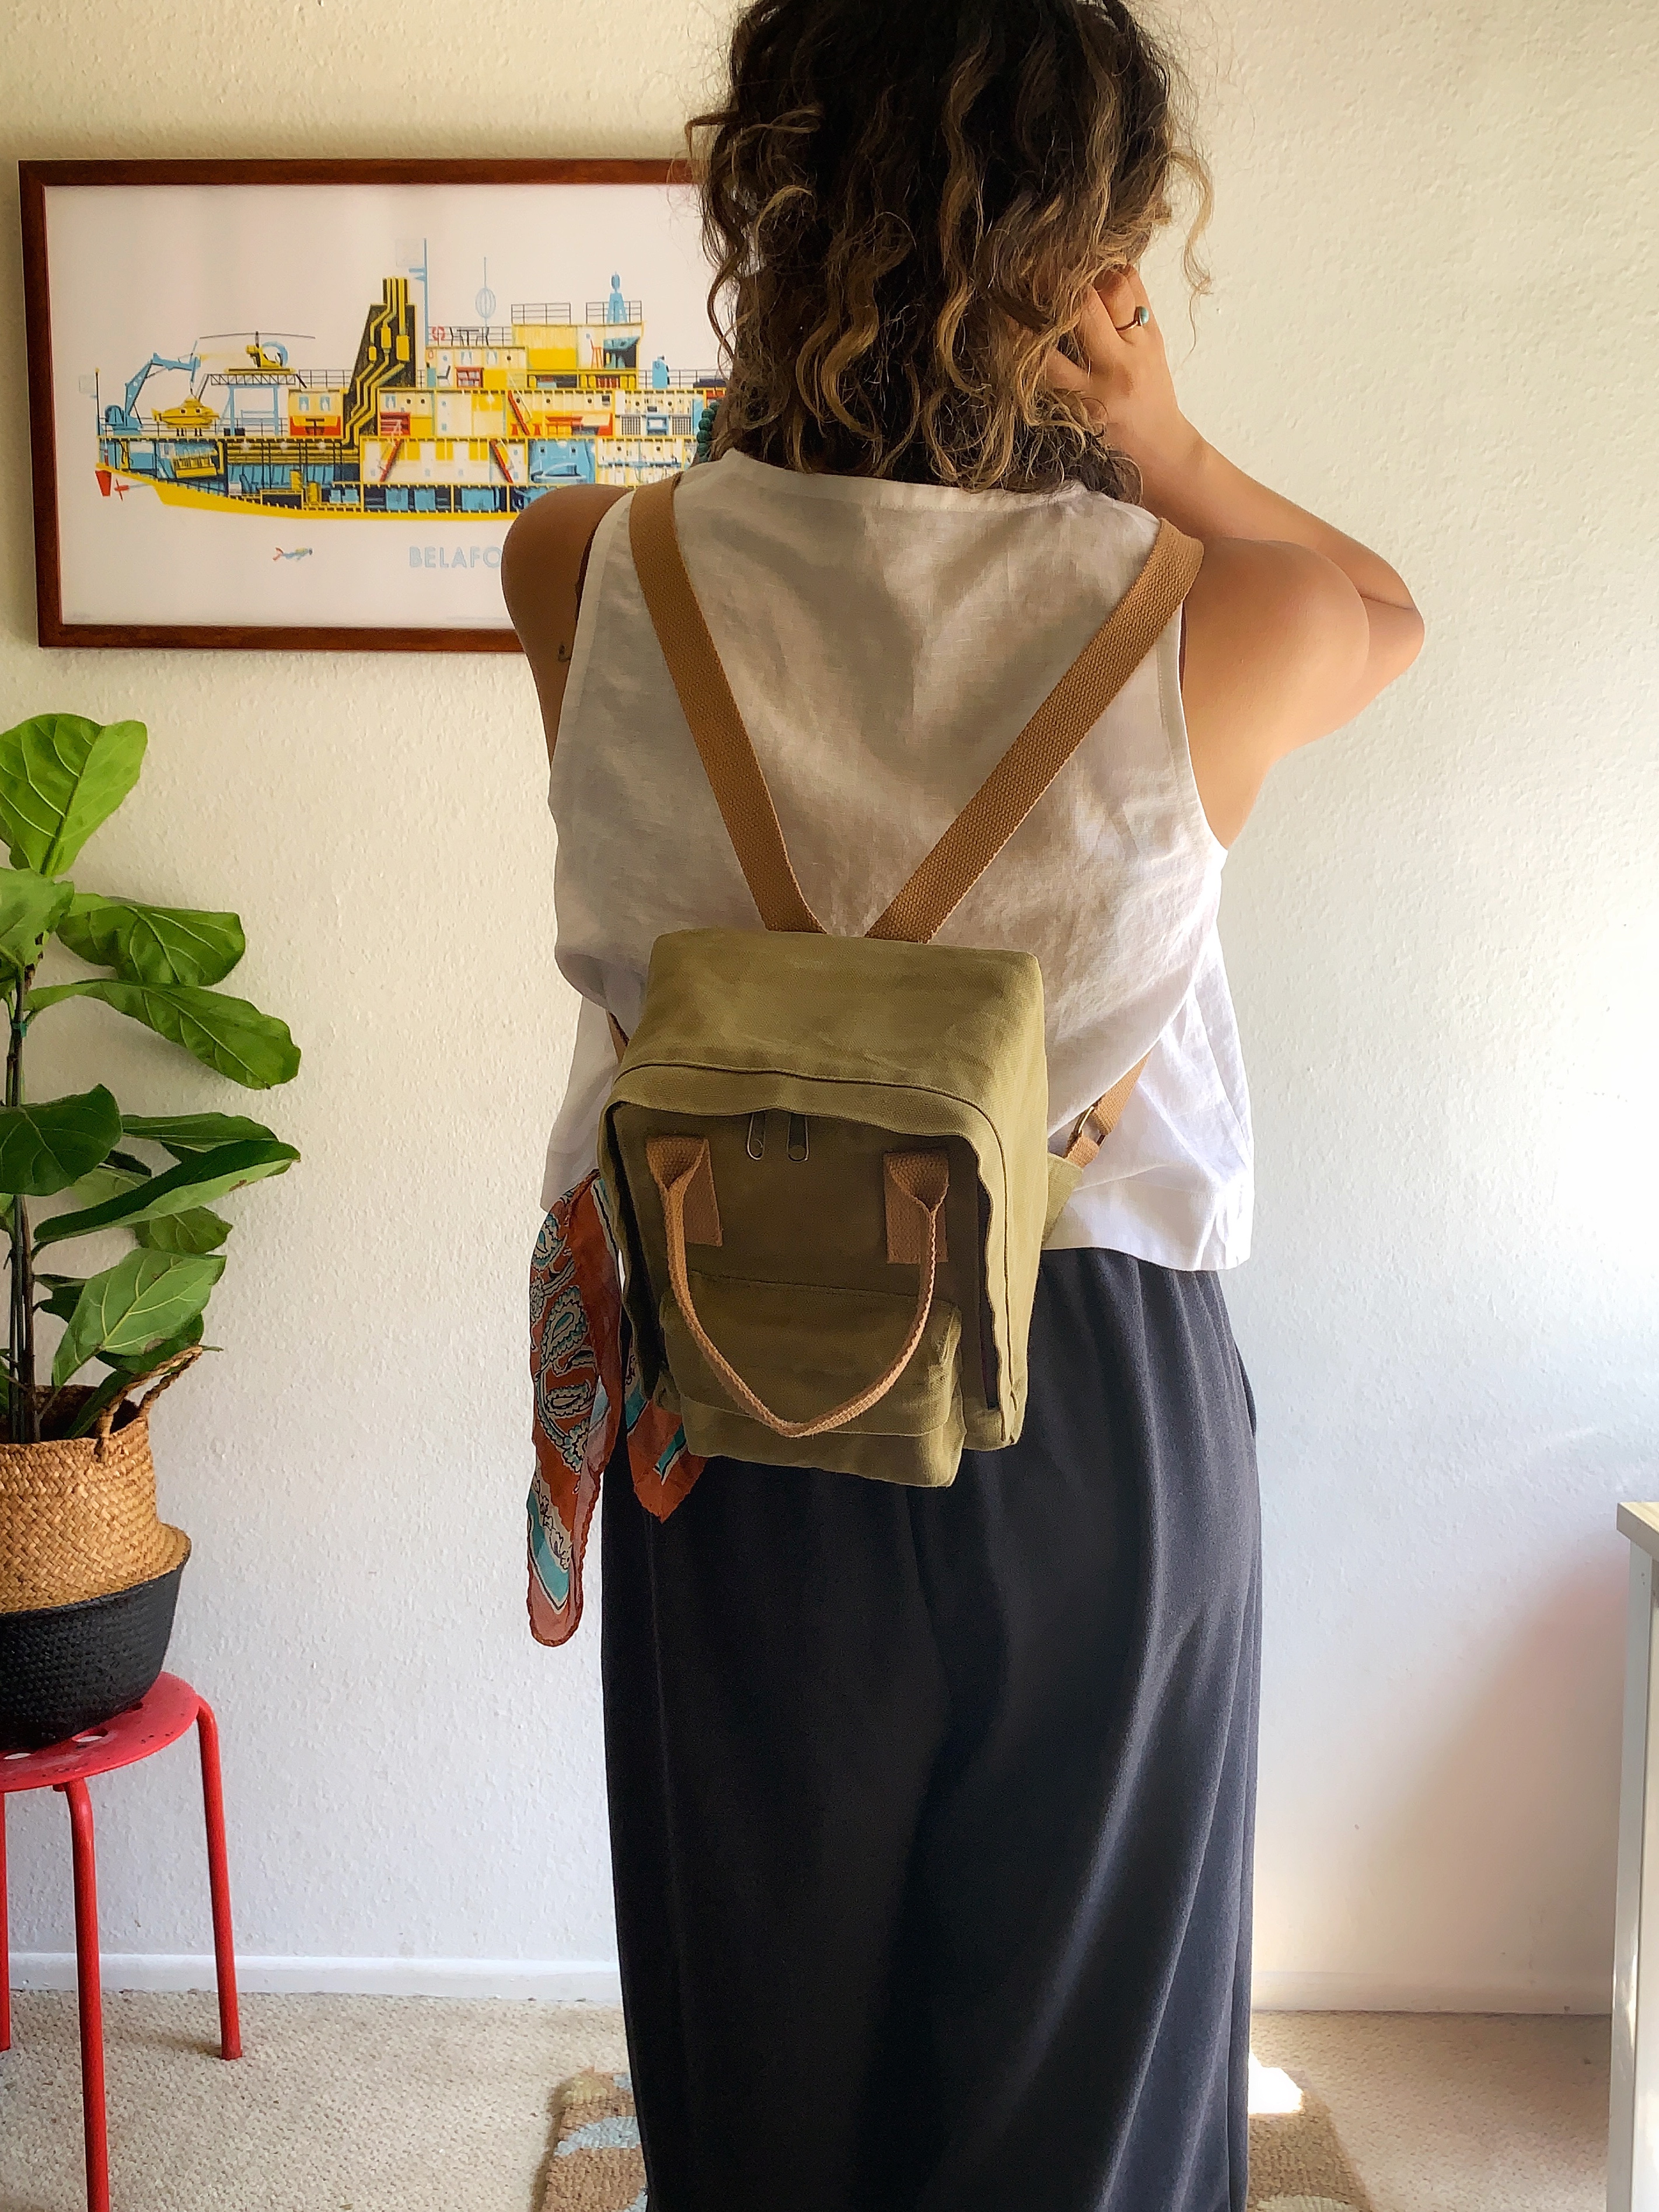
Literally every time I catch a glimpse of my new little Raspberry Rucksack it makes my heart sing. I’m probably not gonna sew this pattern again for a while. It was a big undertaking, but I am finding bag making really satisfying. A wallet may be my next venture, or a small crossbody purse.
Making this little rucksack has helped bring attention to the fact that my accessories are lacking in variety. Bags can add something really special to an overall look (which I’m sure is really obvious to most and I’m just late to the game) and I’m having a lot of fun playing with this right now.


6 Comments
Nené
Comencé a seguirte en IG hace unos días. Tu cuenta y tu blog son muy inspiradores. Gracias por compartir!
Angie Hook
Thanks for reading!! ❤️
Costumelooks.com
After searching locally and being disappointed with the selection of backpacks available, not to mention reluctant to buy her something with a particular character on it (they never last – neither the backpack nor the child’s love for the characters!), I finally settled on the idea of making her one – never mind that I’m not a bag sewist, at all! But after seeing pictures of the Star Student backpack from Peekaboo Pattern Shop, and having experience with Amy’s patterns, I decided I’d better give it a try. Natalie picked her fabric, basing it off her favorite color (pink!) and favorite animal (cow!)
Angie Hook
Adorable!!
Ari
What a fantastic review! Your bag is so cute, I can’t wait to start sewing one up too (I’ve been wanting to make one since release day, also, ahah). Thank you for sharing all your tips!
Angie Hook
Yay! I already want to make another one. Good luck with yours! Thank you for reading! ❤️❤️❤️